Uninstalling GENESIS Version 10
This topic explains how to uninstall GENESIS64™ version 10.97 before upgrading to version 11.
It is important to correctly uninstall any previous versions of GENESIS and other ICONICS products before installing a new version. If you start the GENESIS version 11 installation with another ICONICS product still present, you will be prompted to uninstall it before the installation process can continue. However, you can save and reuse your GENESIS64 version 10 project data and configurations.
Before you begin, make sure you perform the following tasks:
- Review the prerequisites.
Go through the list of tasks that you need to perform before installing version 11, such as checking the system requirements or backing up the GENESIS databases.
-
Check the compatibility of your existing projects.
Download and run the GENESIS Version 11 Compatibility Analyzer to check your projects created in a 10.97 version of GENESIS and identify areas that may cause compatibility issues with version 11.
The Compatibility Analyzer should take care of saving any data that you want to reuse in the new version, but it is good practice to back up any relevant files from the GENESIS64 installation folder (the default location is C:\Program Files). Typically, the GraphWorX displays saved in the PubDisplay directory with the default location in C:\Program Files\ICONICS\GENESIS64\WebSites\PubDisplay. -
Kill your current GENESIS license.
Temporarily disable your software license. This allows you to reactivate the license for the new system after the upgrade.
To uninstall GENESIS64 version 10 in preparation for installing GENESIS version 11:
- In the Windows search box, enter add or remove and open Add or Remove Programs with administrator privileges.
- In the list of installed applications, select ICONICS Suite and click Uninstall, and then click Uninstall again to confirm the action. If a Windows dialog appears, click Yes.
-
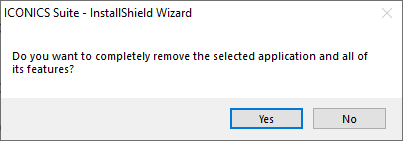
Click Yes to start uninstalling GENESIS64.
-
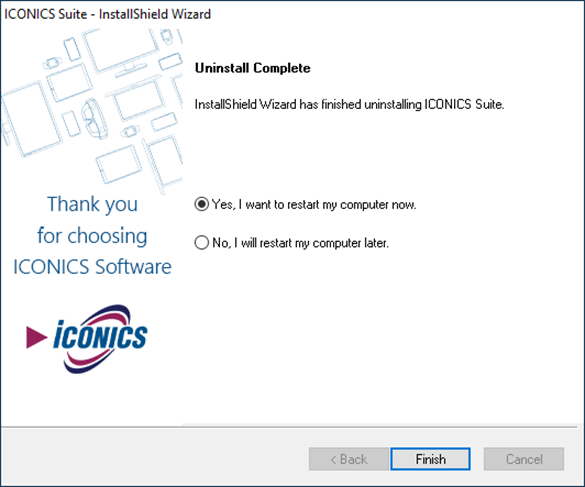
When the uninstallation process finishes, do one of the following:
-
Select No, I will restart my computer later, and then repeat step 2 with ICONICS GenDemo and any other ICONICS products installed on your computer. Remember to restart your machine when you are done.
-
Select Yes, I want to restart my computer now, and then click Finish if there are no more ICONICS products installed on your computer.
-
-
Delete the C:\ProgramData\ICONICS folder to prevent possible issues during the next GENESIS installation.
What's Next?