Mitsubishi Electric FA – Quick Start
This Quick Start provides basic instructions for using Mitsubishi Electric FA Connector in GENESIS.
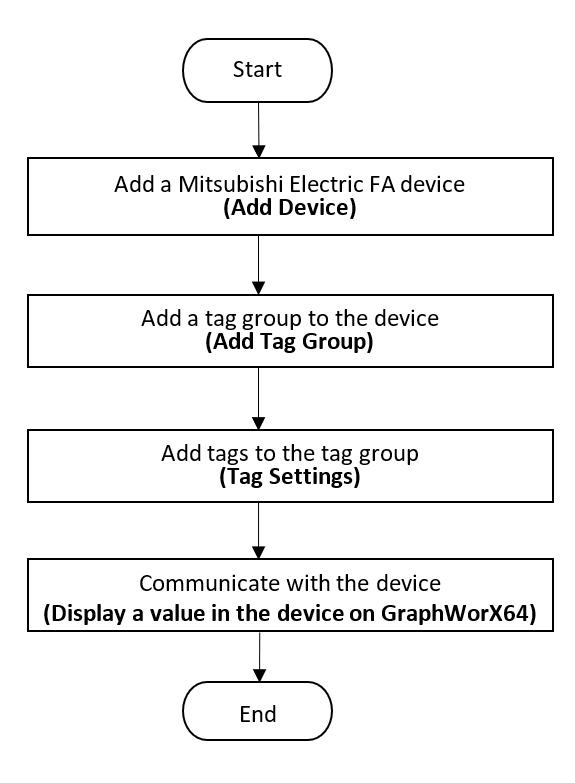
The following figure shows the flow of the basic operation procedure:
To add a Mitsubishi Electric FA device manually:
-
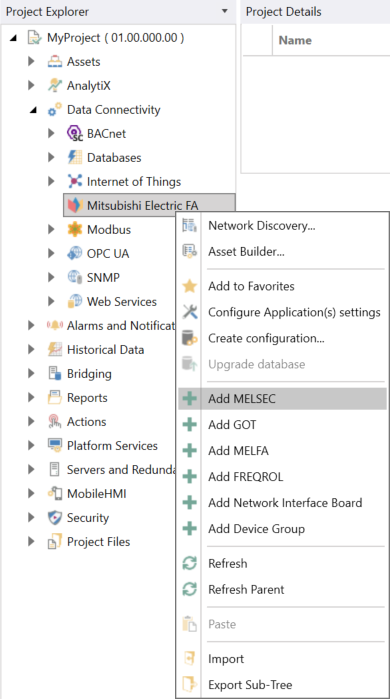
Open the Workbench and expand Data Connectivity in the Project Explorer.
-
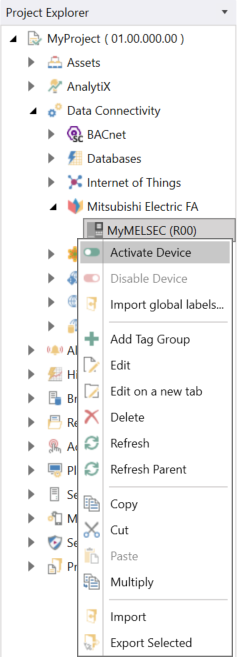
Right-click Mitsubishi Electric FA.
-
Right-click Add MELSEC (or Add GOT).
-
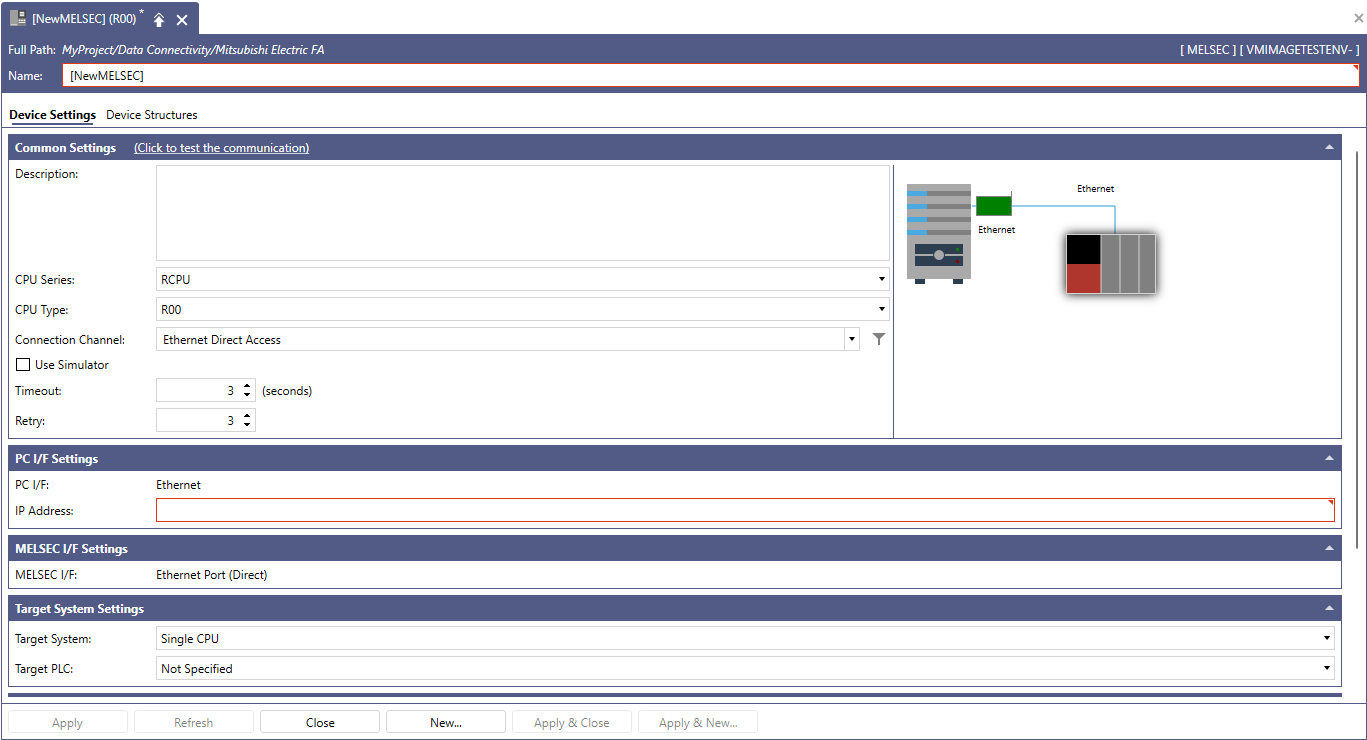
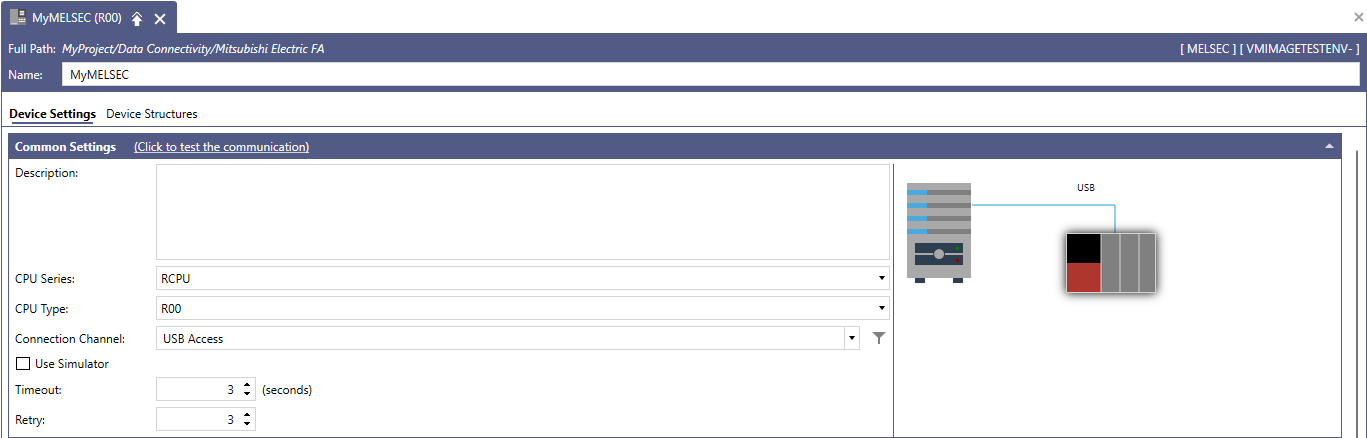
Enter the necessary information to the device properties.
Fields encircled by red rectangles are mandatory fields. -
Click Apply.
To add a Mitsubishi Electric FA device using Network Discovery:
-
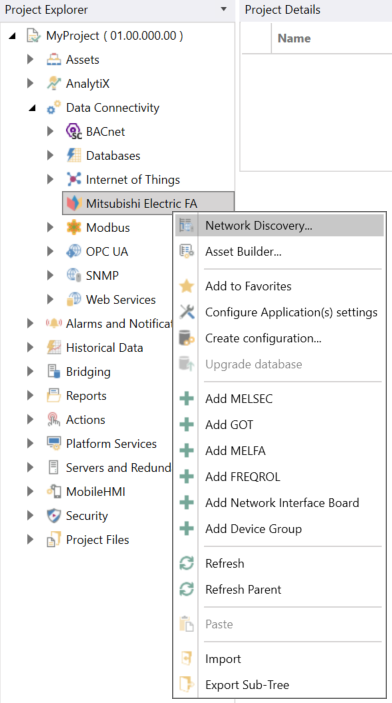
Open the Workbench and expand Data Connectivity in the Project Explorer.
-
Right-click Mitsubishi Electric FA.
-
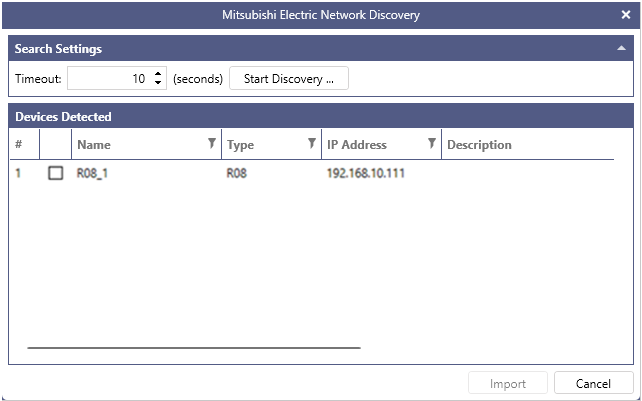
Click Network Discovery to open the Mitsubishi Electric Network Discovery window.
-
Click the Start Discovery button to start searching devices.
Available devices will be displayed on the screen if there are any.
-
Check off preferred devices and click the Import button.
The following steps explain how to test communication with added device in previous steps.
-
Double-click the device in the Project Explorer that a user wants to test the communication.

-
Click "Click to test the communication" in the Common Settings.
-
The following message appears if the communication test succeeds.
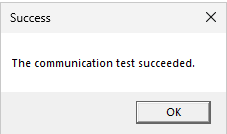
Please refer to Troubleshooting for Mitsubishi Electric FA if the communication test fails.
-
Click OK.
Add a tag group to the device:
-
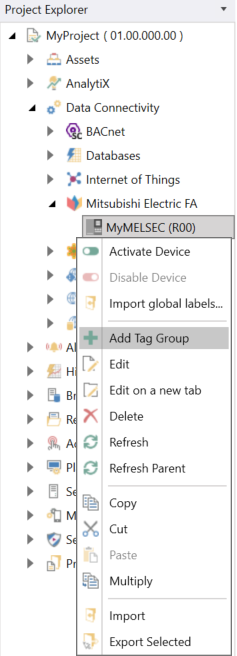
Right-click the added device.
-
Click Add Tag Group.
-
Enter a proper name to the tag group.
-
Click Apply.
Add tags to the tag group:
-
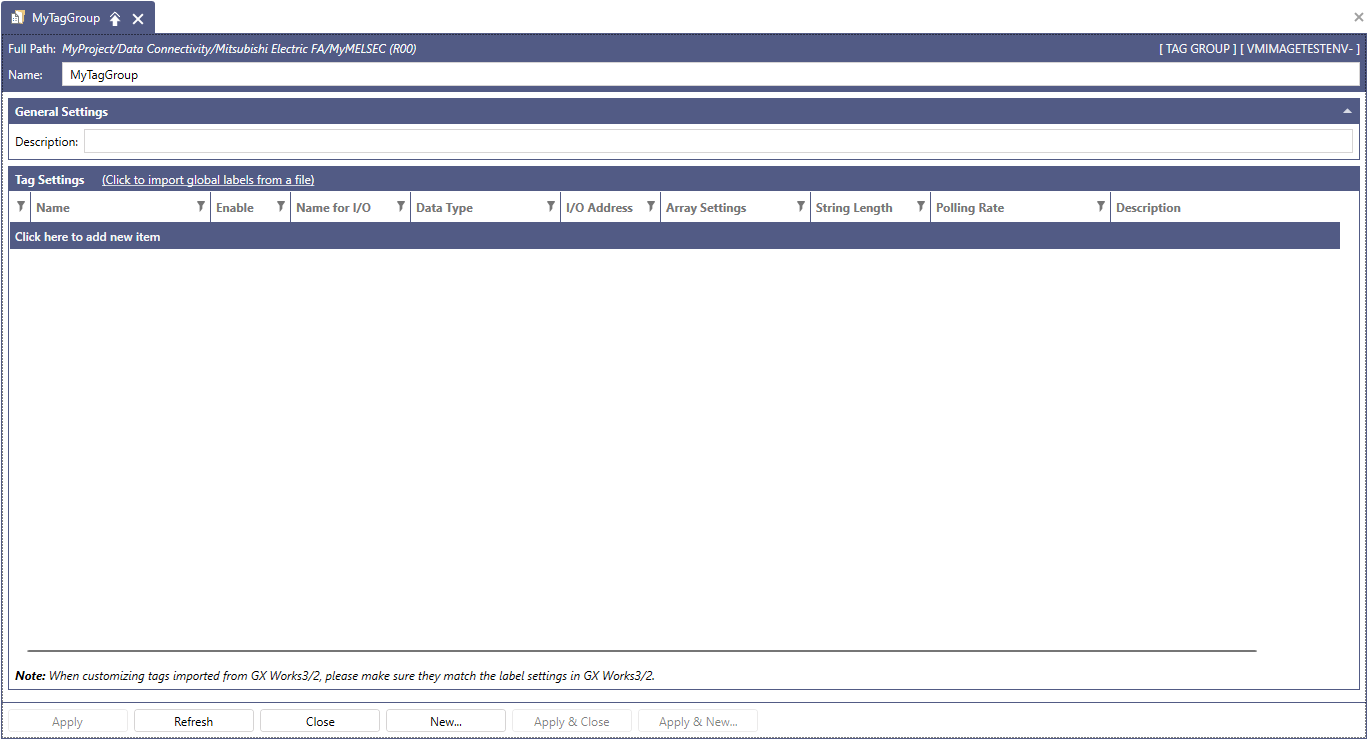
Click the added tag group so that the "Tag group properties" window opens.
-
Click "Click here to add a new item" in the Tag Settings section to add a new tag.

-
Enter a proper name and I/O address.
-
Click Apply.
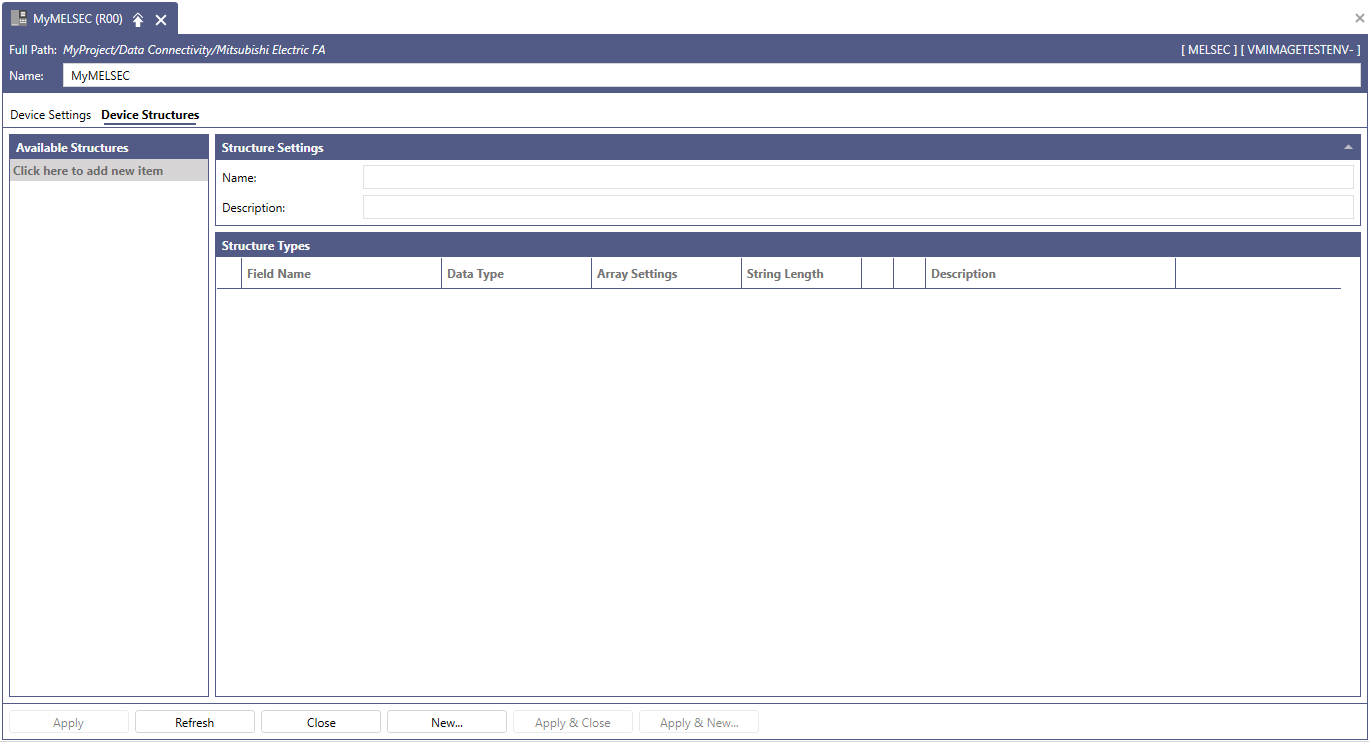
Please follow this step if a user uses a MELSEC device and wants to add a device structure.
-
Double-click the MELSEC device so that the "Device property” window opens.
-
Click the Device Structures tab on top of Common Settings.
-
Click “Click here to add new item” to add a new device structure
-
Enter a proper name for the device structure.
-
Click Apply.
-
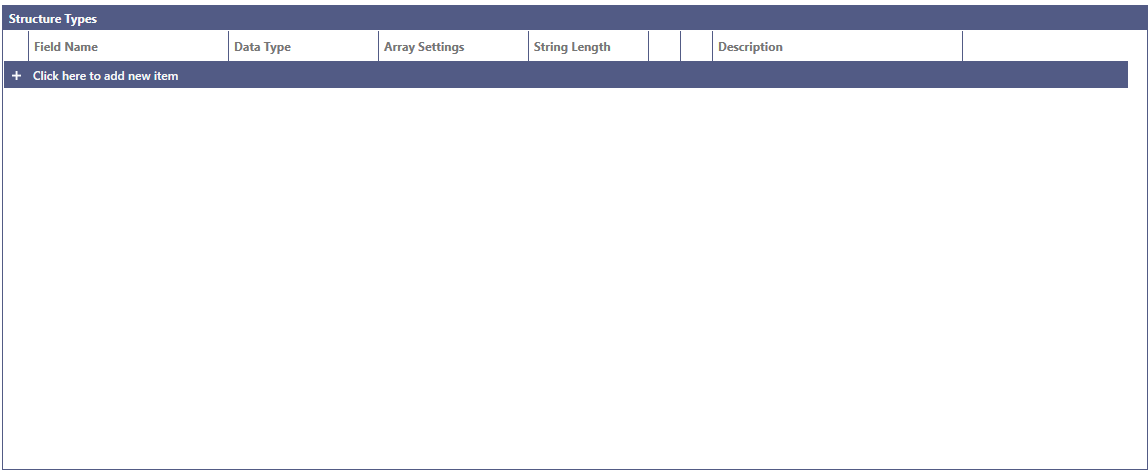
Click the device structure that was added in the previous steps.
-
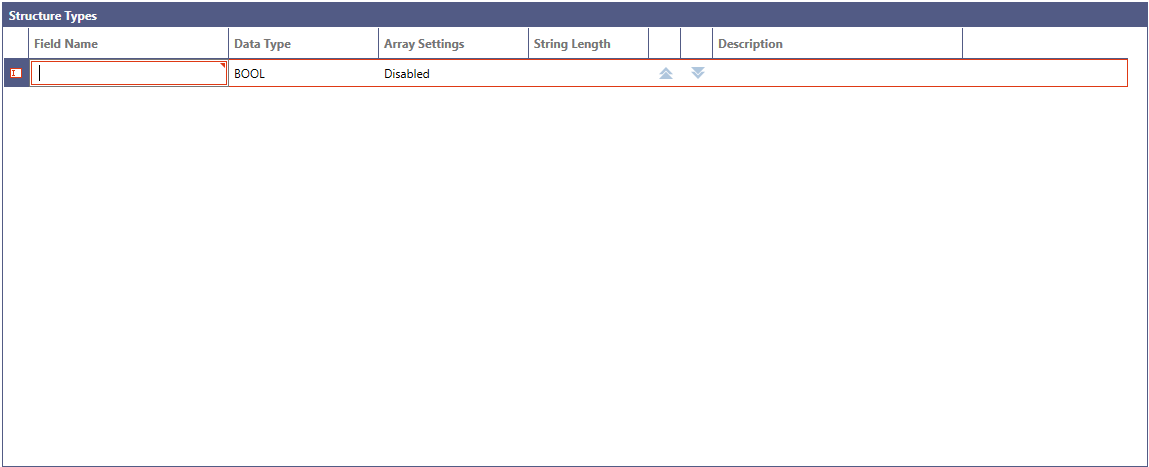
Click "Click here to add new item" in the Structure Types section.
-
Enter a proper name to the member of a structure device.
-
Click Apply.
A user can import tags and device structures from GX Works3 project file to a MELSEC device.
To Communicate with the device
-
Right-click the device.
-
Click Activate Device.
If a user wants to configure the device again, it must be disabled.After completing the Mitsubishi Electric FA settings in Workbench, please restart the PointManager service. -
Open GraphWorX.
The following explanation assumes that the GraphWorX screen will be run in Desktop App mode.] -
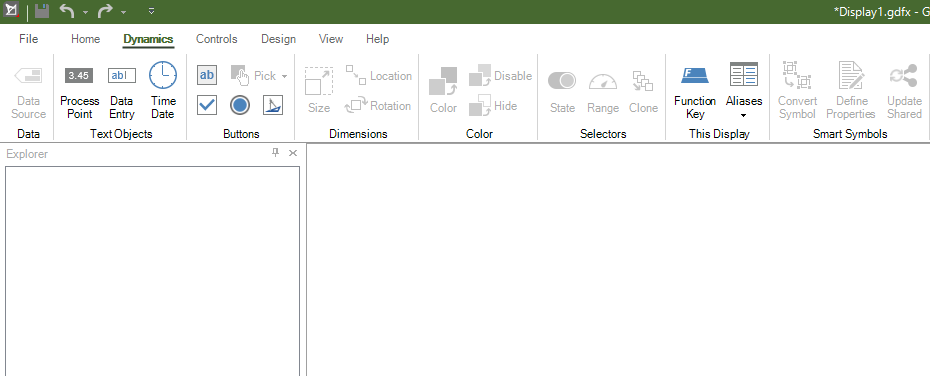
Click Dynamics in the Home Ribbon.
-
Click the Process Point in the Home Ribbon and place it on the Canvas, the section on the screen.
-
Click the Process Point that is placed in the previous step.
-
Click the Dynamics at the bottom on the right of the screen.
-
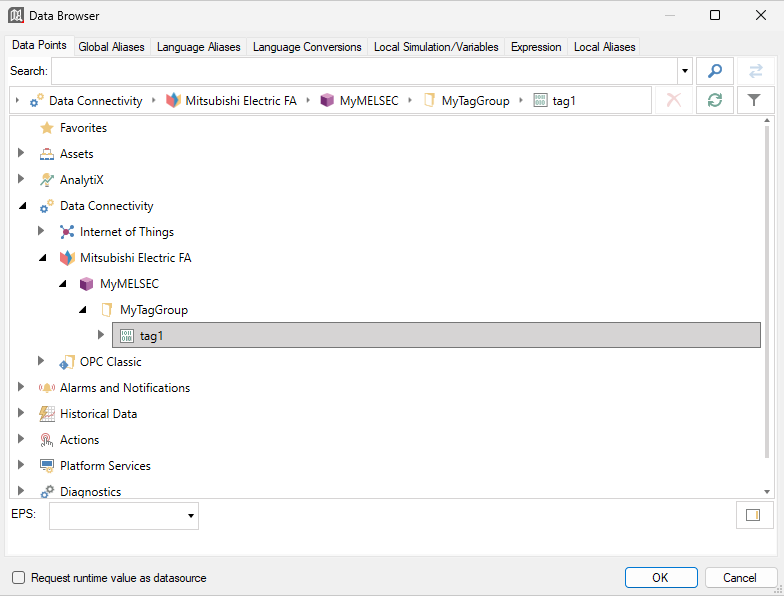
Click the DataSource.
-
Expand My Computer > Data Connectivity > Mitsubishi Electric FA > (Device_Name) > (TagGroup_Name).
-
Select a tag that a user created in the Workbench and click OK.
-
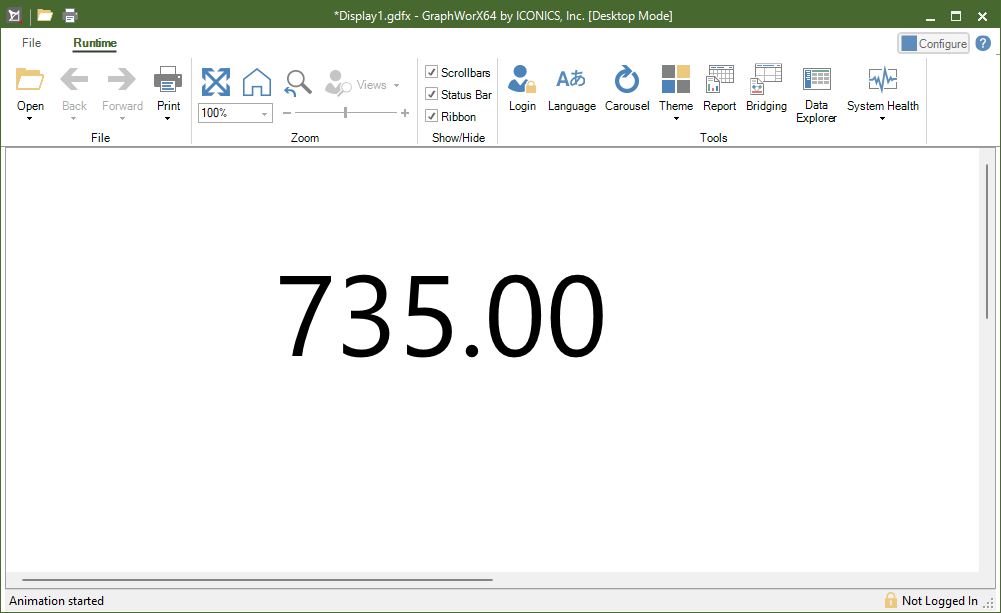
Click Runtime at the top right of the screen.
-
Confirm that the value of the tag is displayed on the Runtime screen.
-
Click Configure at the top on the right in the screen.
-
Save and close GraphWorX.
See Also: