Verifying OPC UA Connection with Data Tags
After establishing an OPC UA connection and adding some data tags, you can verify the connection using several methods, each having its advantages. You can use the following tools:
- Data Browser: View the connection details in Workbench immediately after applying the settings. Learn more
- Data Explorer: View the values of the OPC UA tags. Learn more
- GraphWorX: View the current value of the selected OPC UA tag in a GraphWorX display. Learn more
To set up a connection that can be verified, you need to do the following:
- Configure an OPC UA Server (in this example, DeviceXPlorer OPC Server). Learn more
- Create an OPC UA connection, configuring it in Workbench. Learn more
- Configure at least one tag in the OPC server.
To configure a tag in DeviceXPlorer OPC Server:
-
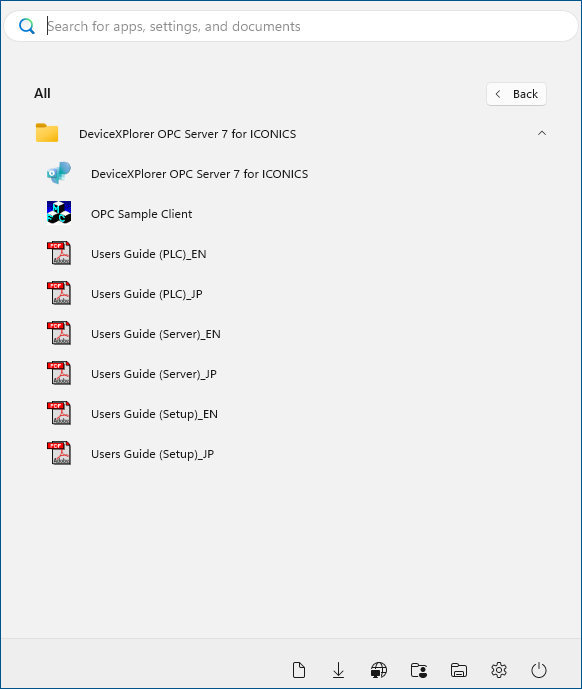
Open DeviceXPlorer OPC Server.
-
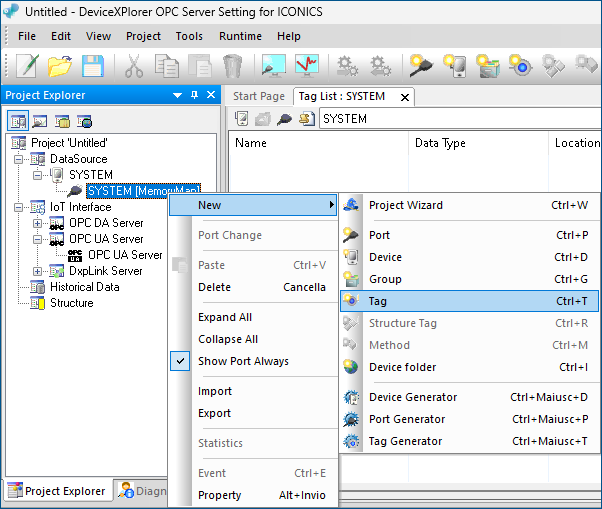
Select DataSource > SYSTEM, right-click SYSTEM [MemoryMap] and select New > Tag.
-
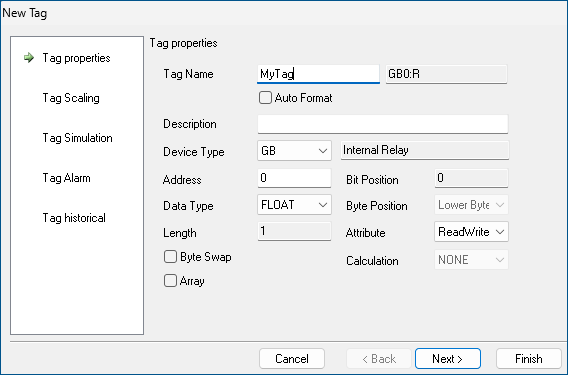
In the New Tag dialog, enter a Tag Name and select the Data Type.
-
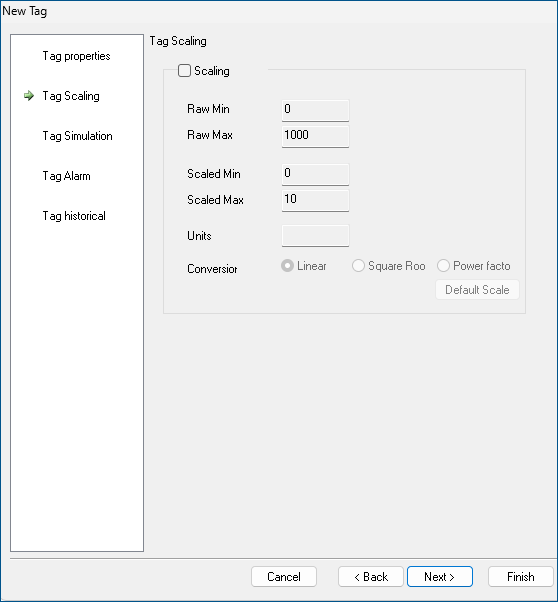
Optionally, set up Tag Scaling for this tag, and then click Next.
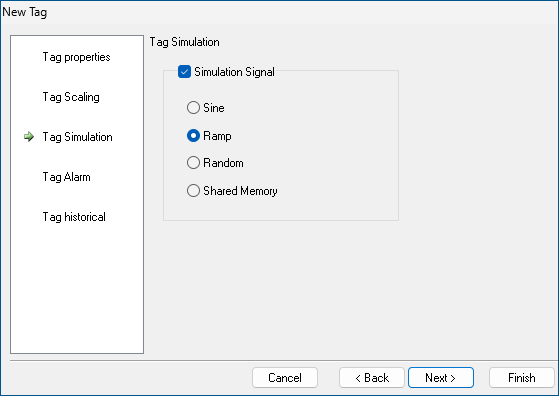
-
Select the Simulation Signal checkbox, select Ramp, and then click Finish.
-
Verify that the tag is displayed in the Tag List : SYSTEM dialog.
