OIDC Relying Party
An OIDC Relying Party is also called just a ‘client’ in OAuth terminology. The Relying Party is the application (software) that requires end-user authentication or wants to get access to the user's account. It needs to get permission from the user before it can do so.
To Add an OIDC Relying Party:
-
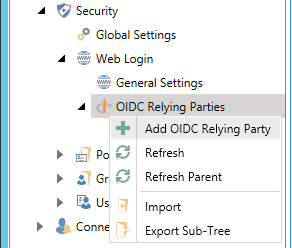
Expand your project within the Project Explorer in the Workbench and then expand the Security node. Right-click on the OIDC Relying Parties node and select Add OIDC Relying Party, as shown below.
Add OIDC Relying Party in the Project Explorer
-OR-
Select the OIDC Relying Parties node then click on the Add OIDC Relying Party button, shown below, in the Edit section of the Home ribbon in the Workbench.
Add OIDC Relying Party Button

-
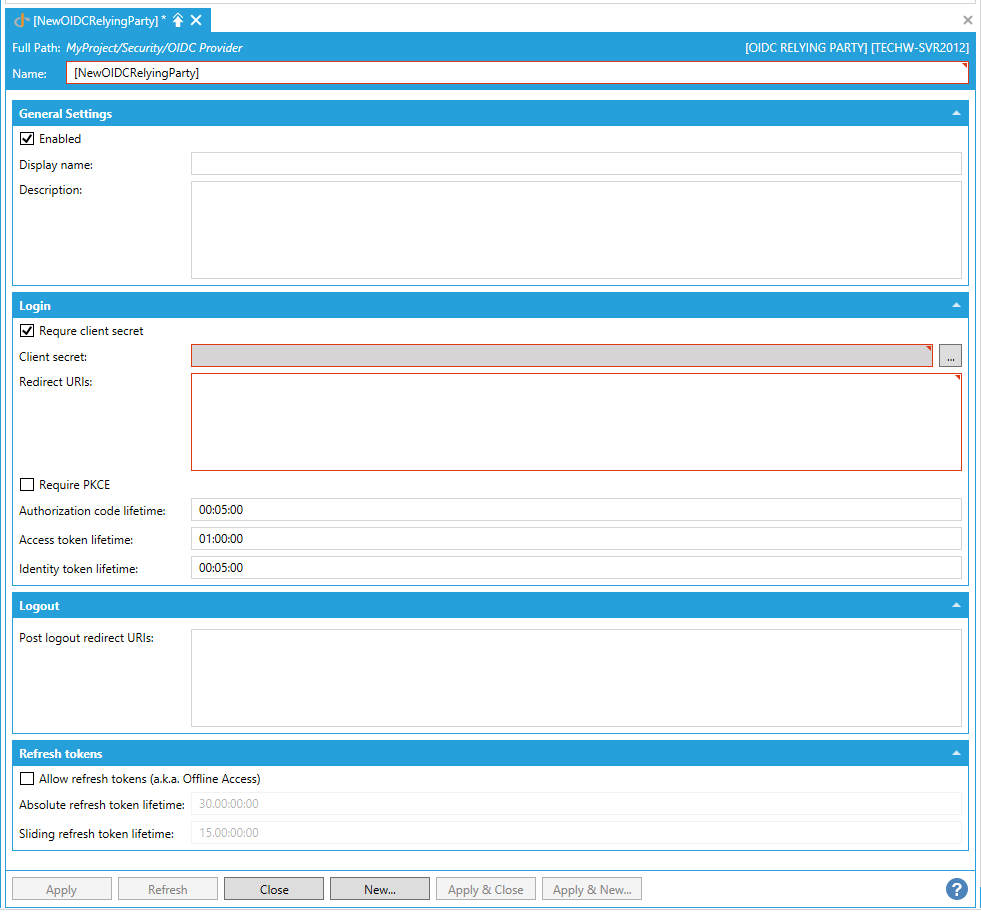
This opens the OIDC Relying Party properties, as shown below. Enter an Name for the OIDC Relying Party in the text entry field. The Name field on this form serves as the OIDC/OAuth ‘Client Identifier’ (https://tools.ietf.org/html/rfc6749#section-2.2).
OIDC Relying Party Properties
General Settings
-
Enabled -Click this checkbox to enable this OIDC Relying Party.
-
Display name - An optional user-friendly text for the Relying Party. Used on the web form to reference the Relying Party. Enter the display name in the text entry field.
-
Description - Enter a description for the selected OIDC Relying Party in the text entry field. This can be any text that is not used by the Runtime.
Login
-
Require client secret - Determines whether the OIDC RelyingParty/OAuth requires a Client Secret to communicate with the OIDC Provider endpoints.
-
Client secret - This is the client secret. It gets stored in the database hashed by SHA256. Enter it in the text entry field or click on the ellipsis button [...], which will open the Shared secret window, where you can enter your client secret in the window's text entry field.
-
Redirect URIs- A new-line separated list of URIs that are acceptable as a return url after the authentication/authorization finishes. The specific value must be obtained from the actual Client application. Enter the Redirect URIs in the text entry field.
-
Require PKCE - Determines whether the client must use PKCE (Proof Key for Code Exchange).
-
Authorization code lifetime - Enter a duration for the authorization code lifetime in the text entry field.
-
Access token lifetime - Enter a duration for the access token lifetime in the text entry field.
-
Identity token lifetime - Enter a duration for the identity code lifetime in the text entry field.
Logout
-
Post logout redirect URIs - A new line separated list of URIs that are acceptable as a return url after a client-initiated log out. The specific value must be obtained from the actual Client application. For details, see https://openid.net/specs/openid-connect-session-1_0.html#RedirectionAfterLogout.
Refresh tokens
-
Allow refresh tokens (a.k.a. Offline Access) - Allows the Client application to automatically renew the authentication/authorization without user interaction once the old one expired.
-
Absolute refresh token lifetime- Maximum total lifetime of a refresh token. Set to zero to allow refresh tokens that will expire only when the client misses renewal during the Sliding refresh token lifetime.
-
Sliding refresh token lifetime -Sliding lifetime of a refresh token. The client needs to refresh in this period to get a new one refresh token.
See Also: