Users and Groups
Security is created by adding user accounts and groups. Users can be added to groups as members. When implementing GENESIS64 security, define your account policies and global settings. Only after you complete these two tasks should you then proceed to:
- Defining user Groups where you establish the group security privileges that members will share.
- Defining User Accounts and then adding the user(s) to the appropriate groups.
Groups
Groups is accessed through the Security node in Workbench. The group role is a collection of users who share a set of privileges. Initially there are no groups so you need to create one.
Users can be added to one or more groups, but groups cannot be added to other groups. However you can duplicate a group and make appropriate changes to it. Groups must have a unique name.
During runtime, if more than one group is in effect, the least restrictive is used. For this reason, the privileges and restrictions set in the default group must be the most restrictive. Individual users can be made less restrictive than the default, but never more restrictive.
To Add a New Group:
- Right-click Groups and select Add Group.

This opens the Group
properties pane. ![]() View Image
View Image
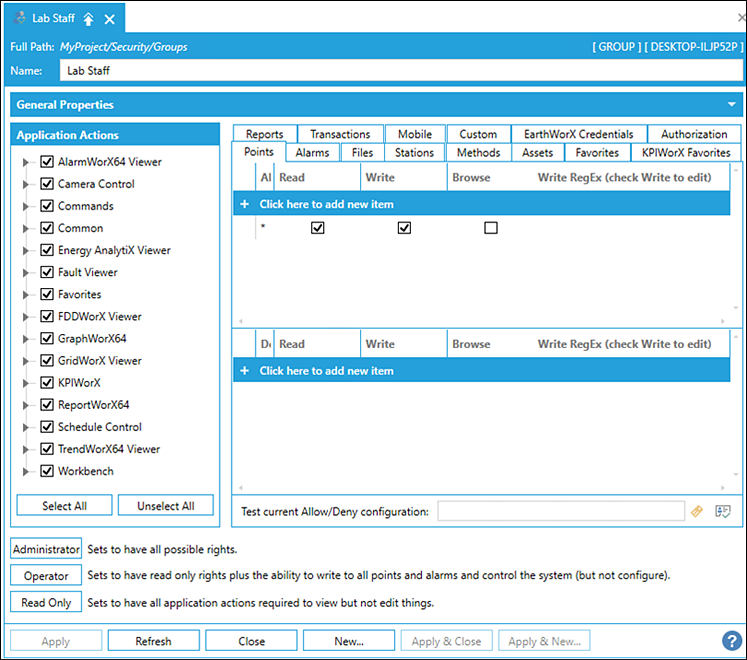
General Properties

- Select the appropriate group checkboxes.
Enter the Name of the role, making sure it is descriptive enough to identify exactly what group security encompasses.
 You can Import or Export a file only if your role permits this function.
- Enter a Root
Asset or click on the
 to open the Data Browser
to navigate to one.
to open the Data Browser
to navigate to one. - Enter a Default
Asset or click on the to open the Data Browser
to navigate to one.
- Enter a Custom Identifier for the group.
- Set a Default
Language or pick one by selecting the
 button. When set, GENESIS64 automatically switches
to the assigned language.
button. When set, GENESIS64 automatically switches
to the assigned language.
Applications Actions
- Select the the application checkboxes for the group. This sets application access permissions. You can Select All and then the clear the checkboxes that do not apply to the group.
- Complete the security permissions for each tab. See Security Privileges for Users and Groups. Keep in mind that all users who become members of this group will share these privileges.
- For the group, select the appropriate role button for the application settings (Administrator, Operator, or Read Only).
- Click Apply to save the new role.
User Accounts
A user is an account associated with a name, password, and certain privileges either allowed or denied them. When a user is added to a group, that user gets the additional privileges of that group. However, should there be a denied access right, that always take precedence over an allowed privilege in setting access. Users can be added to one or more groups, but groups cannot be added to other groups. However you can duplicate a user and make appropriate changes to the account. Users must have a unique name.
To Add a New User:
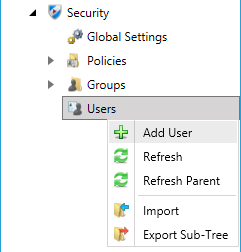
Right-click the Users and select Add User, or select this function from Workbench Home tab.
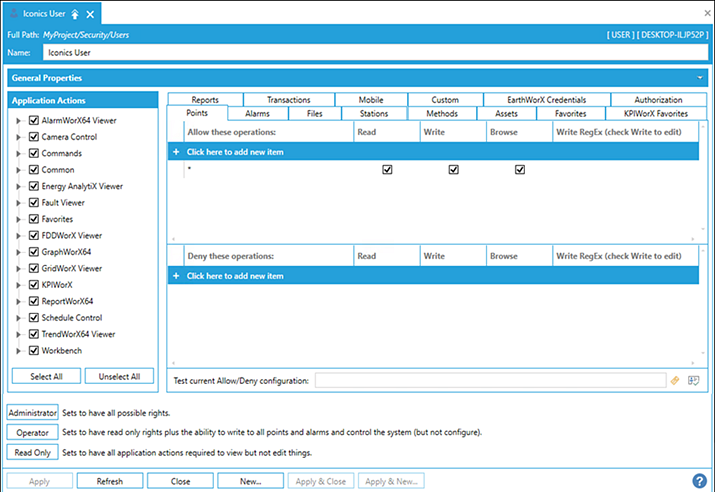
This opens the Users properties in Workbench. ![]() View Image
View Image
The first user you add to security is always the system administrator
with all permissions granted. This prevents the you, as the administrator from being logged
out of the system. Also, as soon as you create this user profile, security
will log you log you out—please log in to
continue.
General Properties
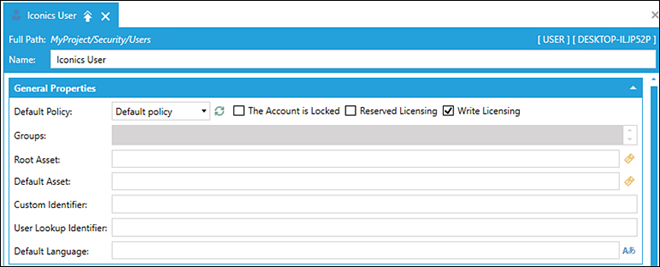
Define the user account Name and password. Next, select the Default Policy to be used for the user. The user's account policy may restrict the password that can be used. For more information, refer to Account Policies.
- Select, by checkbox, whether The Account is Locked, whether the user will use Reserve Licensing, and / or whether the user will use Write Licensing.
- You can provide a Root
Asset in the text entry field, or click on the to open the Data Browser
to navigate to one.
- You can provide a Default
Asset in the text entry field, or click on the to open the Data Browser
to navigate to one.
- You can provide a Custom Identifier for the group, by entering it in the text entry field. Next, enter a User Lookup Identifier in the following text entry field.
- You can set a Default
Language in the text entry field or click on the button to open the Language
Selector window and pick one. When set, when the specified user logs
into the associated application(s), GENESIS64 will automatically switch
the language set in Language Aliasing to the assigned language. This
will prevent users or groups from inadvertently logging in or designing
in an unknown language.
Select the Applications Actions
- Select the the application checkboxes for the user. This sets application access permissions. You can Select All and then the clear the checkboxes that do not apply to the group.
- Complete the security permissions for each tab. See Security Privileges for Users and Groups. Keep in mind that all users who become members of this group will share these privileges.
- For the group, select the appropriate role button for the application settings (Administrator, Operator, or Read Only).
Click Apply to save the new role.
- Under the Groups node, select Membership to add the user to one or more group. When you assign a user to a group, you extend group permissions to the user.
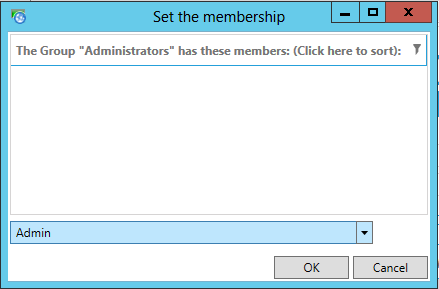
From the Set the membership window (shown below), add the user (in this example, "Admin"). Once selected, click OK.
See Also: