Using Upgrade Utility to Update an Existing Project
The GENESIS Version 11 Upgrade Utility is a migration tool that was designed to facilitate a smooth transition of your GENESIS system from version 10.97.0 and later to version 11. It is also used for migrating configuration file changes when upgrading GENESIS version 11 to its later updates.
The utility is installed together with GENESIS version 11. If you are upgrading from one of the supported GENESIS versions, it automatically opens after you complete the installation and initial system configuration.
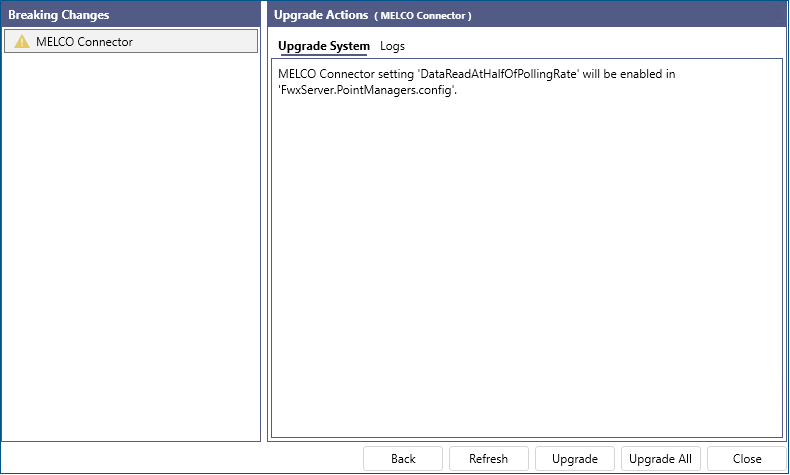
After scanning the system, the application displays the following results:
- List of detected issues (breaking changes).
- List of the required upgrade actions that will be performed after you click the Upgrade button.
To use the Upgrade Utility:
-
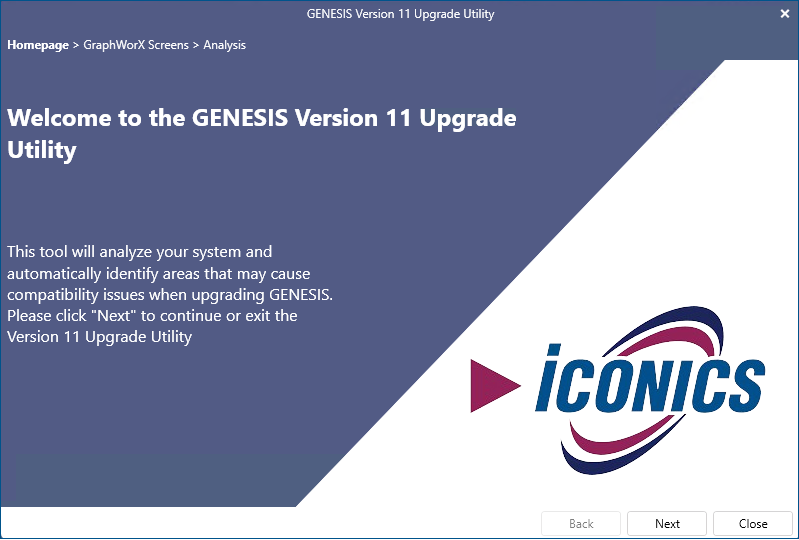
On the application splash screen, click Next.
- In the top section of the next screen, check the path to the installation folder of the previous GENESIS version. To change the default path C:\Program Files\ICONICS\GENESIS64, click
 next to the field.
 -
Select the GraphWorX displays that you want to migrate. Do one of the following:
- In the GraphWorX Screens section, select Click here to add new item, and then click on the right of the new entry to select the desired folder. You can also drag and drop the folder from its location, opened in a file manager.
-
Click the Add multiple directories link next to the GraphWorX Screens heading and select all desired directories stored in the same location using the Ctrl or Shift key.
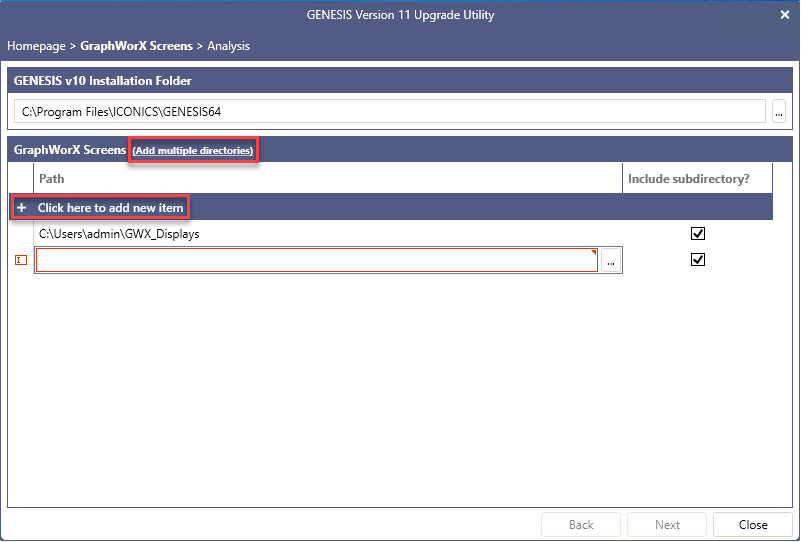
- If you do not want to include the selected folder's subdirectories in the analysis, clear the checkbox in the Include subdirectory? column.
- GraphWorX displays from version 10 and earlier version 11 versions can be opened directly into the latest GENESIS version without needing to use the upgrade utility. However, it is still recommended to use the utility as it will help to detect potential deprecated features or changes to point syntax of dynamics in the display.
- In the GraphWorX Screens section, select Click here to add new item, and then click
- Click Next to start the analysis. When it completes, the results are displayed.
-
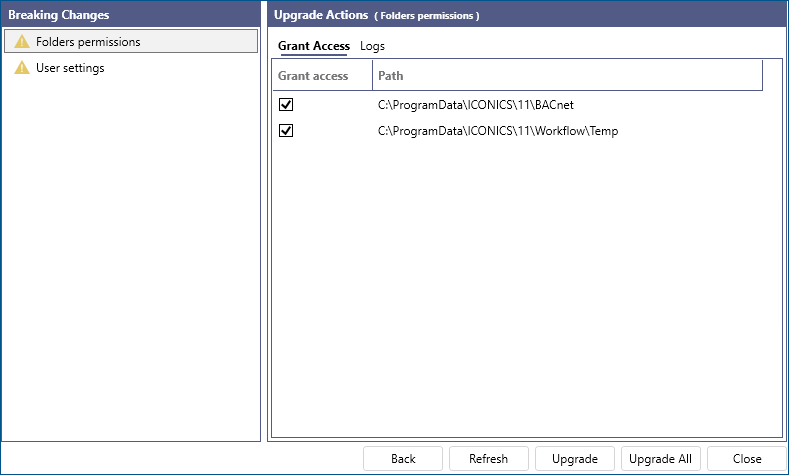
In the Breaking Changes panel, select a feature to view the actions that will be performed in the next step of the upgrade process to make this area compatible. The information in the Upgrade Actions pane may vary depending on the feature.
- In most cases, it is a simple notification of the required action.
- For other upgrade actions, you can exclude some actions by clearing the Grant Access column checkbox next to each action that you do not want to be performed.
-
Click Upgrade to execute the actions for the selected breaking change. To execute the actions for all breaking changes at once, click Upgrade All. The resolved items are indicated by a green checkmark in the Breaking Changes panel.
Click Refresh to remove the upgraded items from the Breaking Changes list. -
After you finish the upgrades, click Close.
What's Next?