Setting Up SQL Server Access
Before you can start fully using GENESIS after installing the new version, you need to set up the connection to the Microsoft SQL Server used for the GENESIS databases and configurations.
To set up the SQL Server access and security:
- Open the Configure System utility, and then click Next to display the SQL Server credentials dialog.
- Select the desired SQL Server from the Use this SQL Server drop-down list.
-
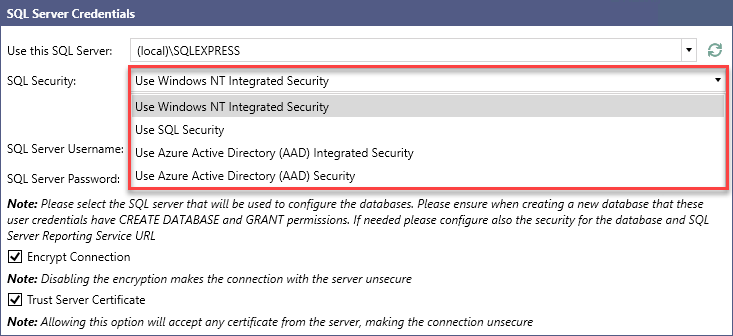
Select the preferred security type from the SQL Security drop-down list.
- Windows NT Integrated Security: Uses the identity of the GENESIS Databases Point Manager service to authenticate to the SQL Server. By default, the service is configured to log in as NT AUTHORITY\NETWORK SERVICE.
- SQL Security: Uses an explicit SQL Server user account. It requires a SQL Server account with the permission to log in to SQL Server and connect to the desired databases.
- Entra ID Security: Uses an explicit Microsoft Entra ID user account. It requires an Azure SQL Server account with permission to log in to Azure SQL and connect to the desired databases.
-
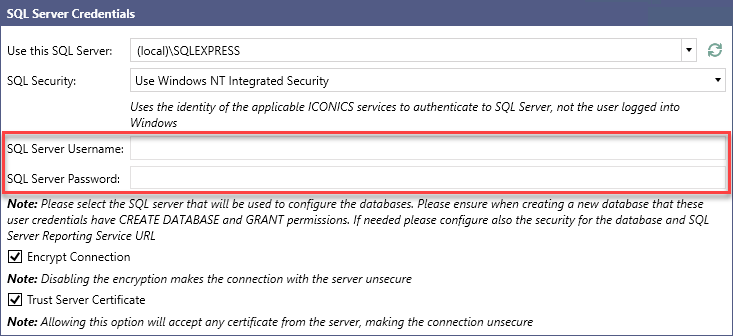
If required by the selected security type, enter the SQL Server account credentials in SQL Server Username and SQL Server Password.
- (Optional) Customize the remaining settings.
If necessary, clear the Encrypt Connection checkbox.
 Disabling encryption makes the connection with the server unsecured, so make sure that you can prevent possible security issues in another way.
 Clear the Trust Server Certificate checkbox if the SQL Server is using a self-signed certificate that has been deployed into your Trusted Root Certification Authorities store. For a secure system, do not select this option. Use a fully signed certificate instead.
If you use Microsoft SQL Management Studio, you must clear the same checkbox on the Login tab in the Connection Security section.
- Click Next to proceed with the database settings. The Configure System utility automatically searches for any existing databases saved on SQL servers in the same network segment. The next dialog varies based on the search results.
-
From the following list, select the option that matches the screen displayed in your Configure System utility, and click Learn more.
-
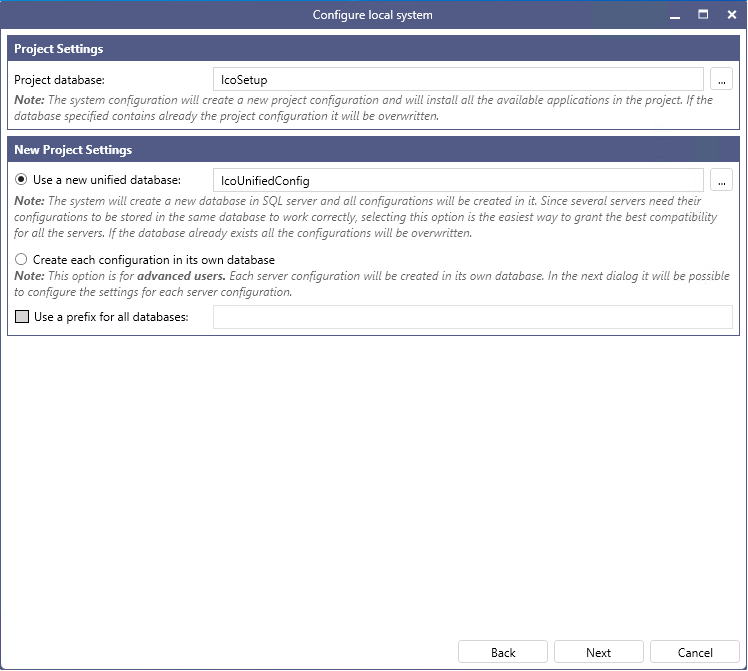
No existing databases were detected, which means that you need to create a new project database and the related configuration database(s). Learn more
-
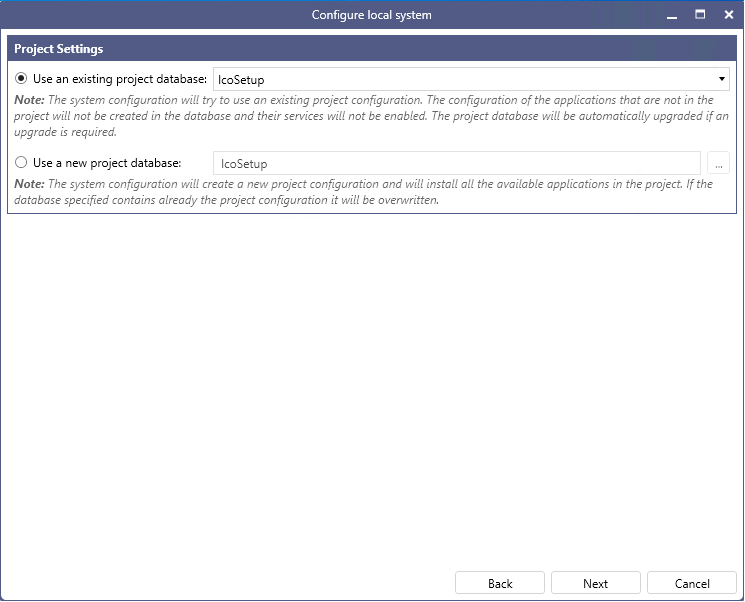
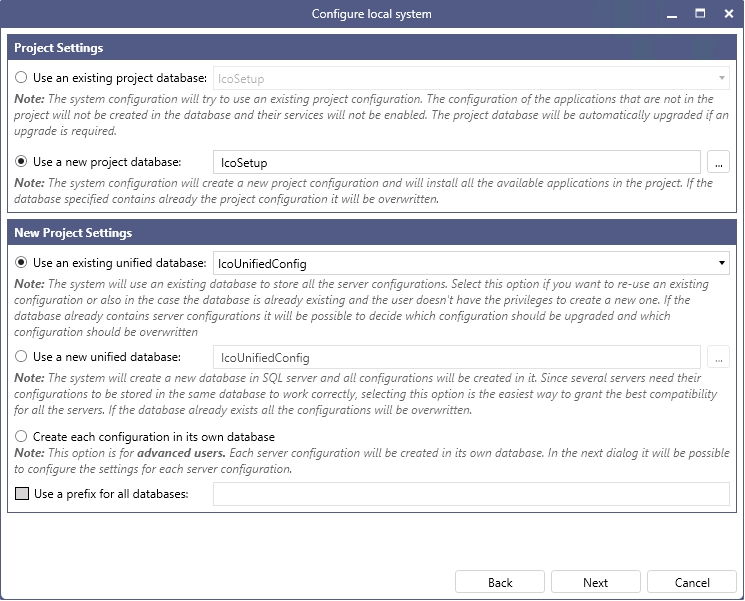
The Configure System utility detected an existing database that you want to use in the new installation. Learn more
-
The Configure System utility detected an existing database, but you selected Use a new project database. Learn more
-