Connecting to an Existing Project Database
After starting the GENESIS Configure System utility and setting up the SQL server options, you need to set up the databases.
If the Configure System utility detects an existing project database that was previously saved on the selected SQL Server, you can use it in your new GENESIS installation. This setting also automatically uses the existing server configurations of all installed GENESIS components that use databases, typically saved in a unified database associated with the selected project database.
To connect to an existing project database:
-
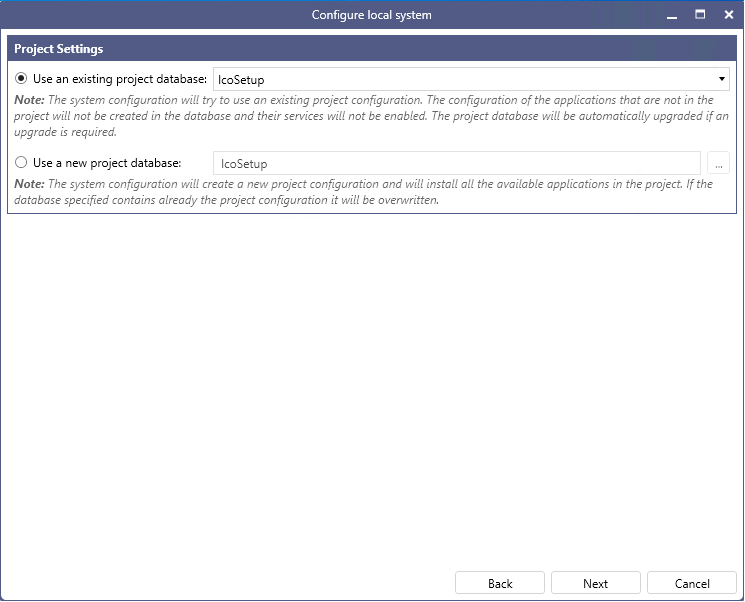
In the Project Settings section of the Configure System utility dialog, make sure that the default option, Use an existing project database, is selected.

- Select the desired database from the drop-down list, and then click Next.
-
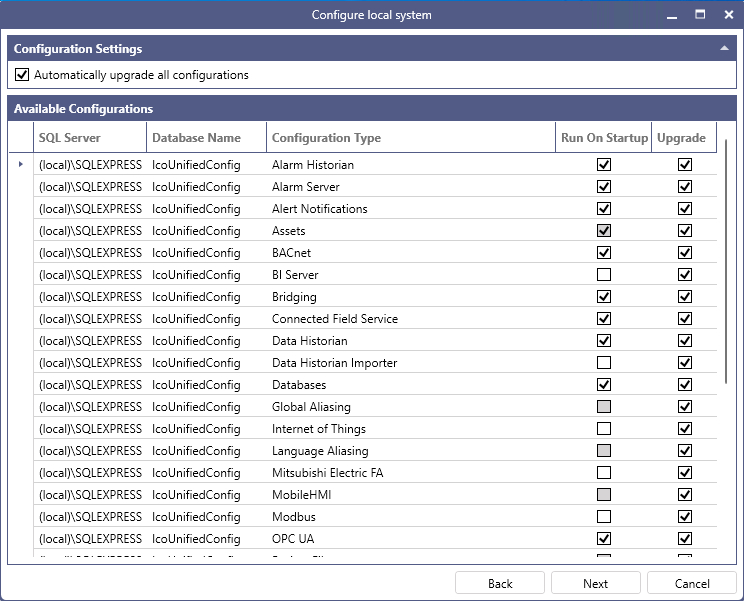
(Optional) Edit the upgrade settings for the server configurations. By default, all configurations are upgraded to ensure data compatibility with the new version.
- For server configurations that you do not want to upgrade, clear the checkboxes in the Upgrade column in the Available Configurations section.
- To prevent upgrading any configurations, clear the Automatically upgrade all configurations checkbox in the Configuration Settings section.

-
In the Run On Startup column, select the checkboxes for services (point managers) that you want to start when Windows starts up, and clear all the other checkboxes. When finished, click Next.
-
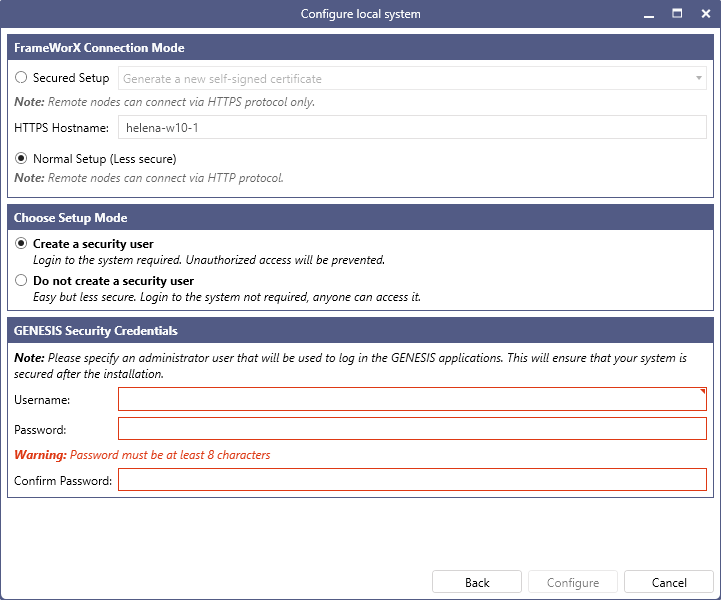
On the next screen in the FrameWorX Connection Mode section, select either Normal Setup (the default option) or Secured Setup.

For Secured Setup, select the desired option in the drop-down list.
-
Generate a new self-signed certificate: A self-signed certificate will be created during the configuration and used to secure the connection.
-
Select an installed certificate: In the Certificate text box that appears, select an existing certificate from the drop-down list.

The HTTPS Hostname field displays the Fully Qualified Name specified in the selected certificate. -
-
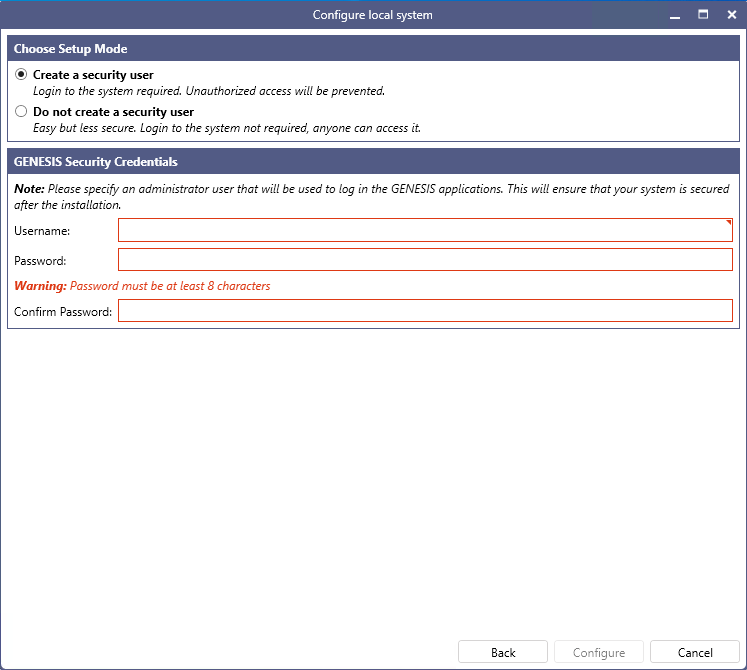
In the Choose Setup Mode section, select one of the following options.
-
Select Create a security user to create a user account with administrator privileges that will be required to log in to Workbench and make changes to the system. In the GENESIS Security Credentials section, specify the Username and Password.
You can find the account in Workbench in Project Explorer under Security > Users. -
Select Do not create a security user to allow anyone to access Workbench and make changes to the GENESIS configuration.
Choosing not to create a security user will trigger a popup to confirm this choice, as the result will be an installed GENESIS application without security protections.

-
- Click Configure to begin the configuration process. When successfully completed, the window automatically closes.If you have selected Normal Setup in the FrameWorX Connection Mode section, a message appears. Click Yes to confirm the action.
What's Next?
- If you are configuring a new installation of GENESIS: Activating a License
- If you are upgrading GENESIS from version 10.97 to version 11: Using Upgrade Utility to Update an Existing Project