Modifying and Repairing the GENESIS Installation
After installing GENESIS, you can use the installation file, GENESIS_Setup.exe, to perform the following tasks.
-
Modify the installation
You can install additional GENESIS components and/or remove components from the current installation.
-
Repair the installation
You can repair errors in the current installation, such as missing or corrupted files, shortcuts, or registry entries.
-
Remove the installation
To remove GENESIS, follow the standard uninstallation procedure.
To uninstall GENESIS in silent mode, open the Windows command prompt and run the following command:
GENESIS_Setup.exe /uninstall /norestart /s
To repair or modify your current GENESIS installation:
-
Open the installation .iso file or DVD and double-click GENESIS_Setup.exe. The Modify, Repair, or Remove Installation screen opens.
Click Toggle Theme at the top right to switch to the dark theme.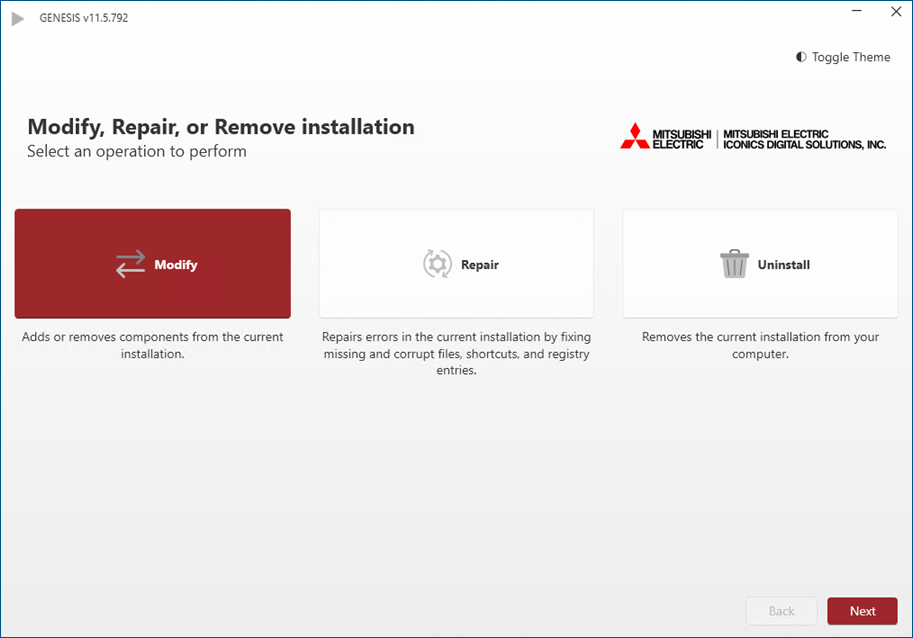
-
To modify or repair your installation, do one of the following:
- Select Modify and click Next. On the next screen, select the components that you want to add to your installation, and clear the checkboxes for components that you want to remove. When finished, click Modify to start the modification process.
-
Select Repair and click Next to start the repair process.
To repair the installation in silent mode, open the Windows command prompt and run the following command:GENESIS_Setup.exe /repair /norestart /s
-
When the success screen appears, click Launch to begin the system configuration.
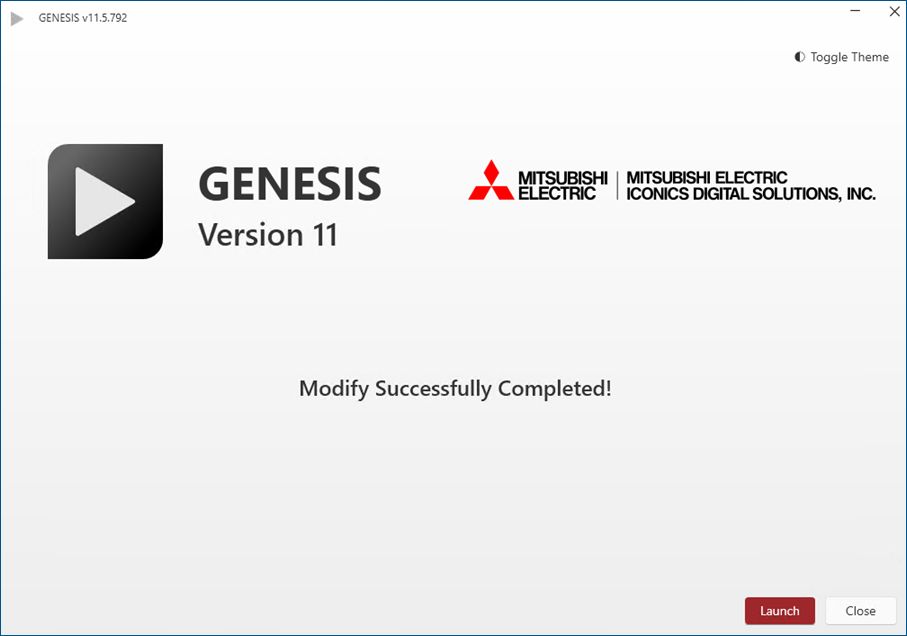
In case the configuration does not need updating, the Launch button opens Workbench if it is part of the current setup.