Setting Up Simulation for a GX Works3 Project
In GENESIS, you can use Mitsubishi Electric Factory Automation devices in simulation mode. This topic describes how to use a GX Works3 project for MELSEC PLC FX5U models. However, these instructions work with any supported device where simulation is allowed, and it is a convenient way to quickly test the ladder program of a PLC with a Workbench project.
To set up simulation in a GX Works3 project:
-
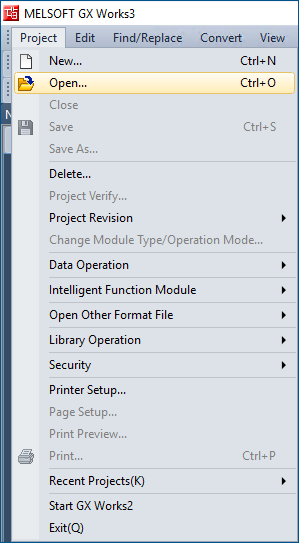
In GX Works3, open a project.
-
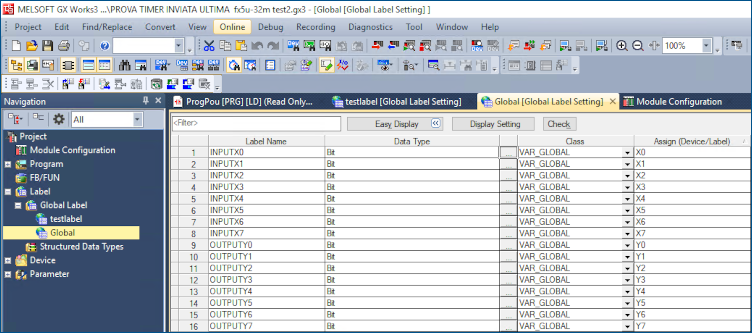
Check the imported tags.
-
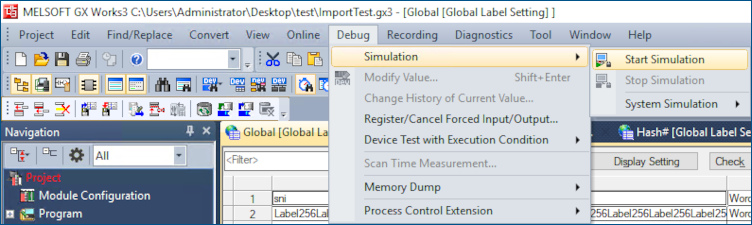
Click Debug, right-click Simulation, and then select Start Simulation. The GX Simulator3 and Write to PLC windows open simultaneously.
-
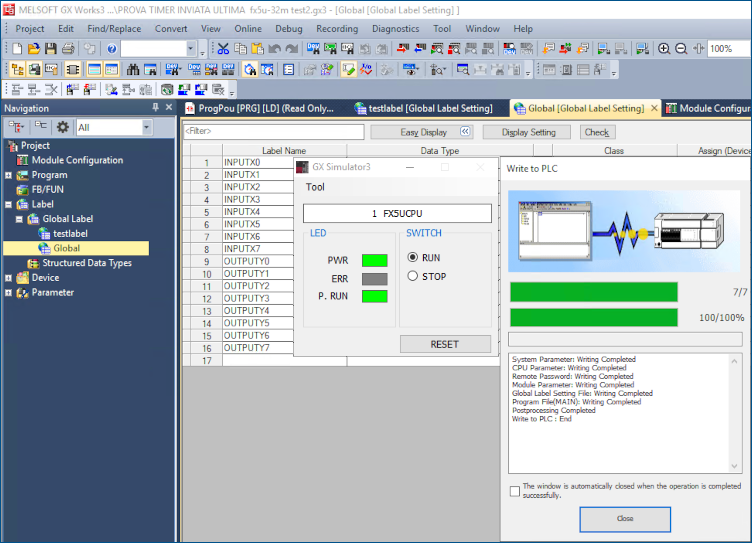
In the GX Simulator3 window, if ERR is red, select STOP, select RUN again, and then click RESET to reset the simulator and complete the GX Works3 configuration.
-
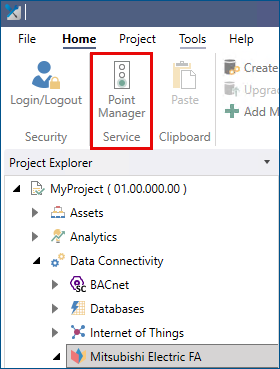
Open Workbench, expand <Your Project> > Data Connectivity > Mitsubishi Electric FA, and check that the Point Manager icon on the ribbon is green. If it is red, click the icon to start the GENESIS Mitsubishi Electric FA Point Manager service.
- Right-click Mitsubishi Electric FA, and select Add MELSEC.
-
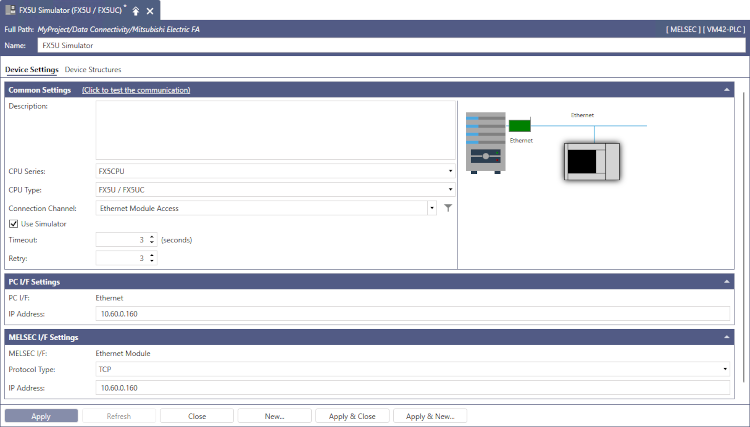
In the FX5U Simulator window, specify the PLC model (see Supported Devices), select Use Simulator, and configure the IP address to your local IP address.
-
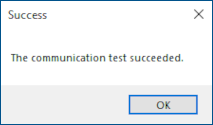
To check the connection between Workbench and the GX Works3 simulator, select Click to test the communication. A message indicating the status of the test is displayed. If the test completes successfully, the GX Works3 simulation is ready for use.
What's Next?
- Enable your PLC—To learn how, see Activating a Mitsubishi FA device - Overview.
- Import GX Works3 tags—To learn how, see Importing GX Works3 Global Labels and Structures.