Creating an Equipment Class
Equipment classes act as reusable templates for similar types of equipment or assets that can be easily instantiated to reduce repetitive configuration efforts. Learn more
To create an equipment class to be used as a template:
-
Open Workbench and in Project Explorer, expand your project > Assets > Equipment classes, right-click the desired equipment class (folder), and select Add Equipment class. This opens the Equipment Class dialog.
-
In Equipment class Name, enter a name to identify the type of equipment node that this equipment class is designed to create. It will be used as the name of any equipment that is created from this equipment class.
Alternatively, you can enter an alias, such as /?Multi Story Building NAME?/. When you then create an equipment node, you will be prompted to replace the name. For more details, refer to Using Aliases in an Equipment Class.
-
Complete the General tab settings, and then click Apply. These settings are identical to the equipment configuration dialog. Learn more
You can use aliases instead of fixed values in most settings. Click
 , enter the alias to the Parameter field, and click OK.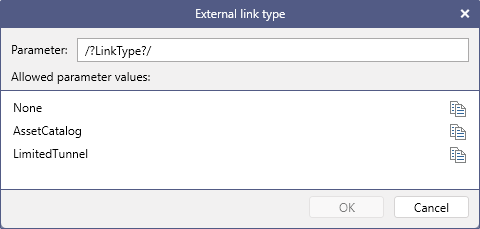
-
(Optional) On the Commands tab, add commands to the equipment's runtime menu (available through right-clicking an equipment node at runtime).
-
In the left panel, click Add to display the command settings form on the right.
-
In Command, select one of the pre-configured commands from the drop-down list, and then complete the settings for the selected command.
-
Repeat for each command (runtime menu item), and then click Apply.
For detailed information about how to use this tab to create runtime menus, refer to the Using Commands in Assets.
-
-
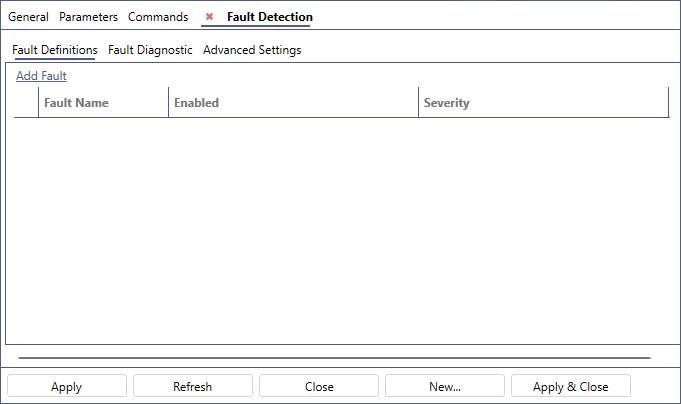
Click the + tab to display a drop-down list of all installed components and select the component whose information you want to configure for the equipment class. This adds a tab for the selected component; for example, Fault Detection. Learn more about extensions in assets
-
Return to the + tab as many times as you need to configure information for additional components. When finished, click Apply.