Global Variables
To Create a New Global Variable:
-
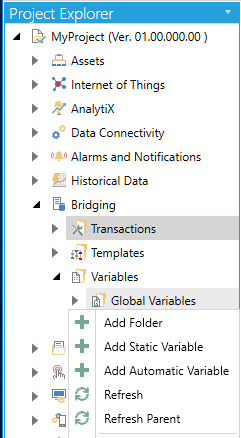
Open the Workbench and expand your project, then the Bridging node, then the Variables node. Right-click on the Global Variables node. You will have the option of creating either a Static Variable or an Automatic Variable, as shown below. You could also choose to create a separate variable folder at this point.
Adding a Global Variable from the Project Explorer in the Workbench
-OR-
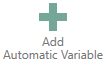
Select the Global Variables node, then click on either the Add Static Variable or Add Automatic Variable button, shown below, in the Edit section of the Home ribbon in the Workbench.
Add Static Variable Button

Add Automatic Variable Button
Static Variable
-
This opens the Static Variable properties, shown below. Enter a name in the Static Variable Name text entry field.
Static Variable Properties
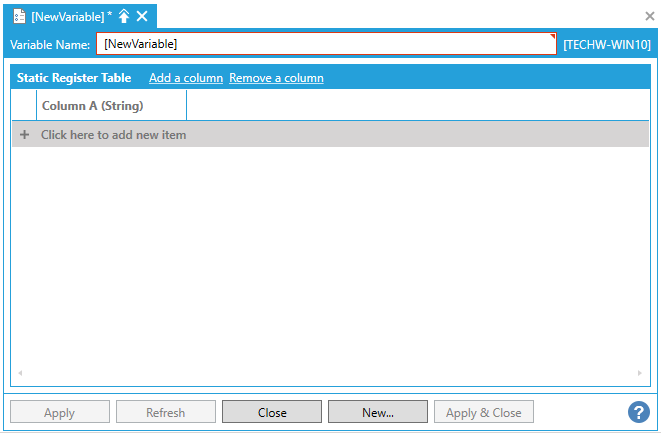
Static Register Table
-
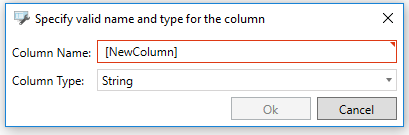
Add a column - Clicking this link brings up the "Specify valid name and type for the column" window, shown below, where you can enter a Column Name in the text entry field and select a Column Type via the pulldown menu. Available Column Types include Boolean, Byte, Char, Double, DWord, Float, Integer, DateTime, Short, String, and Word. Once you complete this form and click on Ok, your new column will be added to the Static Register Table.
Specify valid name and type for the column Window
-
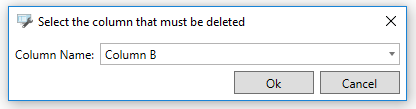
Remove a column - Clicking this link brings up the "Select the column that must be deleted" window, shown below, where you can select the column to be removed via the Column Name pulldown menu. Click Okto return to the Static Register Table.
-
+ Click here to add new item - Once you have added your desired columns, clicking this link allows you to enter the required information for each previously entered column.
Right-clicking on a column provides multiple options including adding a new column, creating a copy, renaming, removing, increasing/decreasing its index.
Right-click Column Options

Automatic Variable
Selecting "Automatic Variable" opens the Automatic Variable properties, shown below. Enter a name in the Automatic Variable Name text entry field.
Automatic Variable Properties
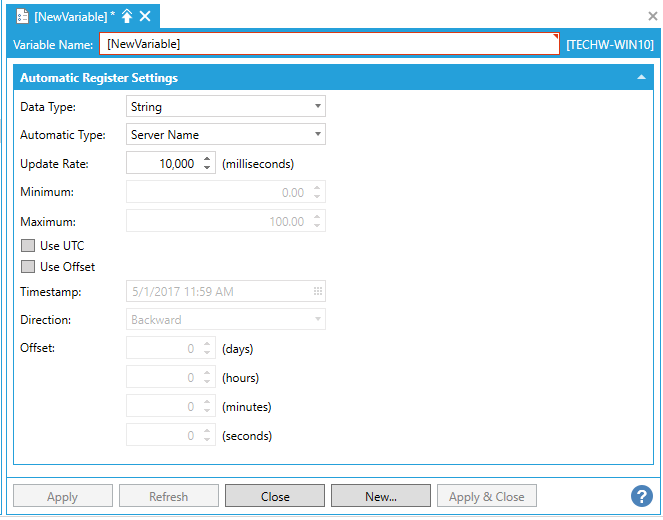
Automatic Register Settings
-
Data Type - Use the pulldown menu to select from Boolean, Byte, Char, Double, DWord, Float, Integer, DateTime, Short, String, or Word. Some of the following settings will be inactive based on your selection.
-
Automatic Type - Use the pulldown menu to select the automatic type. The options change according to your selected Data Type:
-
Boolean - Auto Increment or Random Number
-
Byte - Auto Increment or Random Number
-
Char - Auto Increment or Random Number
-
Double - Auto Increment or Random Number
-
DWord - Auto Increment or Random Number
-
Float - Auto Increment or Random Number
-
Integer - Auto Increment or Random Number
-
DateTime - First Day of Current Month, First Day of Current Week, First Day of Last Month, First Day of Last Week, Last Day of Current Month, Last Day of Current Week, Last Day of Last Month, Last Day of Last Week, Ending Shift, Starting Shift, Timestamp or Today
-
Short - Auto Increment or Random Number
-
String - Server Name
-
Word - Auto Increment or Random Number
-
Update Rate - Enter the rate (in milliseconds) in the text entry field or use the up/down arrows.
-
Minimum - Enter a minimum in the text entry field or use the up/down arrows.
-
Maximum - Enter a maximum in the text entry field or use the up/down arrows.
-
Use UTC - Click this checkbox to use Universal Time Code
-
Use Offset - Click this checkbox to use a time offset.
-
Timestamp - (Used with DateTime and Timestamp) Enter a date and time or click on the
 button to open the date/time picker.
 -
Direction - (Used with DateTime and Use Offset) Use the pulldown menu to select from Backward or Forward.
-
Offset- (Used with DateTime and Use Offset) Enter the days/hours/minutes/seconds to offset in the respective text entry fields (or use the up/down arrows).
-
You can click Apply to save your Global Variable (Static or Automatic) properties and Close to return to the Workbench. Your new Global Variable will now appear in the Project Explorer, beneath the Global Variables node.
See Also: