Importing Configuration Data
You can import a file even in a branch of the hierarchical tree. If the import file contains relative paths, it will affect the branch where it’s imported. If the import file contains absolute paths, then it’s like importing it from the root.
To import configuration data:
-
Open Workbench and go to Project Explorer.
-
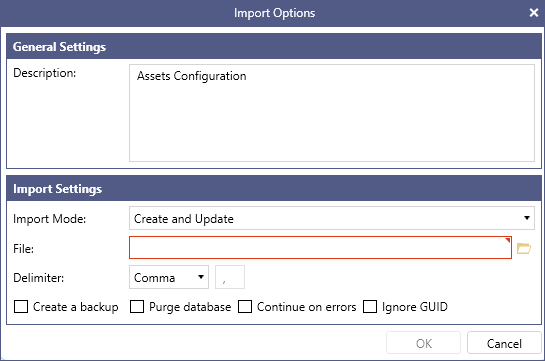
Right-click a component and select Import. The Import Options window is displayed.
-
Complete the following fields, and then click OK. A background task is triggered.
Field
Description
Description
This description appears in the generated task description.
Import Mode
Select one of the following options:
- Only create new items—Create configuration entries only for the items that do not exist in the current configuration.
- Only update old items—Update configuration entries only for the items that already exist in the current configuration.
- Create and update—Create new entries and update existing configuration entries (recommended).
- Delete—Delete all the entities that match the content of the imported file.File
The path to the CSV, Excel, or XML file that you are importing.
Delimiter
(CSV files only) Specify the character that defines the field separator. Select one of the following options—Comma (,), Tab (\t), or Other.
When selecting Other, you must specify a single-digit character to use as the field separator. Common choices include a semicolon (;) or a pipe (|).Create a backup
Creates a database backup where the SQL Server instance is configured.
Purge database
Fully clears the configuration. All the configurations for that selected component are cleared, including the sample data.
Continue on errors
Allows the import to continue even when the operation fails to import one or more entities.
Ignore GUID
Some components like Assets, BACnet, Data Historian, Internet of Things (IoT), and Reports allow you to ignore a GUID when exporting from and importing into another GENESIS environment would wrongly override the local GUID configuration.
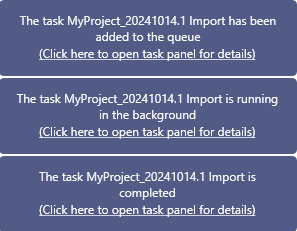
The task reads all the configurations from the import file and updates the database accordingly. As the task runs, notifications are displayed.
To import or export the configuration of an entire project, use a different set of import/export tools—Pack Project and Unpack Project. Learn More