Testing the REST API Using Postman
Web API provides most of its function through a REST API that integrates with third-party services. This topic explains how to use the test utility, Postman to call these REST APIs.
These are the prerequisites to test REST APIs with Postman:
- Web API service is running
- Simulator Point Manager is running
- Postman is installed
- Optional: IIS is running as a reverse proxy
- Optional: IIS is using self-signed certificates or certificates from a verified certificate authority
To test Web API via Postman:
-
Start the Web API service and confirm basic Swagger functionality by following the steps in How to get detailed API documentation of the calls.
-
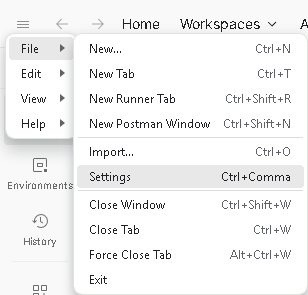
In Postman, go to File > Settings.
-
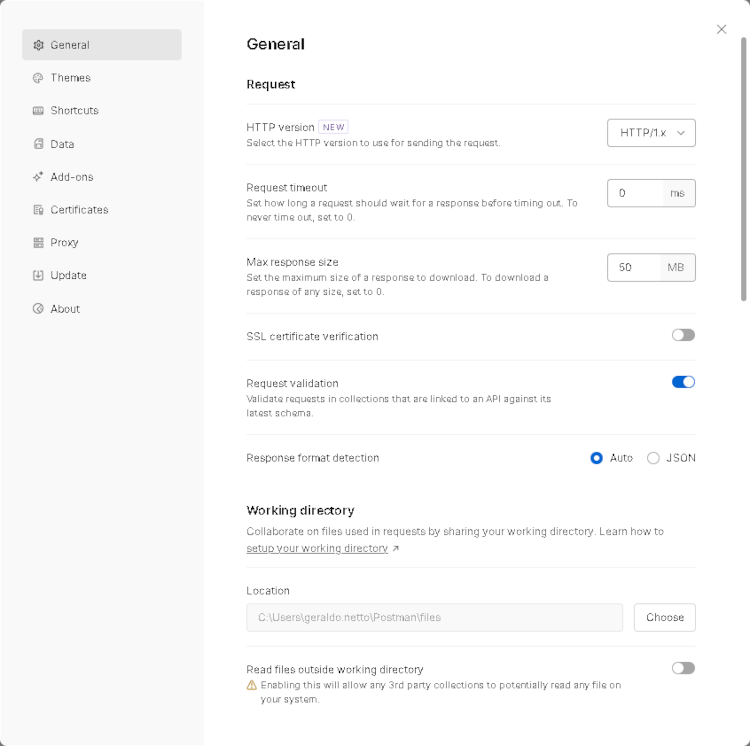
If you are using the default self-signed certificate, disable SSL certificate verification.
-
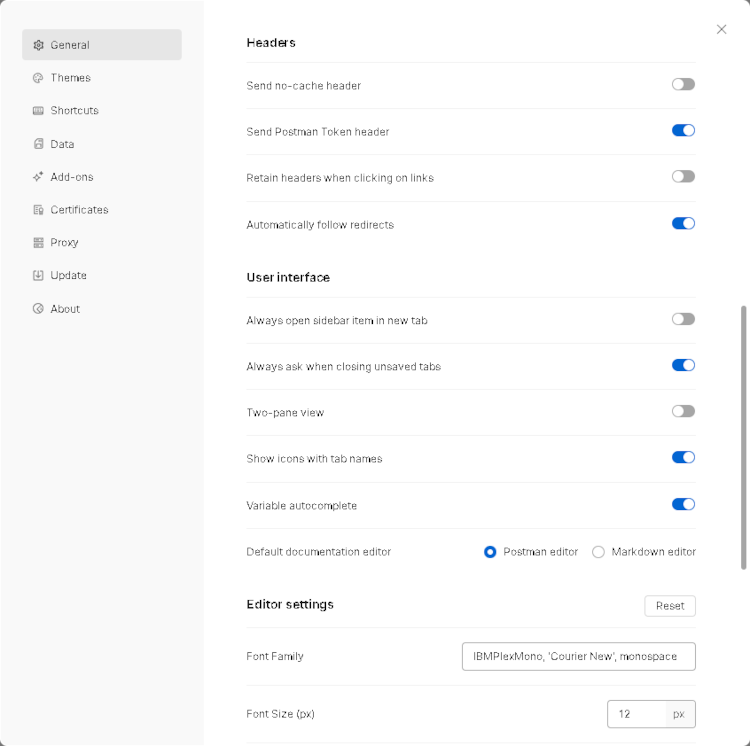
Enable Send Postman Token header and Automatically follow redirects.
-
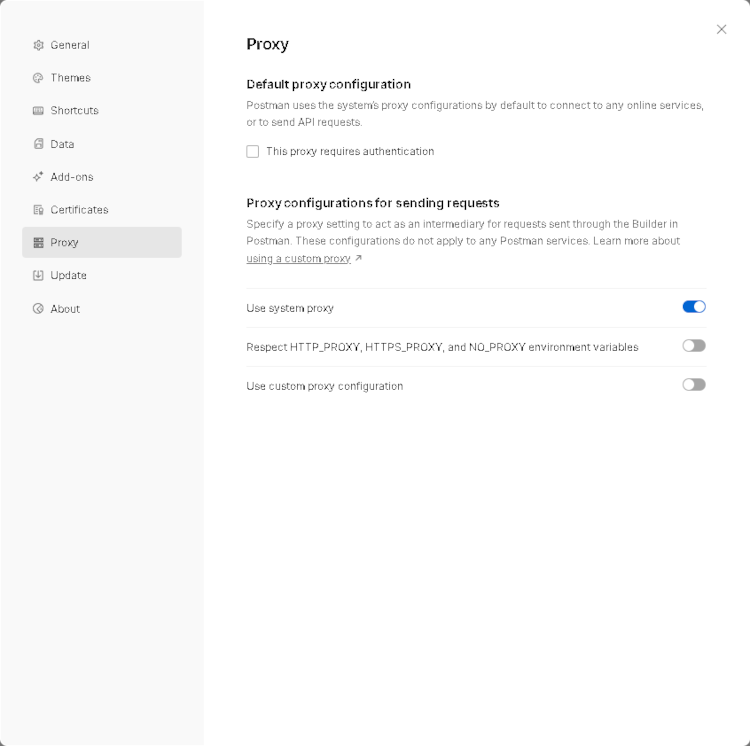
Check that your Proxy settings are appropriate for your server. In most cases, you should enable Use system proxy.
-
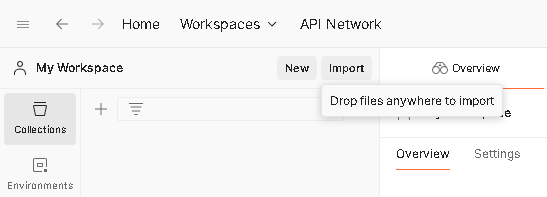
Select Import to read all REST APIs from Swagger.
-
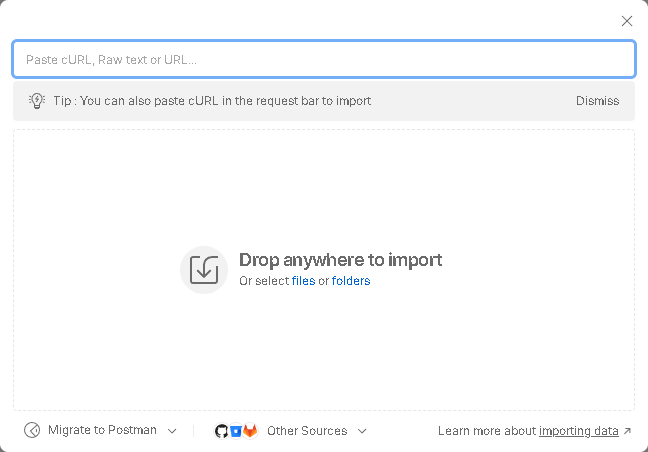
In the text field, enter this url: https://your host name/fwxapi/swagger/v1/swagger.json
- For HTTPS to work, you need either a self-signed certificate or a certificate from a verified certificate authority
- When using certificates, you need to use the exact host name or IP address provided by the certificate, not localhost.
-
Select Import.
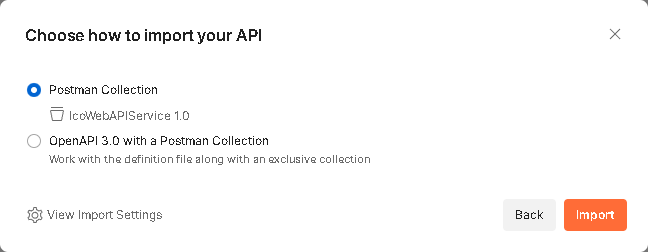
When the import is finished, Postman will create a tree with all imported REST APIs.
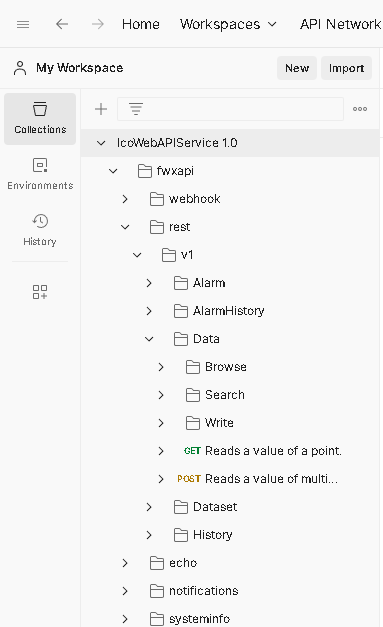
-
Set the default variable baseUrl to https://hostname which will be used across all REST APIs.

-
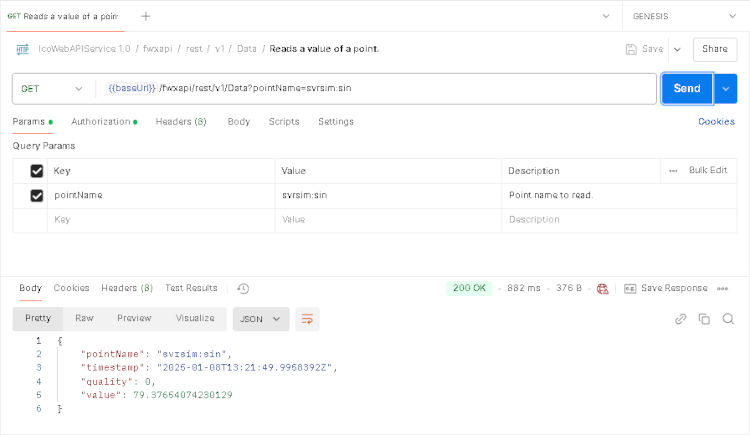
Go to the Collections tab, expand IcoWeb APIService 1.0 > fwxapi > rest > v1 > Data, and double-click GET Reads a value of a point. Set the pointName parameter to svrsim:sin.
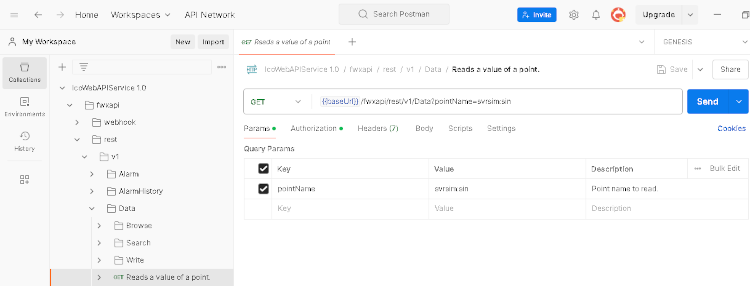
-
Go to the Authorization tab and set the following values:
- Token name: any identifying name, for this example: Web API Token
- Grant Type: set to Authorization Code (with PKCE)
- Callback url: http://localhost
- Auth url: https://your hostname/fwxserverweb/security/connect/authorize
- Access Token url: https://your hostname/fwxserverweb/security/connect/token
- Client ID: in_house_client
- Code Challenge Method: SHA-256
- Scope: fwxserver
- Client Authentication: Send as Basic Auth Header
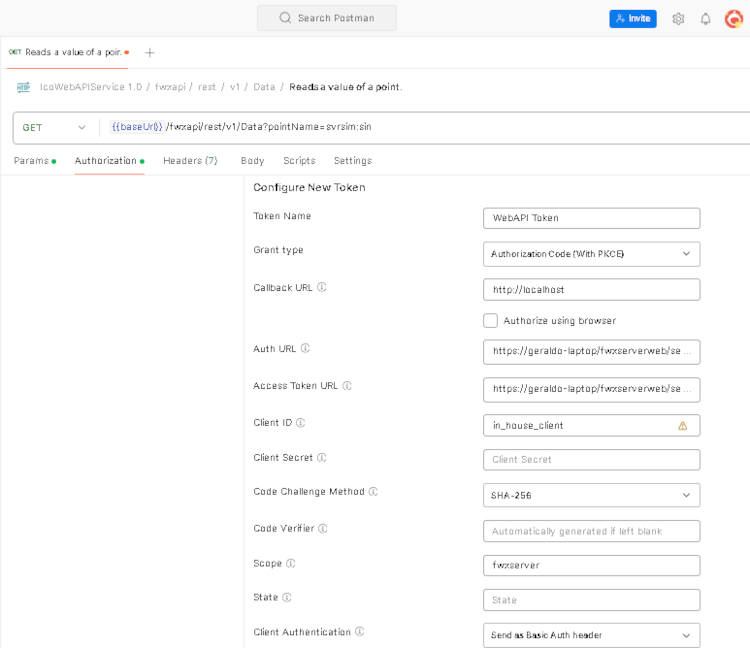
-
Select Get New Access Token. Sign in with your administrator account from GENESIS security.
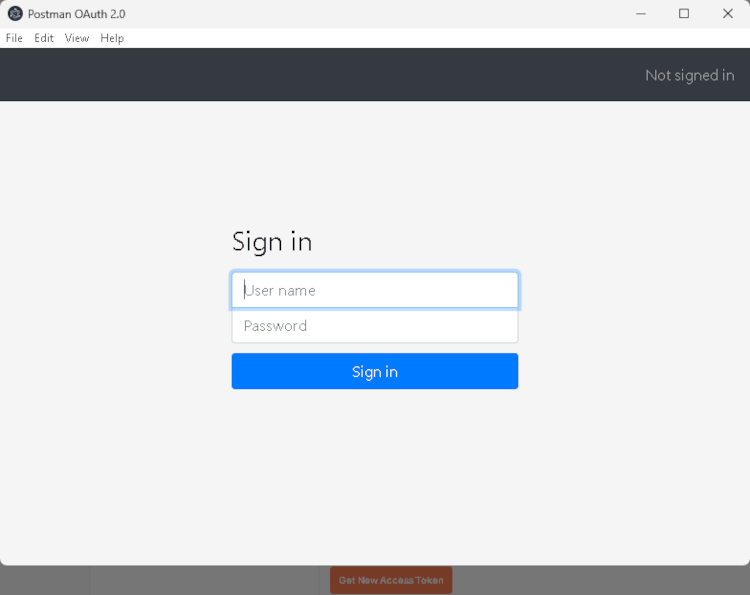
-
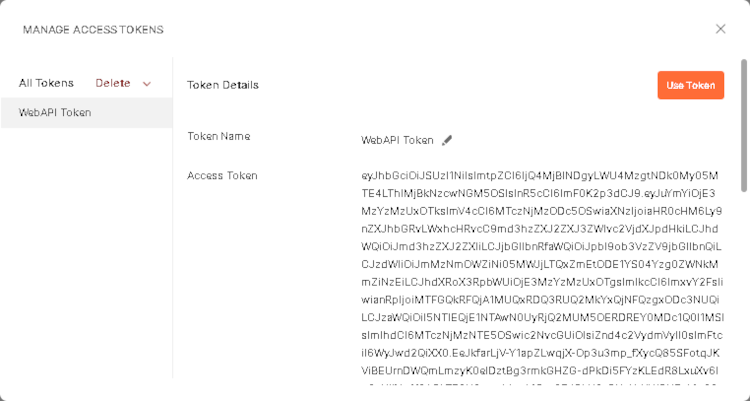
If the authentication was successful, Postman will display the token details. Select Use Token.
 Do not share the access token text! It can be used to authenticate with your administrator credentials.
-
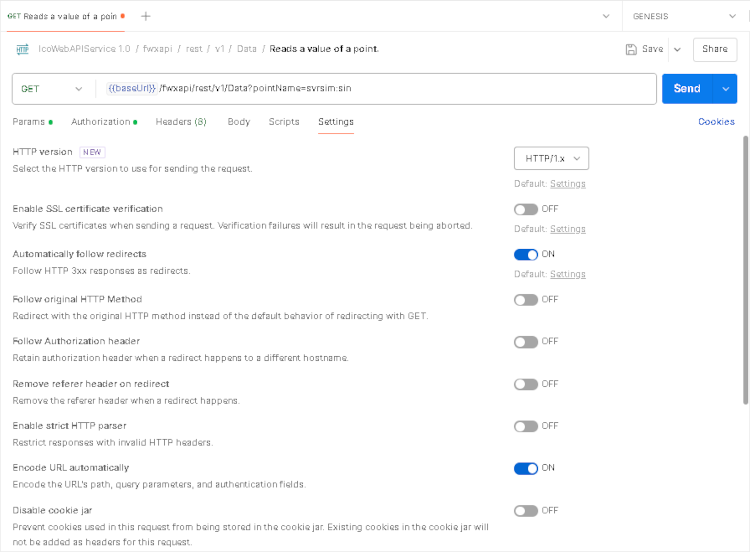
Go to the Settings tab and set the following:
- HTTP version: HTTP/1.x
- Enable Automatically follow redirects
- Enable Encode URL automatically
-
Select Send and check the response panel. It should show an HTTP status of: 200 OK
