Creating a Calculated Tag
In Data Historian, you can create calculated tags, which are virtual data points that perform computations on historical data from one or more source tags, storing the calculated results in the Data Historian database. It allows you to process raw data without the need to perform calculations in external systems or applications, and use the calculated tags in dashboards, reports, or further calculations.
To configure a calculated tag:
-
Open Workbench and in the Project Explorer panel, expand your project > Historical Data > Data Historian.
-
Right-click Logged Data and select Add Calculated Tag to open the tag configuration settings.
-
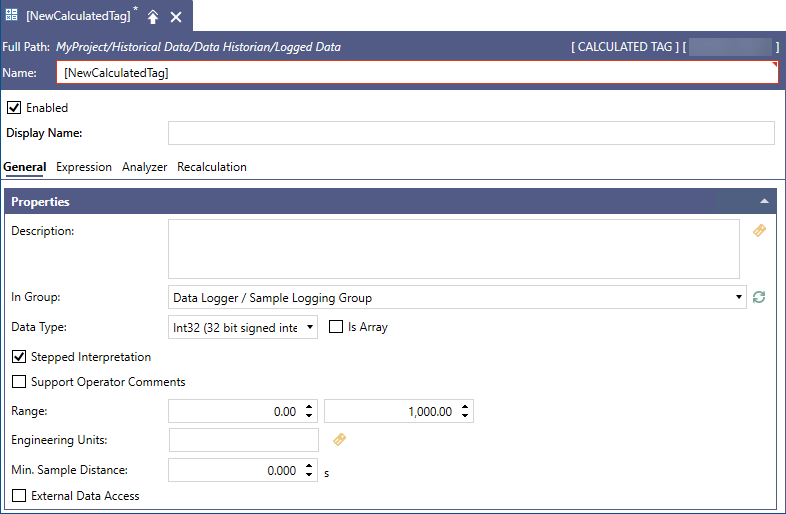
Enter the tag's name and, optionally, a display name. Keep the Enable checkbox selected to activate the calculated tag once it is created.
-
In the Properties section, specify the logging location in the In Group dropdown and set standard tag metadata, such as Data Type, Range, and Engineering Units. Complete the remaining settings as desired.
Setting
Description
In Group
Select the group in which the tag should appear within the configuration database. Click
 to load the current list of groups.
In Group
Select the group in which the tag should appear within the configuration database. Click
to load the current list of groups.Data Type
Select the desired type of the values (Native, Boolean, a floating point number, a signed or unsigned integer, String, Duration, or DateTime).
Is Array
Select the checkbox if the data type is an array.
Stepped Interpretation
When enabled, it is used primarily during playback for interpreting the tag’s data values. This feature is applied only if you request a value for a certain point of time (in the Log to Disk option on the Logging Options tab). The returned value is the nearest older value available.
In general, select the checkbox if the data comes from a discrete signal, such as an on/off switch (or a Boolean data type). If the data comes from a sine wave or analog signal, leave the box cleared.
Support Operator Comments
Select to allow operators to comment on the signal in displays.
You may want to enable annotating the tag’s data values when displaying it in Trend Viewer. For example, you may want to note an operator action that slightly altered the data, or highlight a piece of data for later analysis. The annotations are saved with the tag’s data in its logger file, which makes them available in a replay, accessible to the Data Historian SQL Server Interface, and archived with the tag’s data.
Min. Sample Distance
Specify the minimum time interval between calculated samples. This setting is used to limit the number of logged samples for triggers with frequent or unpredictable execution times, such as data change-based triggers.
-
In the Triggers section, select Click here to add new item, and then click
 to browse for available triggers.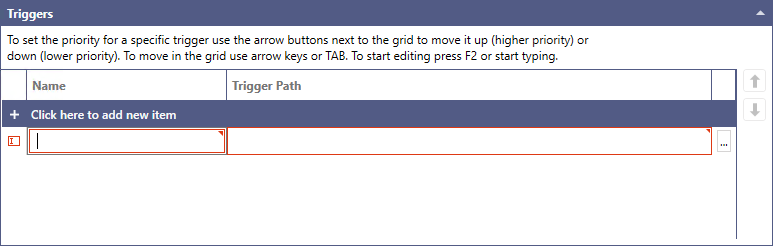
-
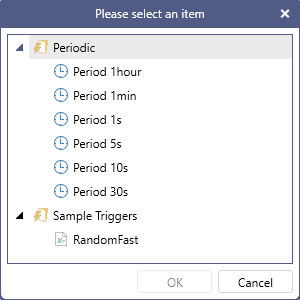
Select the desired trigger and click OK. You can add multiple triggers that activate the calculation.
You can add multiple triggers that activate the calculation. Use the up and down arrow buttons on the right to sequence the triggers in the list. The sequence becomes important when two triggers execute at the same time; the trigger that is higher in the list will execute first.
-
When finished, switch to the Expression tab and enter the formula for processing the data. Use the buttons on the right to add built-in operators and functions to the expression. Learn more
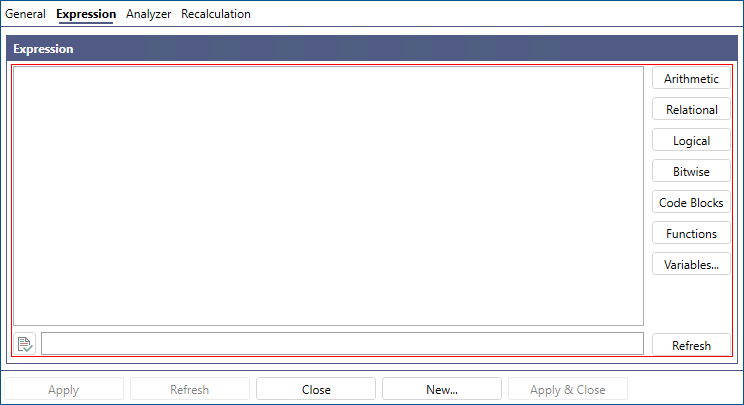
The expression should include the following:
-
The tag or tags whose data is to be used as input to the calculation. This can include values from Data Historian tags and signals, as well as values from other calculated tags. Click Variables to select any tag in the Data Historian tree structure.
-
The historical time frame from which data is to be taken. The time frame should be relative to the execution date and time determined by the triggers. Do not hard code dates into the expression unless you always want those exact dates to be used for the calculation.
-
Any additional selection criteria to be used.
-
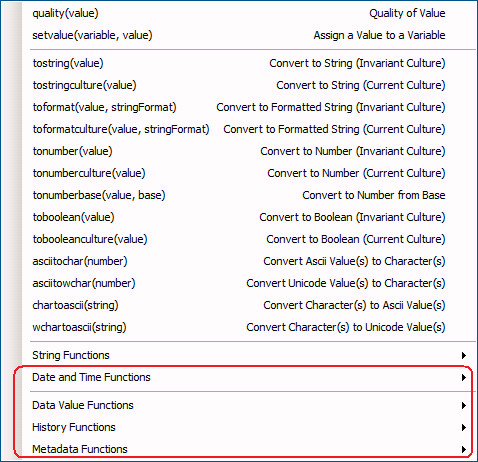
The calculation to be performed. Select Arithmetic, Relational, Logical, Bitwise, or Functions on the right to incorporate syntactically correct elements into the calculation. The Functions section contains a number of functions that are specific to the calculated tag logic. Learn more
-
-
Click
 below the expression editor to verify the logical syntax. If it returns "No errors," click Apply. To activate the calculated tag, start the Data Historian service by clicking the Logger semaphore on the Home ribbon.