Editing Database Data Using a Data Entry
You can use a Data Entry control in GraphWorX to edit the value of existing cells in a writable Data Source. The Data Source must have an UPDATE Command configured to enable this operation. For more information, refer to Create writable Data Source.
To edit database data using a Data Entry:
-
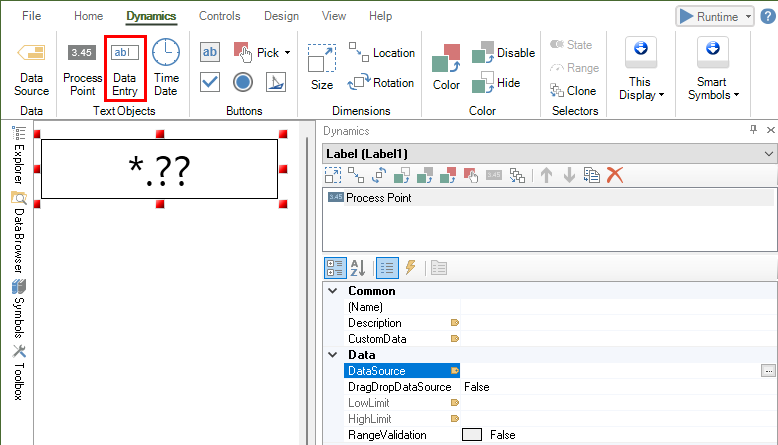
Open GraphWorX. From the Dynamics ribbon, select Data Entry, and then click in the canvas and drag the rectangle to add and size the control. The Data Entry is added to the screen, and the Data Source box is selected in the Property Grid.
-
Click on the three dots button in the Data Source box to launch the Data Browser. Browse the Data Source you want to edit, expand Columns and select the column you want to edit. Select OK to confirm your choice.
To follow the example, navigate to the PartsDetails_Daily Data Source and select BadParts under Columns.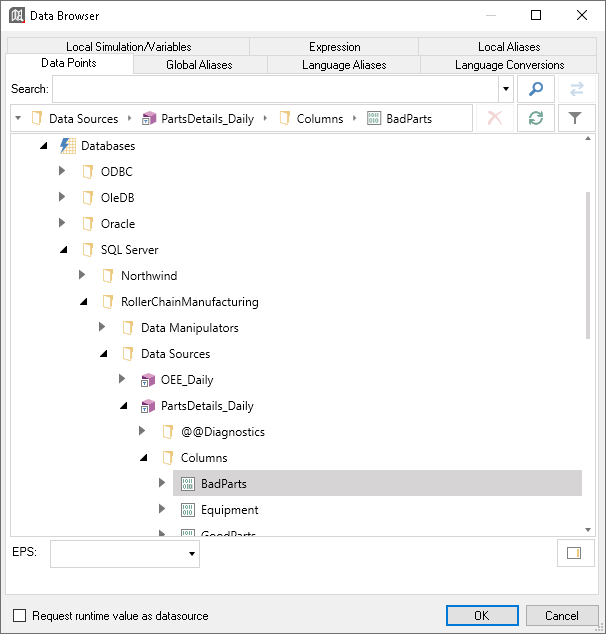
-
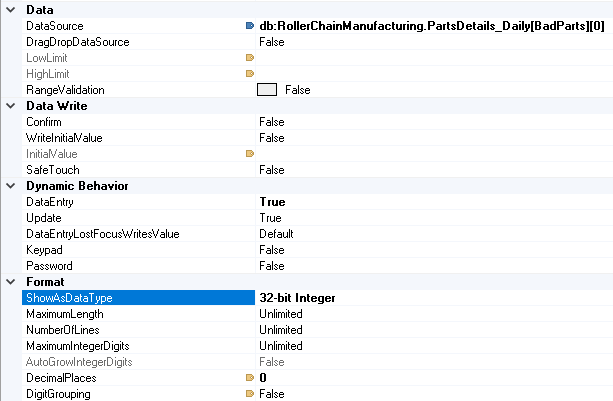
Notice how the tag name in the Data Source box references the BadParts column and the first row (row at index 0) in the Data Source with indexers in square brackets.
db:RollerChainManufacturing.PartsDetails_Daily[BadParts][0]To modify the data in a different row, enter the index of the row between the second indexer's square brackets. -
Since the data to modify is an integer, under Format change ShowAsDataType to 32-bit Integer and DecimalPlaces to 0.
-
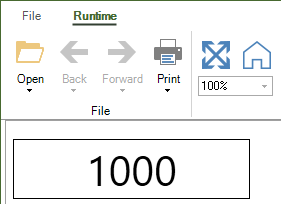
Click Runtime in the upper right corner of GraphWorX, or use the key combination CTRL+M, to start runtime mode. The data from the selected column and row is displayed in the Data Entry.
-
Select the Data Entry to enter edit mode. Modify the value and press ENTER on the keyboard. The value is written to the database, and a success message is displayed in the GraphWorX status bar.