Creating a Bridging Transaction
A Bridging transaction pairs a workflow diagram with settings that control how and when that workflow runs. To create a transaction, add and configure the following parts: add the Transaction, which holds the settings, and design the Template, which holds the activity blocks.
Before you begin, make sure that your project has a transaction configuration node under Bridging > Transactions. The transaction configuration holds the settings that apply to every transaction stored within it, such as the scheduling mode, the number of threads, the logging database, and the temporary directory. Learn more
By default, the Sample Configuration node is created with the GENESIS installation. You can edit and rename the default configuration or add a new one by right-clicking Transactions and selecting Add Configuration. However, only one configuration per project can be active. To select the configuration to be used, select the Active Configuration checkbox in the Generic Properties section of its settings.
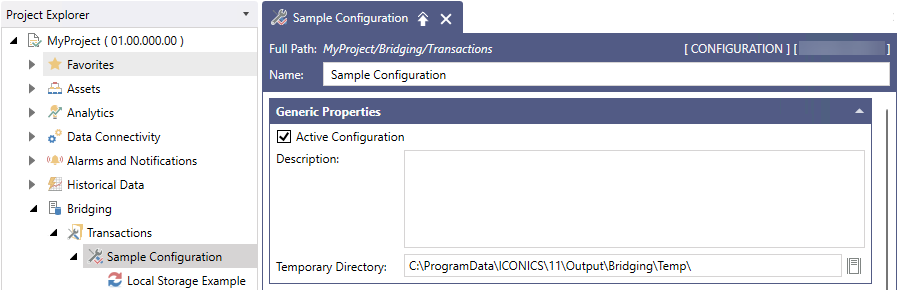
Once the configuration is set up, you can add individual Bridging transactions to it.
The following procedure uses a scenario in which you record the current values of a group of tags into a .csv file. The activities and data sources are only an example—substitute the readers and writers that suit your own integration.
To create a Bridging transaction:
-
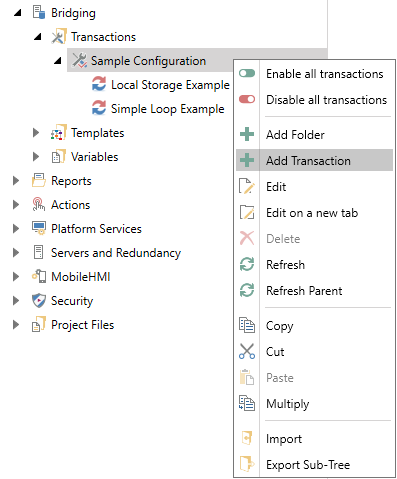
Open Workbench and in Project Explorer, expand your project > Bridging > Transactions. Right-click your Transaction Configuration, or a folder within it, and select Add Transaction.
-
On the Transaction Settings tab, do the following:
-
Enter a Transaction Name (for example, LogTankValues).
-
Select The transaction is enabled.
-
(Optional) Set Timeout, Number of Retries, Retry Delay, and Priority. Learn more
-
-
Under Transaction Template, click
 to create a template, enter a Template Name, and then click
  to open the Template Designer.
 -
On the Template Diagram tab, drag Real Time Input from the Activities Library onto the Diagram Editor, and then configure it in the panel on the right.
-
In Activity Name, enter Read Tank Values.
-
In Data Sources, select Click here to add new item, and then browse for the tags you want to read.
If the Activities Library is not visible, click the Toggle Activities Library button on the Diagram Editor toolbar.

-
-
Drag CSV File Output onto the diagram and configure it.
-
In Activity Name, enter Write CSV.
-
In Consume data from, select Previous Activity.
-
In Target Folder and Target File Name, enter the destination folder and a name for the file.
-
Select Include Headers in the CSV file. If you want each run to add rows rather than replace the file, select the append option.
-
-
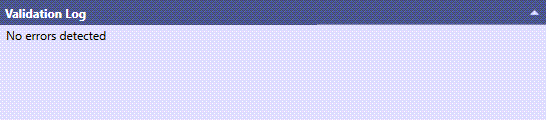
Right-click Write CSV, select Add <Completed> Link and End Activity, and confirm that the Validation Log reports no errors. Click Apply, and then close the Template Designer.
To connect to an End activity that already exists, select Add <Completed> Link and drag the link onto that activity.
-
On the transaction, confirm that Selected Template shows your template. Click Apply.
-
In Project Explorer, right-click the transaction and select Test Transaction. In the Testing transaction execution window, the progress should advance through Transaction Queued and Transaction Running to Transaction Completed, and the Transaction Log should list each completed activity.
The transaction now runs whenever it is requested. Until you configure a trigger, it runs only when you test it from Workbench or execute it from a client.
What's Next?