Importing ACM Configurations
Prerequisites for this guide:
-
have ACM version 9 or newer properly installed and configured
-
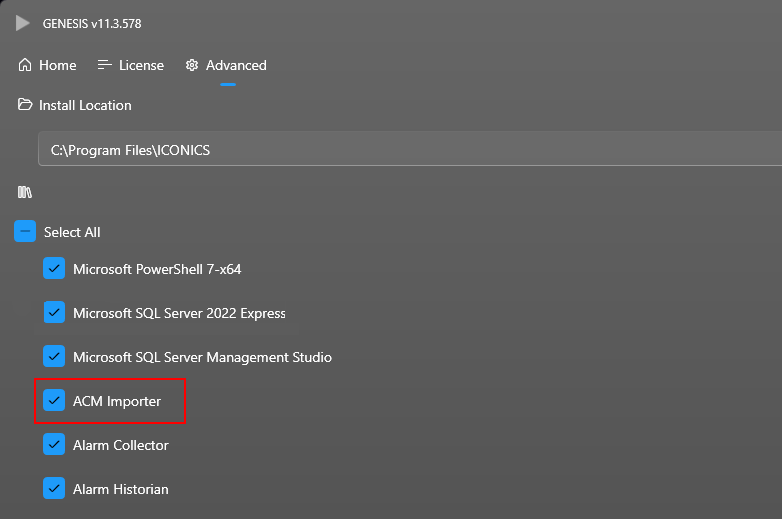
have ACM Importer installed (GENESIS allows you to install ACM Importer directly from the GENESIS advanced setup)
Import an ACM Configuration
-
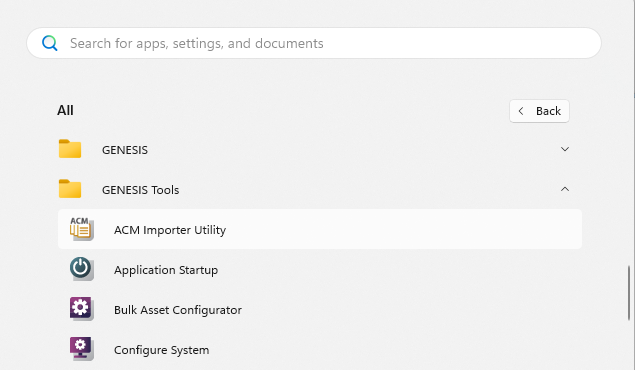
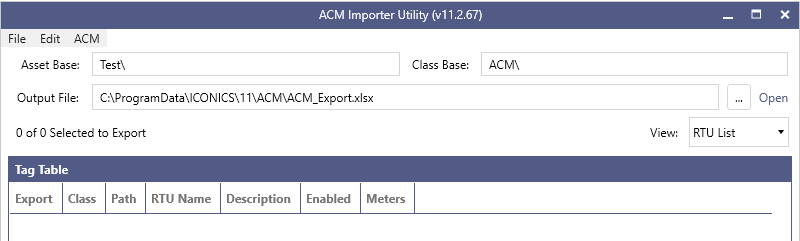
Open ACM Importer Utility
-
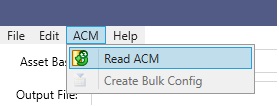
Select menu ACM > Read ACM to read ACM database
-
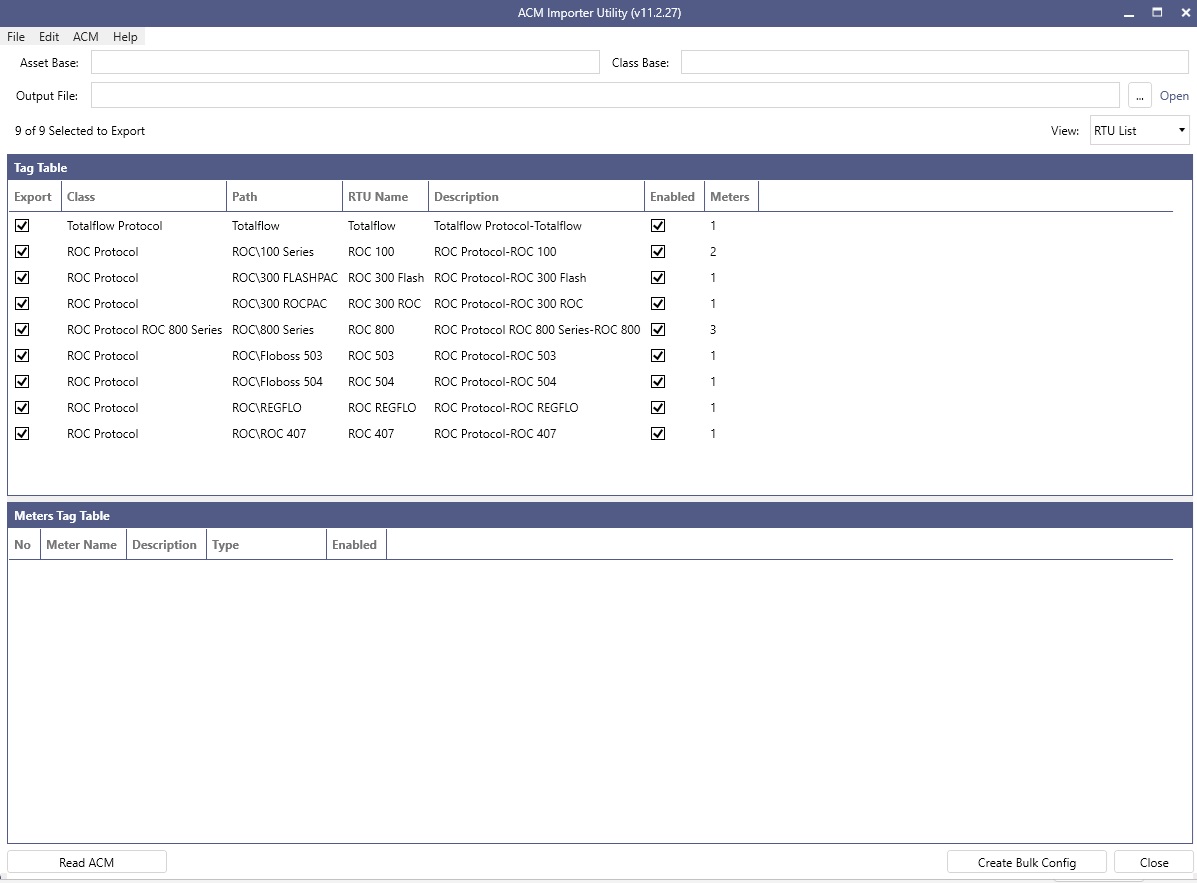
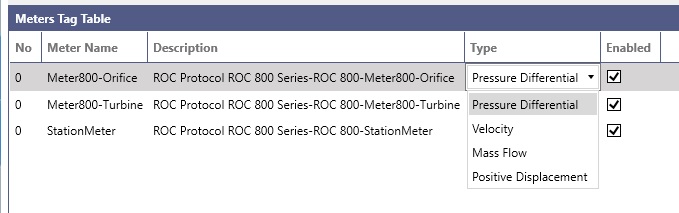
After reading ACM database, the table will be filled with all devices found. When you select a device, the meters will be shown in the second table.
-
At this moment, you have the opportunity to tune the meter type selecting any class of device and performing changes in the Meters table.
-
At this point in main window you need to specify an ''Asset Base'' that can be chosen by the user and a ''Class Base'' that must be the same that is already present in Assets\Equipment Classes, by default ''ACM'. You can also specify the path where the export file will be saved.
-
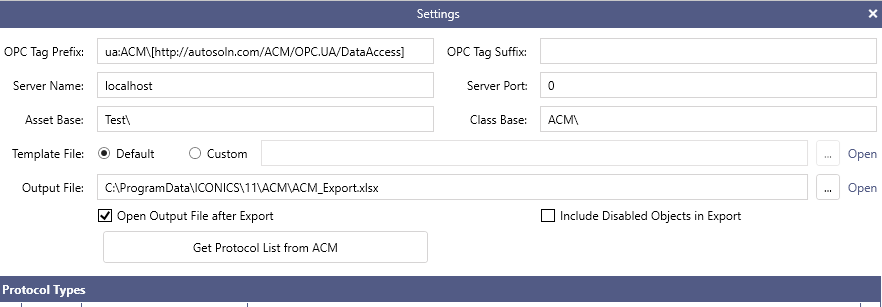
In case of expert users opening Edit / Settings tab it's possible to customize a lot of settings.
Performing changes in fields is possible to edit defaults settings like OPC Tag Prefix, OPC Tag Suffix, Server Name, Server Port, Asset Base, Class Base and Output File.
It's possible also to use a custom ''Template File'' enabling the flag and selecting the customized file.
-
Now you can export ACM device's configurations in Excel format by clicking Create Bulk Config. It will create an output file in the specified path

Once you have created a Bulk Asset Configurator file for your ACM devices, you can Load the Configuration into GENESIS