Storage
[Click Here for more info on Hyper Historian Data Archiver]
To Add Data Storage:
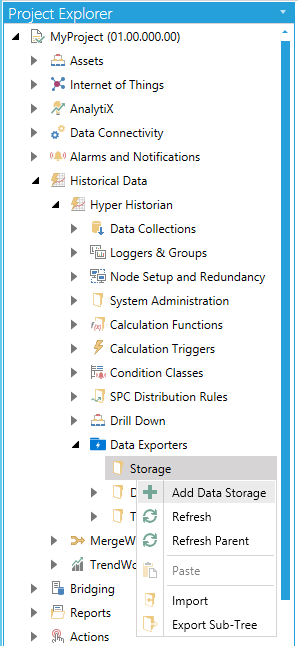
- Open the Workbench, expand your project in the Project Explorer, then expand the Historical Data node, then the Hyper Historian node, then the Data Exporters node.
- Right-click on the Storage node, then click on Add Data Storage in the pulldown menu, as shown below.
Add Data Storage from Project Explorer
-OR-
Select the Storage node, then click on the Add Data Storage button, shown below, in the Edit section of the Home ribbon in the Workbench.
Add Data Storage Button

-
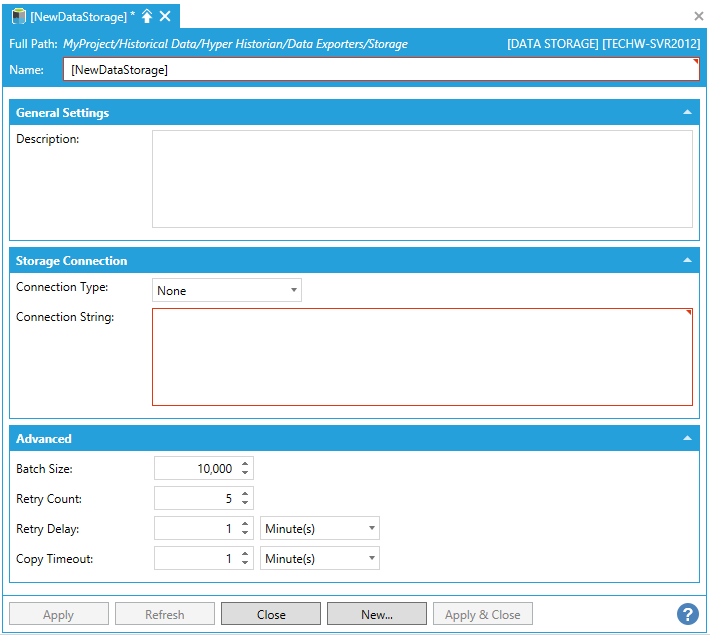
This opens the Data Storage properties, as shown below. Enter a Name for the Data Storage properties in the text entry field.
Data Storage Properties
General Settings
-
Description -Enter a description for this Data Exporter Storage in the text entry field.
Storage Connection
-
Connection Type -Use the pulldown menu to select the type of Data Exporter Storage from None, Azure Data Lake, SQL/Azure SQL, Kafka, or LocalCSVFiles. Selecting Azure Data Lake or SQL/Azure SQL connection types require additional properties, shown listed below.
-
Connection String -Enter a Connection String in the text entry field. The Connection String allows the data exporter to communicate with the given data storage. The string is required and depends on the Connection Type. For SQL-related storages, it usually means the link to the server with privileges. For Data Lake, it consists of the properties that are listed on the form. If you are upgrading a configuration from a previous version, you will either need to configure SQL Server with a certificate from a trusted certificate authority or you will need to update the connection strings.
Azure Data Lake Connection Type Selected
-
Storage Name -Enter the Data Lake Storage Account name in the text entry field.
-
Root folder -Enter the starting folder for the data archiving in the text entry field.
-
Domain Name - Enter the domain name of the Azure Active Directory in the text entry field.
-
Application ID - Enter the ID of the Web application created for the Azure Active Directory to gain connect permissions in the text entry field.
-
Authentication -Enter the Authentication Key for your Web application in the text entry field.
SQL/Azure SQL Connection Type Selected
-
(Configure connection) - Clicking this link opens the 'Select a logging database' window.
Advanced
-
Batch Size -Amount of values to send out to the storage in a single batch. Enter a number in the text entry field or use the up/down arrow buttons.
-
Retry Count -Maximum number of consecutive retries when write fails. Enter a number in the text entry field or use the up/down arrow buttons.
-
Retry Delay -Minimum time to wait between write retries. Enter a number in the text entry field or use the up/down arrow buttons. In the second pulldown menu, select from Second(s), Minute(s), Hour(s), or Day(s).
-
Copy Timeout -Data transfer timeout. Enter a number in the text entry field or use the up/down arrow buttons. In the second pulldown menu, select from Second(s), Minute(s), Hour(s), or Day(s).
Once you have completed making your Data Storage settings, click on Apply then Close. Your new Data Storage settings will now appear within the Project Explorer in the Workbench.
See Also: