Material Section of the 3D Materials Ribbon
Use the buttons in the ![]() Material section
Material section to change the color, appearance, and property of an object’s surface. The surface of any object has a front and a back, but where you find this surface is not always obvious. Each object has a FrontMaterial property that determines its front color, and a BackMaterial property that determines its back color. You can apply colors and textures to any of these surfaces:
-
Click the Front Material button to change the surface of the front side of a 2-sided object or the outside of a 3-dimensional object. Click theBack Material buttonto change the surface of the back side of a 2-sided object or the inside of a 3-dimensional object. Clicking either button opens a
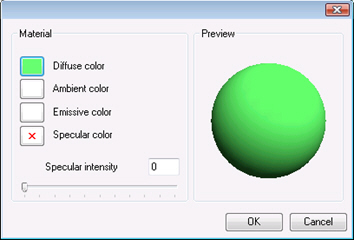
 dialog box. Use this dialog box to set any of the following values for the front (outside) or back (inside) of the object:
 -
-
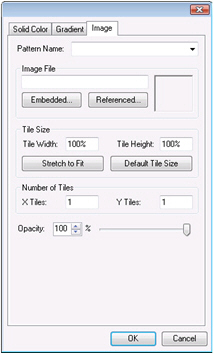
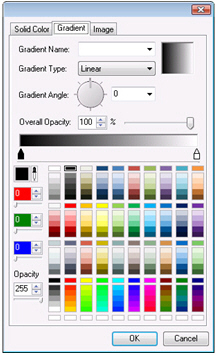
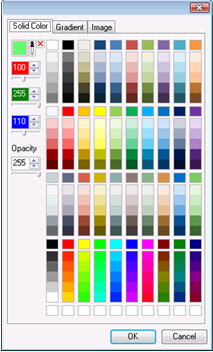
Diffuse color—the color that the object reflects. Clicking this button displays a dialog box with 3 tabs:
Solid Color, Gradient, and Image.You can use this feature to apply a pattern (such as bricks or a texture of concrete or glass) or image (such as a landscape or the image of a campus) to the surface of the selected object.For information about the tabs go to the Solid color, Gradient and Image tabs topic. -
Ambient color—the light that surrounds the object. Clicking this button displays a dialog box with 1 tabs:
Solid Color.For information about this tab, go to the Solid color, Gradient and Image tabs topic. -
Emissive color—to make the object appear to emit light. Clicking this button displays a dialog box with 1 tabs:
Solid Color.For information about this tab, go to the Solid color, Gradient and Image tabs topic. -
Specular color and intensity—to be used for light highlights on the object’s surface. Clicking this button displays a dialog box with 3 tabs:
Solid Color, Gradient, and Image.For information about the tabs go to the Solid color, Gradient and Image tabs topic.
-
-
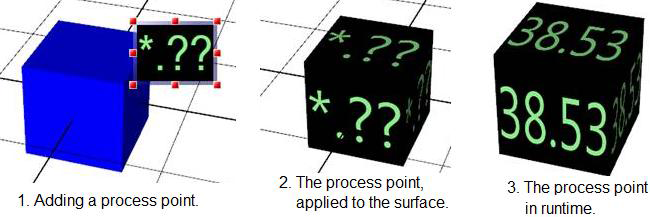
Click the 2D Material button to apply 2D features to the surface (or front material) of the selected object. Among the features you can apply are 2D labels, shapes, and images. You can even use dynamics for the 2D features you apply to the surface.
Click here for an example. To use this button, follow these steps: -
-
In the 3D viewport, select the 3D object you are applying a 2D feature to.
-
From the Materials ribbon, click the 2D Material button. An annotation box opens next to the selected object.
-
Insert the 2D object into the annotation and configure it as needed.
-
Double-click outside the annotation editor (or press the Esc key on your keyboard). The annotation box closes and the 2D material is applied to the object's surface.
-
If the 2D object has a data source, go into Runtime to see it work.
-