Adding a Trending Display
You can use the Trend Viewer to create, configure, and plot real-time or historical data trends from various sources, such as alarms and historical data through OPC UA, and other data point connections through the FrameWorX™ server.
For the Start-Up Guide, you will create a graph that displays the Tank Temperature.
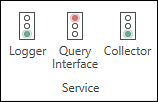
 Verify the Historical Data Logger service is running.
 ![]() Learn how
Learn how
To add the temperature trending display:
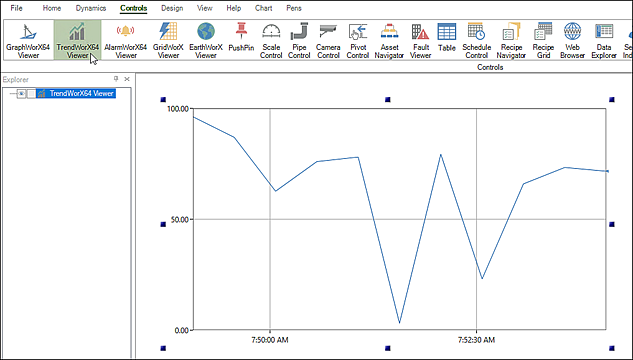
- Open GraphWorX™ (use the Windows search box to locate and open the app).
-
On the Controls ribbon, click Trend Viewer, and then click in the canvas and drag a rectangle to add and size the trend chart.
-
Double-click the chart to display the Configure your Control dialog.
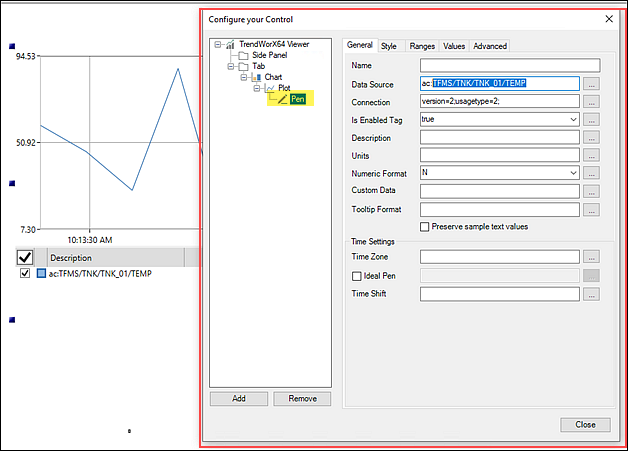
- Select Pen to open the General tab, and do the following:
- Next to the Data Source text box, click
 to open the Data Browser.
 - On the Data Points tab, expand Assets > Tank Farm Management System > Tanks > Tank 01.
Select Temperature (°C) and click OK to close the Data Browser. The path to the selected data point is added to the Data Source text box.
The ac: prefix is used to point to Assets.Next to the Connection text box, click
and select Configure. The Connection Configuration dialog appears. 
- Select Use DA Connection and click OK to close the dialog.
- Next to the Data Source text box, click
- On the Ranges tab, select Auto Scale for both the Minimum and Maximum range, and then click Close.
-
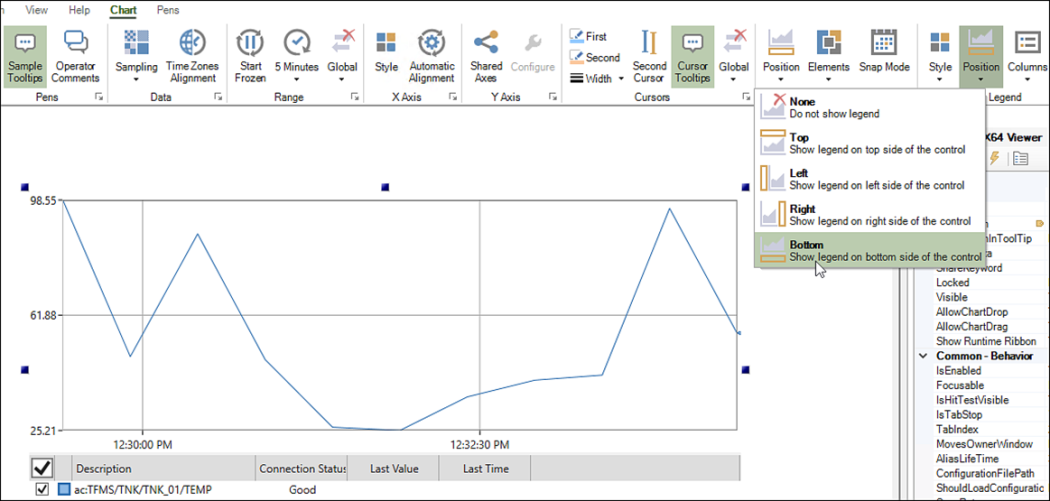
On the Chart ribbon, go to the Legend section and select Position > Bottom. This displays descriptive information about the tank temperature.
-
To view the Tank 01 Temperature in real time, click Runtime in the upper right corner, and then do the following:
-
Click the Real-time Cursors button. This places a blue horizontal line in the chart. You can move the line with the mouse to see various temperature values over time.
You can adjust the default trend period (every 5 minutes) to suit your needs.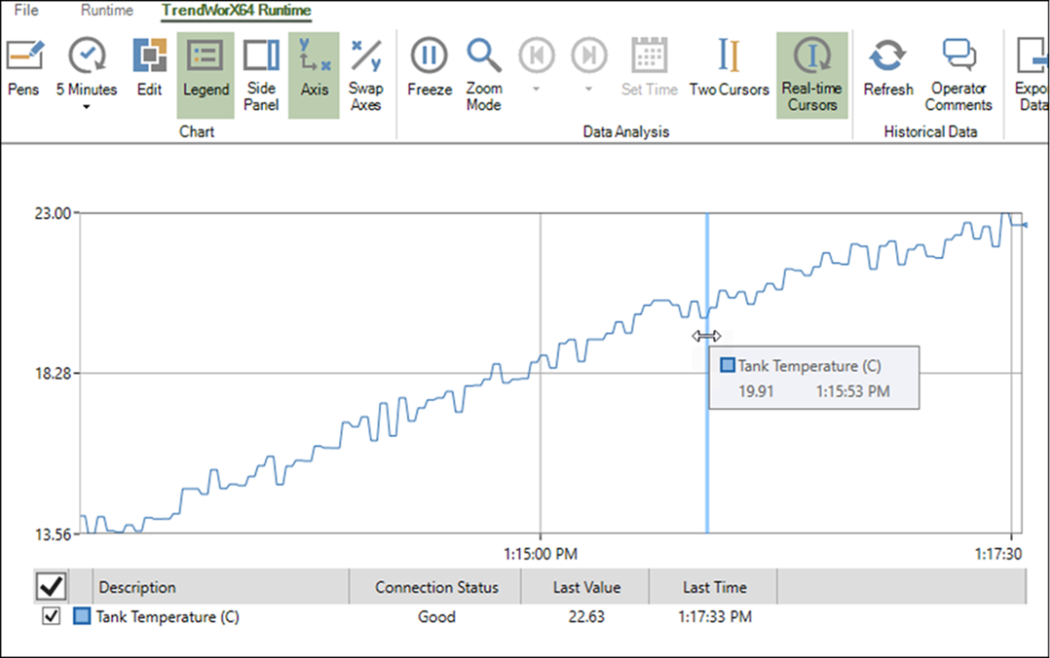
- When finished, click Configure in the upper right corner to return to the configuration mode.
- In the toolbar, click File > Save As and name the file. By default, the file is saved to C:\ProgramData\ICONICS\PubDisplay.
-