Configuring OIDC-Based Web Login
Configuring OIDC-based authentication within GENESIS enables GENESIS Security to act as an OIDC identity provider for third-party clients.
Once configured, GENESIS provides authentication services to clients such as GraphWorX or WebHMI using the OIDC token, thereby eliminating the need for a third-party solution.
To configure web login in GENESIS:
- Open Workbench and in Project Explorer, expand your project > Security -> Global Settings.
- On the General tab in the General Settings section, ensure that for Security active, the Active button is selected, and clear the checkbox for Allow simultaneous login.
-
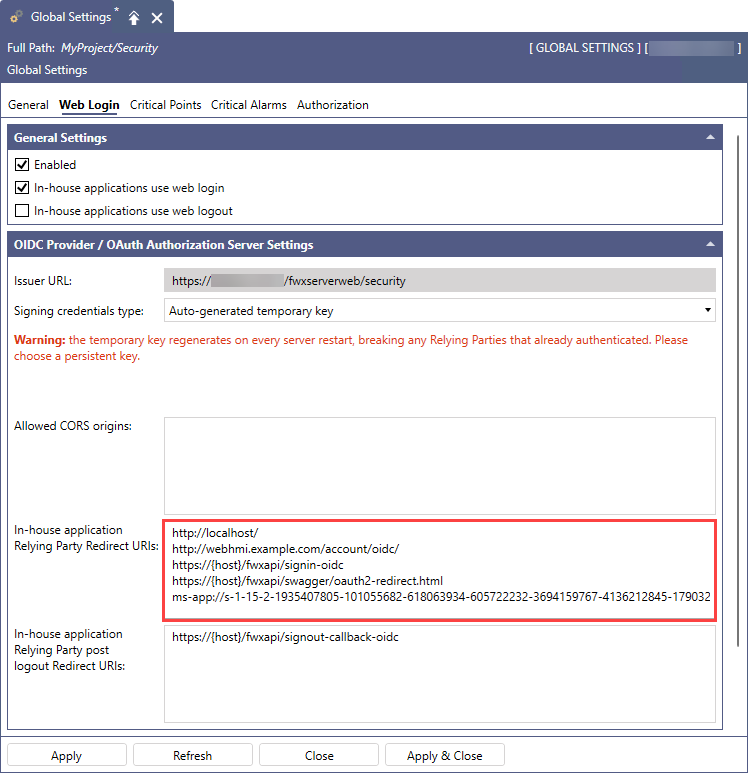
On the Web Login tab, set up the following options, and then click Apply.
- In the General Settings section, select Enable and In-house applications use web login.
- In the next section in In-house application Relying Party Redirected URIs, enter the desired DNS name.
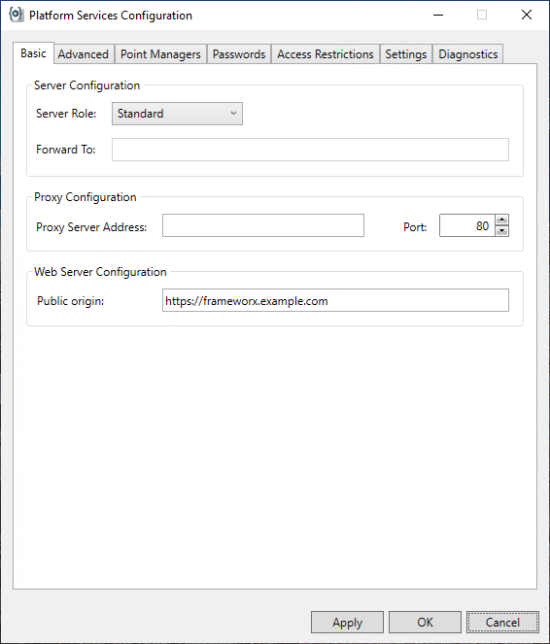
- On the Workbench top ribbon, go to the Tools tab and open Platform Services Configuration.
-
On the Basic tab in Public Origin, enter the desired URL, and then click OK.
Example: https://frameworx.example.com
-
Allow unsecured (HTTP) communication with the GENESIS web server.
-
On the machine with GENESIS installed, open the FrameWorX Server configuration file in
C:/ProgramData/Iconics/11/FwxServer.config.json, and navigate to the array of web server endpoints in the Communication/WebServerEndpoints section, for example:"WebServerEndpoints": [ { "Address": "https://+/fwxserverweb/" }, ], -
Add an HTTP endpoint to the web server, so that the result has the following format:
"WebServerEndpoints": [ { "Address": "https://+/fwxserverweb/" }, { "Address": "http://+/fwxserverweb/" } ] - Restart the FrameWorX server.
-