Configuring a Schedule Control
You can view, modify, and override schedules in the runtime user interface using Schedule Control in GraphWorX.
Prerequisites: Open Windows Services and make sure that the GENESIS Schedules Point Manager service is running.
To configure a schedule control:
- Open GraphWorX in the configuration mode (default).
- On the Controls tab of the top ribbon, select Schedule Control, and then drag the mouse diagonally across the canvas to make a rectangle for inserting the schedule control.
- Double-click anywhere inside the control to open the configuration dialog.
- In the left pane of the Configure you Control dialog, expand Schedule View Control > Tab and select Schedules View.
-
In the right pane on the Source tab, click
 next to the Data Source field to open Data Browser.
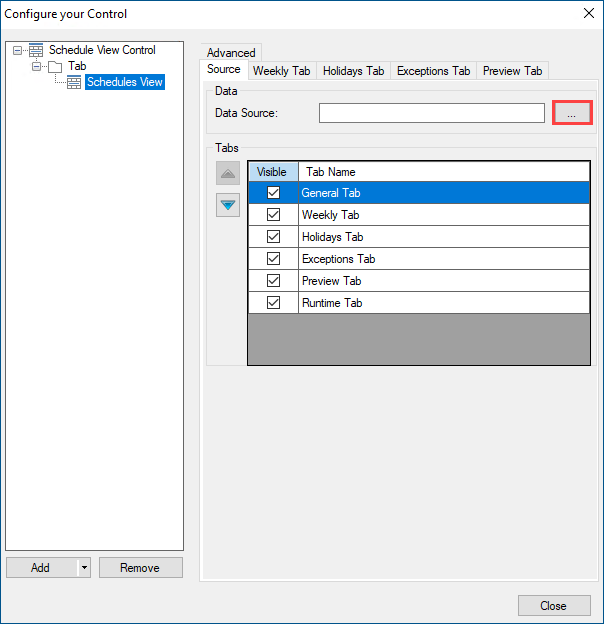
-
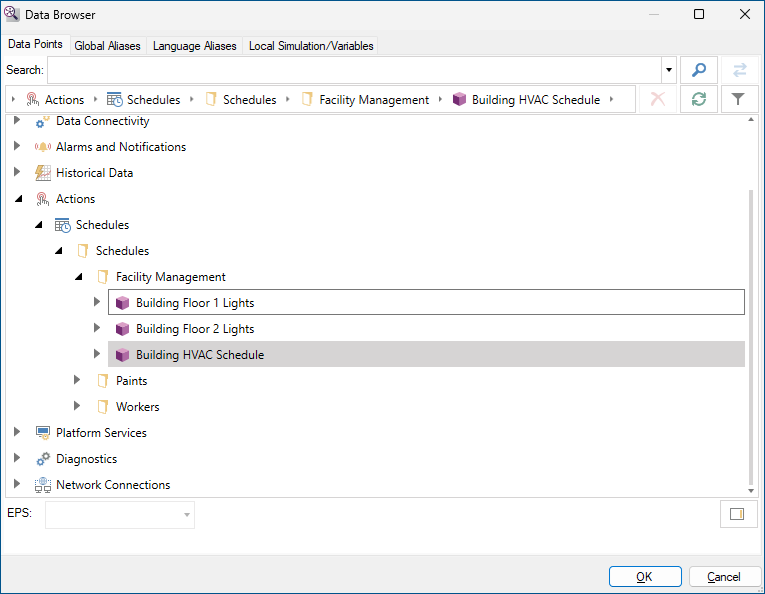
In Data Browser, expand Actions > Schedules, select the desired schedule, and then click OK to close the Data Browser dialog.
- In the Data Source text box, check that the selected data source has been properly added, and then click Close.
- In the upper right corner of the GraphWorX screen, click
 , or press CTRL+M. GraphWorX switches to the runtime mode. Verify that you can see the name of the selected schedule and other details.