Configuring OPC Classic Redundancy
In GENESIS version 11 and later, connectivity to an OPC Classic server is only supported using a local FrameWorX or Data Broker.
You can set up OPC Classic redundancy in Workbench in two steps:
-
Creating and configuring an individual connection for each Data Broker or FrameWorX server. Since Data Broker is based on FrameWorX, it is configured in the same way and at the same place. You usually set up the connections in Servers and Redundancy > Server Connections. Learn more
However, you can also create a new connection directly from Unified Redundancy (see step 3).
-
Creating and configuring a redundancy sub-cluster for the OPC Classic point manager.
To configure a redundancy sub-cluster for OPC Classic:
-
Open Workbench and in Project Explorer, expand your project > Servers and Redundancy > Unified Redundancy and in the Unified Redundancy Graph panel, locate the FrameWorX redundancy box.
-
In the FrameWorX redundancy box heading, click
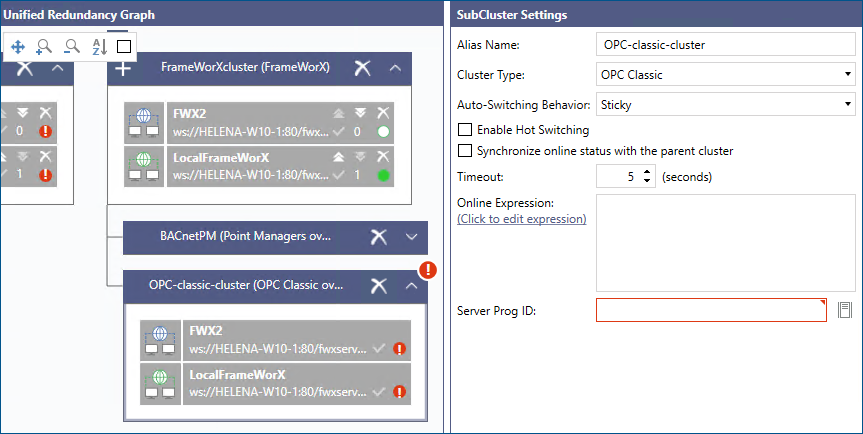
 to add a new sub-cluster, and in the Select Cluster Type dialog, select OPC Classic and click OK. The sub-cluster settings dialog opens in the right panel.
 -
In Alias Name, enter the sub-cluster's name.
-
In Auto-Switching Behavior, select the desired strategy of switching back after the primary (higher priority) server goes back online.
-
Sticky: The current connection stays active as long as the server is online, even though the primary or higher-priority server comes back online.
-
Back to Primary: The connection switches to the primary server as soon as it comes back online.
-
Best Available: When the cluster has more than two connections, it always switches to the highest priority connection that is available.
-
-
Configure the remaining switching settings.
-
Enable Hot Switching: When enabled, all data points are constantly subscribed to all servers in the cluster, which creates a buffer that covers the data loss caused by the switching time. However, it doubles the traffic (or more than that, if the cluster contains more than two connections). When disabled (default), the data points only subscribe to the failover connection after the switch, causing a gap in the data flow.
-
Synchronize online status with the parent cluster: When enabled, the sub-cluster copies the status of the parent cluster, including additional conditions such as expressions.
-
Timeout: Specifies how long after receiving no heartbeat from the active server the connection switches over, and the server is considered offline.
-
Online Expression: Enables you to specify additional conditions for considering a server online or offline. For example, when a server is in maintenance mode, the connection does not switch to it, even though it is technically online.
-
-
In Server Prog ID, click
 to browse for the desired OPC Classic connection.
Make sure that the GENESIS Classic OPC Point Manager service is running.
After selecting the desired connection, click Select to close the dialog, and then click Apply.
-
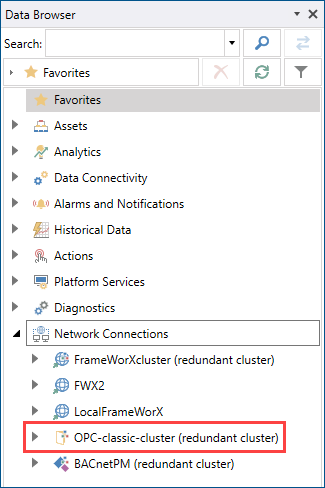
In the right panel in Workbench, open Data Browser and expand Network Connections to verify that the new sub-cluster was added there.