GraphWorX Controls Introduction
On the Controls tab of the GraphWorX ribbon, you can find a list of controls that can be added to a GraphWorX display. Click  to view all available controls grouped into sections as in the following image.
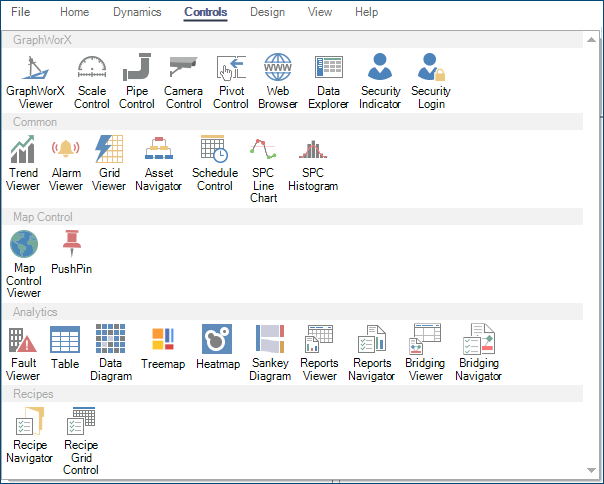
Each of the controls offers a specialized and distinct behavior, and many are designed to be directly compatible with certain sets of data from other GENESIS modules and components. Once added to a display, many of the controls offer specialized configuration environments or properties in the properties grid to help further configure the control.
To add a control to a display:
-
Open GraphWorX in the configuration mode (default).
-
On the Controls ribbon, select the control you want to create, and then drag the mouse across the canvas to make a rectangle for inserting the control.
-
Configure the control using the available tools.
-
The control properties in the right GraphWorX panel.
-
A control-specific ribbon that is displayed after adding the control.
-
A configuration dialog. When available, you can open this dialog by double-clicking the control.
-
The control-specific ribbons and configuration dialogs are only available for some controls.