Authenticating with NTLM
This topic describes how to connect to a REST API that requires Windows New Technology LAN Manager (NTLM). It is a Microsoft Windows specific authentication protocol, so usage is typically limited to REST APIs hosted on an internal Windows network with a domain controller. For more information, refer to Web Services Authentication Methods.
To connect to a REST API using NTLM:
-
Open Workbench and in Project Explorer, expand your project > Data Connectivity.
-
Right-click Web Services and select Create a new Folder. Give the folder a name and click Apply.
You can skip this step and use an existing folder, like the default Sample Web Services folder. -
In Project Explorer, right-click the desired folder and select Add REST Service. The REST service configuration dialog is displayed.
-
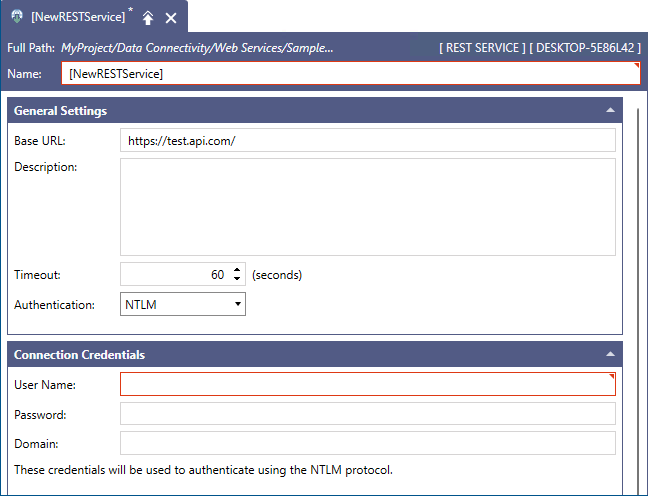
Give the service a name and in the General Settings section in Base URL, enter the URL for the desired REST API. This information is typically available in the API documentation.
-
In General Settings in Authentication, select NTLM. The authentication options are displayed in the Connection Credentials section.
-
In User Name, Password, and Domain, enter the appropriate credentials to access the REST API, and then click Apply.