Configuring DeviceXPlorer OPC Server
For security reasons, OPC UA provides integration with a number of authentication mechanisms as described in OPC Introduction. One of the most usual setups is using the X.509 certificates, either provided by a Certificate Authority (CA) (paid and emitted by an external entity) or self-signed (usually created locally for tests).
This topic describes how to set up DeviceXPlorer OPC Server with self-signed certificates.
To set up the DeviceXPlorer OPC Server with a self-signed certificate:
-
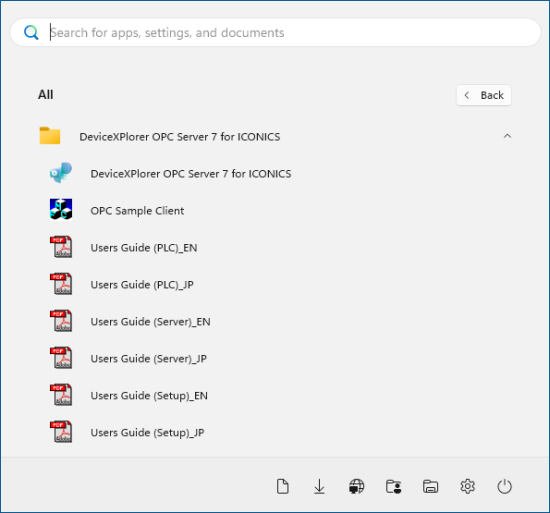
Open DeviceXPlorer OPC Server in your Windows applications or using the Windows search box.
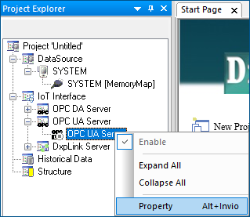
- In the Project Explorer panel, expand your project > IoT Interface > OPC UA Server.
-
Right-click OPC UA Server and select Property.
-
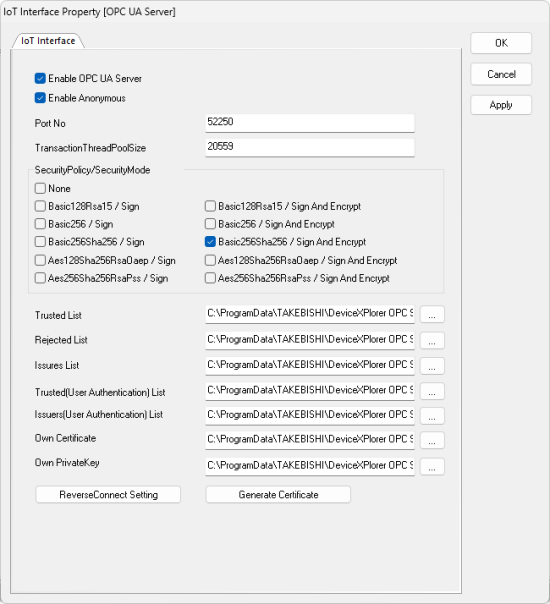
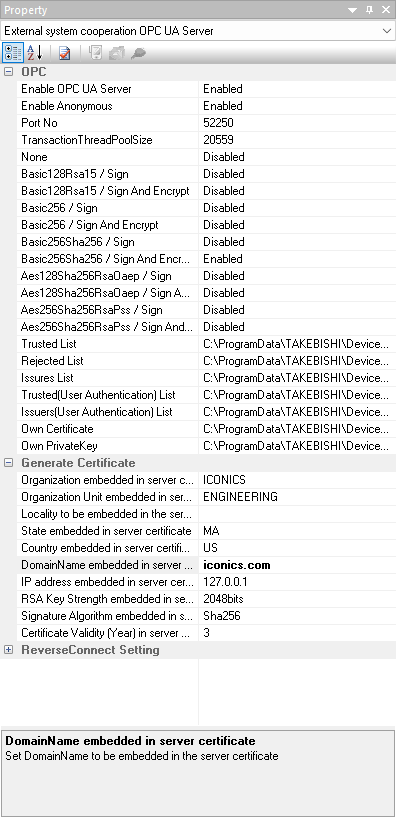
In the IoT Interface Property [OPC UA Server] dialog, select Enable OPC UA Server and Enable Anonymous, and in the SecurityPolicy/SecurityMode section, select Basic256Sha256 / Sign And Encrypt.
-
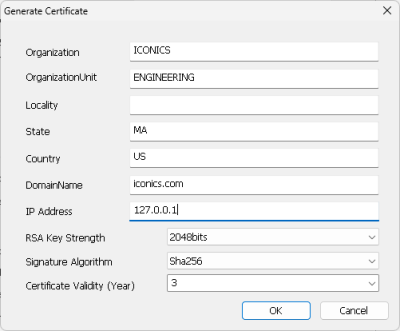
Click Generate Certificate, enter the required information, and then click OK.
- In Signature Algorithm, enter Sha256.
- In IP Address, enter 127.0.0.1 since the DeviceXPlorer OPC Server is running in the same environment as GENESIS.
-
In the IoT Interface Property [OPC UA Server] dialog, click OK to apply the settings.
-
Check the configurations in the Property panel on the right.
What's Next?