Creating a Calculated Tag
In Data Historian, you can create calculated tags, which are virtual data points that perform computations on historical data from one or more source tags, storing the calculated results in the Data Historian database. It allows you to process raw data without the need to perform calculations in external systems or applications, and use the calculated tags in dashboards, reports, or further calculations.
- Open Workbench and in the Project Explorer pane, expand your project > Historical Data > Data Historian.
-
Right-click Logged Data and select Add Calculated Tag to open the tag configuration settings.
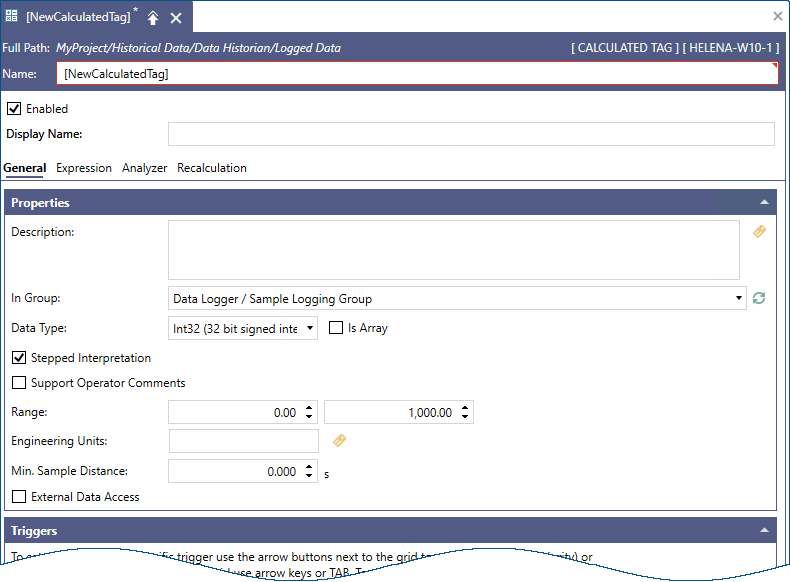
- Enter the tag's name and, optionally, a display name.
- In the Properties section, specify the logging location and set standard tag metadata, such as Data Type, Range, and Engineering Units.
- In Min Sample Distance, specify the minimum time interval between samples. This setting is useful for limiting the number of logged samples for triggers with unpredictable execution times, such as data change-based triggers.
-
In the Triggers: section, select Click here to add new item, and then click
 to browse for available triggers.
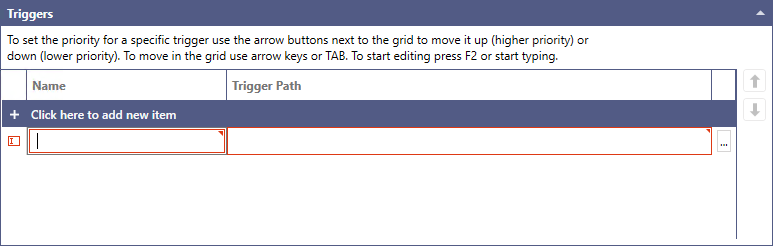
-
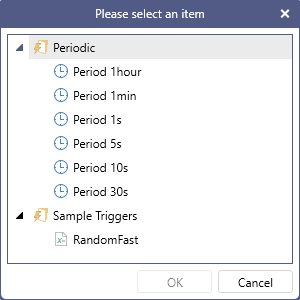
Select the desired trigger and click OK. You can add multiple triggers that activate the calculation.
-
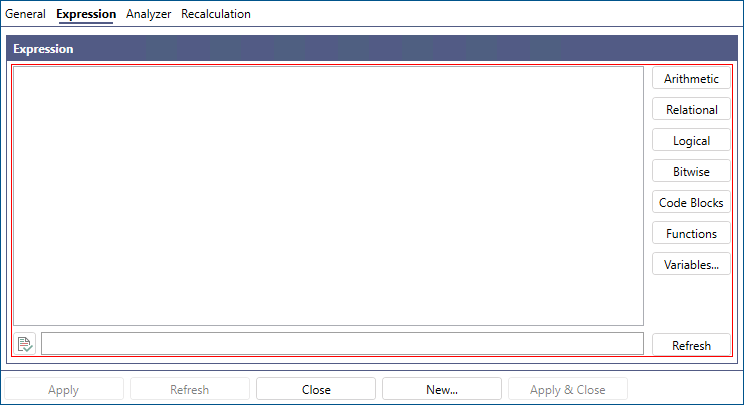
When finished, switch to the Expression tab and enter the formula for processing the data. Use the buttons on the right to add built-in operators and functions to the expression.
-
Click
 below the expression editor to verify the syntax. If it returns "No errors," click Apply. To activate the calculated tag, start the Data Historian service by clicking the Logger semaphore on the Home ribbon.