Language Alias Translation
Language alias translation takes an alias string in your process point or trend pen and converts it to a lookup value stored for different languages in the alias definition based on the current selection for a system's locale. This topic describes how to create and use alias in a translation function.
 Create or Modify an Alias
To Create an Alias:
-
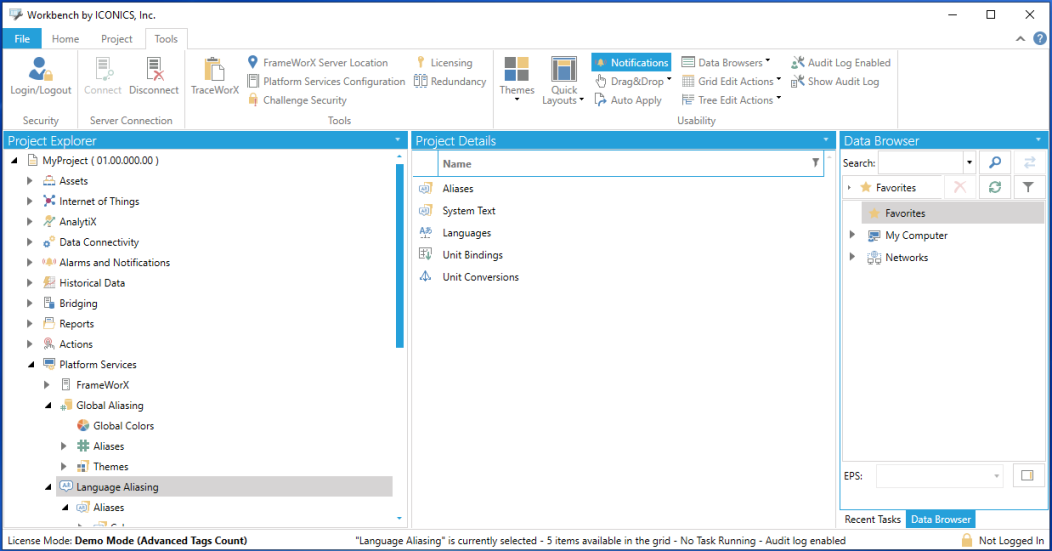
From the Workbench, expand your Project in the Tree Explorer, then expand Platform Services. You'll see the Language Aliasing node of the Tree Explorer. The screen consists of a split window with a tree control in the left-hand pane and the configurator in the right-hand pane.
Language Aliasing in the Workbench

-
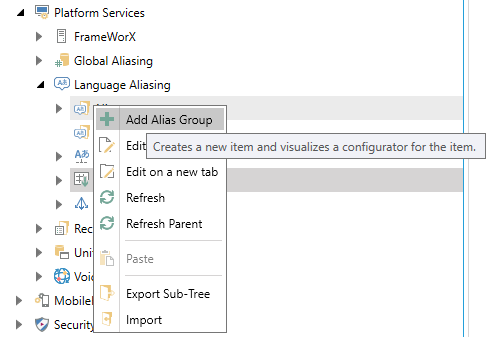
Right-click on Aliases within the Language Aliasing node, then click on Add Alias, as shown below.
Add Alias Group

-OR-
Click on the Aliases node (or an Alias Group) then click on the Add Alias button, shown below, in the Edit section of the Home Ribbon of the Workbench.
Add Alias Group button

NOTE: An Alias Group object is a folder that contains aliases that are similar, part of a project, start with a certain letter, or organize your aliases using whatever scheme is best suited to your purpose.
-
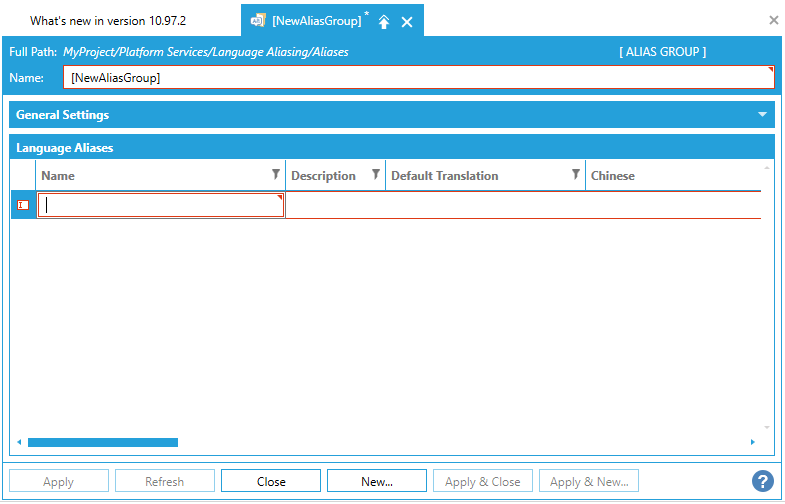
This opens the Alias properties window in the right side of the Workbench, as shown below. Enter an AliasName into the text entry field.
Alias Group Properties Window

-
Enter a Description that will help you remember the purpose of the alias into the text entry field (optional).
-
Enter a Default Translation into the Default Translation text entry field. This is optional, but highly recommended, as it saves you from having to enter the same translation in all of the different language fields.
-
For any translation that isn't the default, enter that translation into the Translation fields for each Language that you will support.
-
Click Apply to enforce your new alias definition. Changes you make to the LAS database are propagated to clients in 1 to 3 seconds, on average.
See Also: