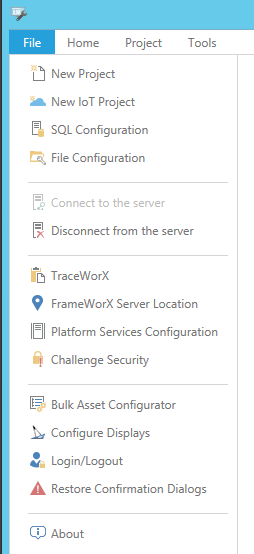
File Tab
The File tab in the Workbench, shown below, allows you to perform a variety of functions.
File Tab in the Workbench
-
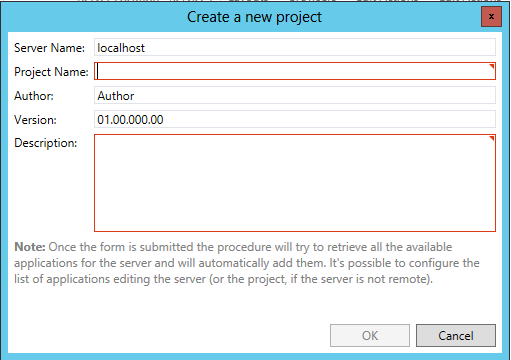
New Project - Clicking on 'New Project' brings up the Create a new project window, shown below. Within this window, you can enter new information in the text entry fields for Server Name, Project Name, Author, Version and Description. Note: Once the form is submitted, the procedure will try to retrieve all the available application for the server and will automatically add them. It's possible to configure the list of applications by editing the server (or the project, if the server is not remote).
New Project Options
-
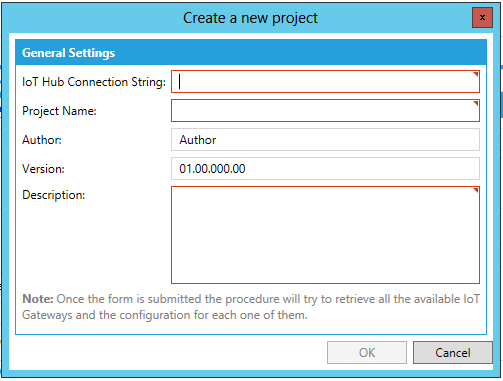
New IoT Project - Clicking on this option creates a new IoT project that can be used to manage IoT Gateways. Within the Create a new project window, you can enter the IoT Hub Connection String, the Project Name, Author, Version and Description. Note that once the form has been submitted, an attempt will be made to retrieve all available IoT Gateways and their configurations.
New IoT Project Options
-
SQL Configuration - Clicking this option opens the Configure available SQL servers window (shown below). You can click on the Import SQL servers from the network link at the top to autopopulate the window with available SQL servers. Else, you can click on + Click here to add new item and then complete the required information (SQL Server, Use Windows Security, Login, Password). Click on the
 button to
test the connection with the listed SQL Server. Click OK to save your
changes and return to the Workbench.
button to
test the connection with the listed SQL Server. Click OK to save your
changes and return to the Workbench.
Configure available SQL servers Window

-
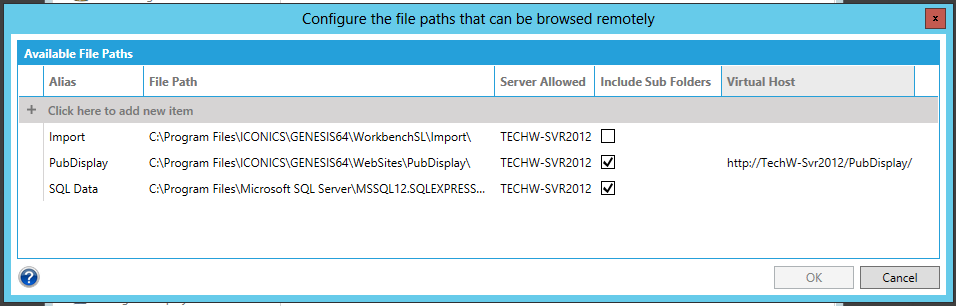
File Configuration - Clicking this option brings up the Configure the file paths that can be browsed remotely window (shown below), which allows you to set available file path aliases for frequently accessed file locations. Click on + Click here to add new item and you can set the Alias that can be used throughout various Workbench applications, the File Path for that alias, the Server Allowed where that file path can be accessed, whether to Include Sub Folders and a Virtual Host if you intend to access that File Path via a browser. Click OK to save your changes and to return to the Workbench.
Configure the file paths that can be browsed remotely Window
-
Connect to the server - If the instance of the Workbench that you are using is not currently connected to the server, clicking this option will initiate the connection to the machine where the Workbench was initially installed. You will be able to see status messages regarding the connection in the bottom left of the main Workbench window.
-
Disconnect from the server - Clicking on this option disconnects the instance of the Workbench that you are using from the currently connected server. Following this action, you will be able to see a status message regarding the connection status in the bottom left of the main Workbench window.
-
TraceWorX - Clicking on "TraceWorX" opens the Trace Configuration and Log Viewer window (shown below) in order to perform troubleshooting for connected ICONICS components. Click HERE for more information about TraceWorX.
Trace Configuration and Log Viewer Window

-
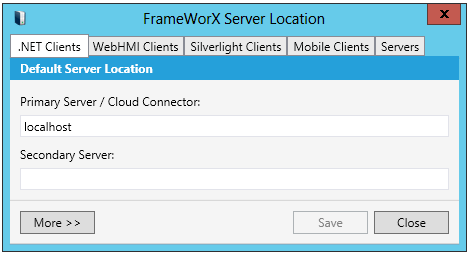
FrameWorX Server Location - Clicking this option opens the FrameWorX Server Location window, shown below, which allows you to set default FrameWorX server location. Click HERE for more information on the FrameWorX Server Location.
FrameWorX Server Location Window
-
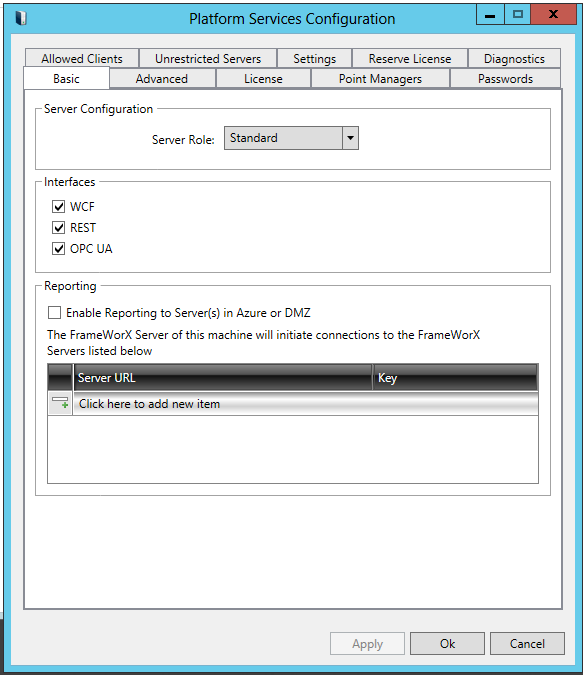
Platform Services Configuration - Clicking on "Platform Services Configuration" brings up the Platform Services Configuration window, shown below, where users can update various settings that are used throughout their installed ICONICS components. Click HERE for more information on Platform Services Configuration.
Platform Services Configuration Window
-
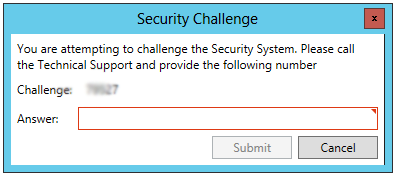
Challenge Security - Clicking this option brings up the Security Challenge window, shown below. This allows users to generate a challenge number that can be used to provide requested information to ICONICS Technical Support relative to ICONICS component security and licensing. Click HERE for more information about the Challenge Security option.
Security Challenge Window
-
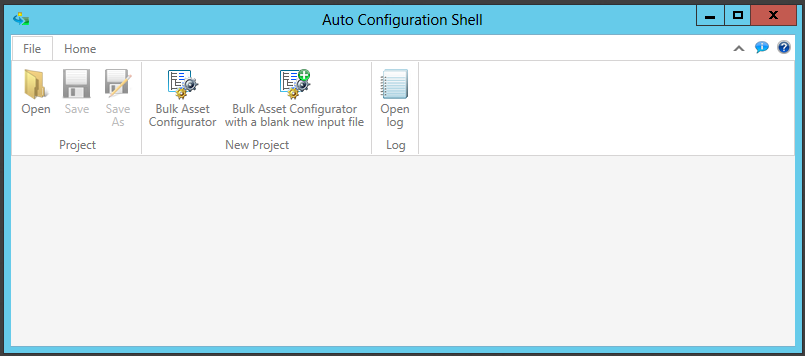
Bulk Asset Configurator - Clicking on "Bulk Asset Configurator" opens the Auto Configuration Shell window, shown below, which provides access to the Bulk Asset Configurator utility; a tool to automatically instantiate Equipment in AssetWorX based on an Equipment class and unique parameter values for each instance of Equipment. Click HERE for more information about the Bulk Asset Configurator.
Auto Configuration Shell Window
-
Configure Displays - Clicking on the 'Configure Displays' button will open GraphWorX64 within a separate window (see the startup screen below), allowing for display configuration.Click HERE for more information on using GraphWorX64.
ICONICS GraphWorX64 Startup Screen
-
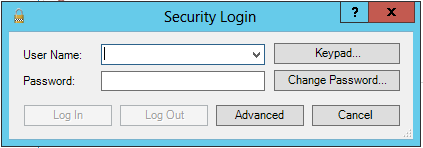
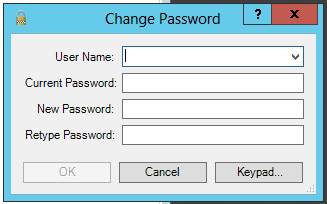
Login/Logout - Clicking the 'Login/Logout' button opens the Security Login Window, which allows you to enter your User Name and Password to Login, Log Out or Change Password.
Login/Logout Button

Security Login Window
Change Password Window
-
Restore Confirmation Dialogs - Click this button to restore the confirmation dialogs within the Workbench.
Restore Confirmation Dialogs Button

-
About - Clicking 'About' brings up the About box for the Workbench. Click 'OK' in the About box to close it and return to the application.
About Button

Workbench About Box
See Also: