Importing Data into AssetWorX
You can import data into the AssetWorX database or into the asset tree or equipment class node. It is assumed that the data you want to import has been exported from an AssetWorX database and is stored in a .CSV (comma-separated values), Excel workbork or XML file. Be aware of the data being imported so that you import it to an appropriate location in the Project Explorer. For example, do not import equipment classes into the asset tree.
-
In the Workbench, go to AssetWorX's Project Explorer. Right-click on the node where data is to be imported, then select Import, as shown below. Or click on the node, then click the Import button in the Import/Export section of the Home ribbon.
Importing into AssetWorX

-
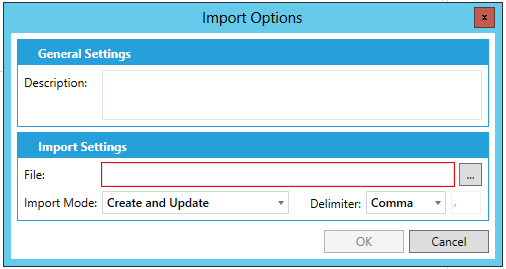
The Import Options box opens. In the General Settings section, you can enter a Description (optional) in the text entry field. In the Import Settings section, you can enter a file destination in the File text entry field or click on the ellipsis button [...] navigate to your selected .csv, Export Workbook or XML file. You can set the Import Mode by choosing Only Create new items, Only Update old items, or Create and Update. You can also set the Delimiter for the imported data (by choosing Comma, Tab, or Other [character]).
Identify the File to be Imported

-
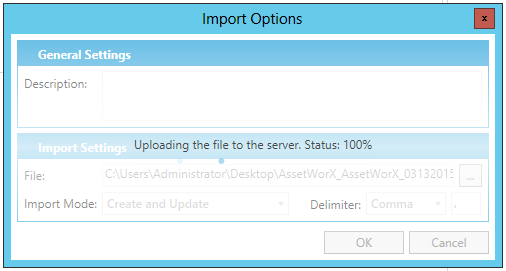
The dialog will then look similar to the following example, providing a percentage of the completion of the import task:
Import Task Status Completion Percentage

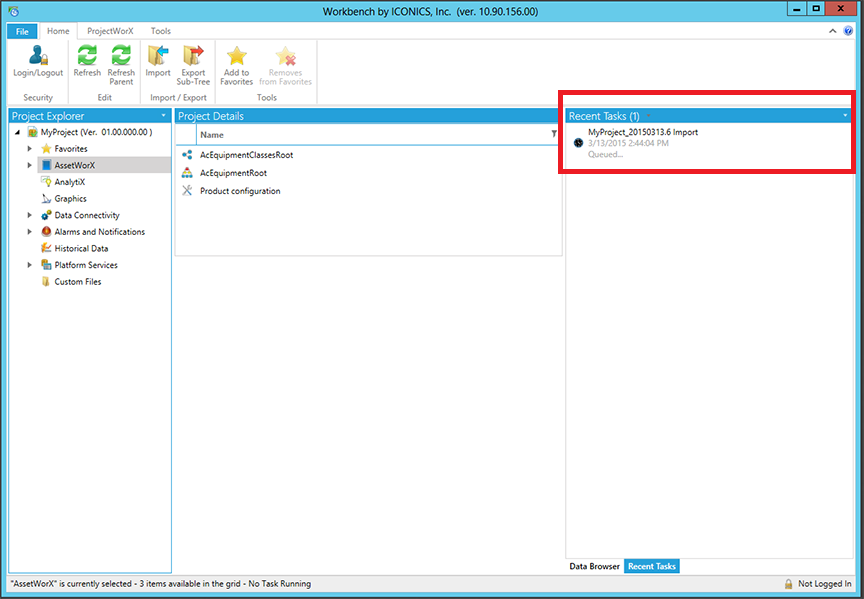
At the same time, the Import task can be seen in the Recent Tasks pane of the Workbench, in the right side of the window, as shown below.
Import Task in Recent Tasks

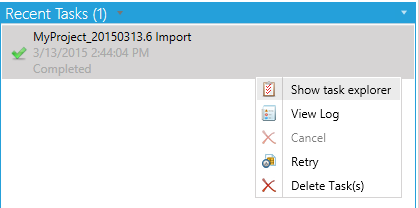
Right-clicking on the task shows additional options, including Show task explorer, View Log, Cancel, Retry, and Delete Task(s).
Right-click Options for Import Task

-
Depending on your Import Mode selection in Step 2 above (Only Create new items, Only Update old items, or Create and Update), your AssetWorX tree explorer will now reflect your recent Import task.
See Also: