Installing GENESIS64
GENESIS64 is available for install from a .iso file.
To install GENESIS64
-
Run the GENESIS64_Suite application from the .iso file.
-
Review and accept the license terms and conditions and click Install.
-
The installer will now install pre-requisite files as well as core GENESIS64 files. This step may take several minutes.
-
Once the installer completes you will be notified. At this time you can click Launch.
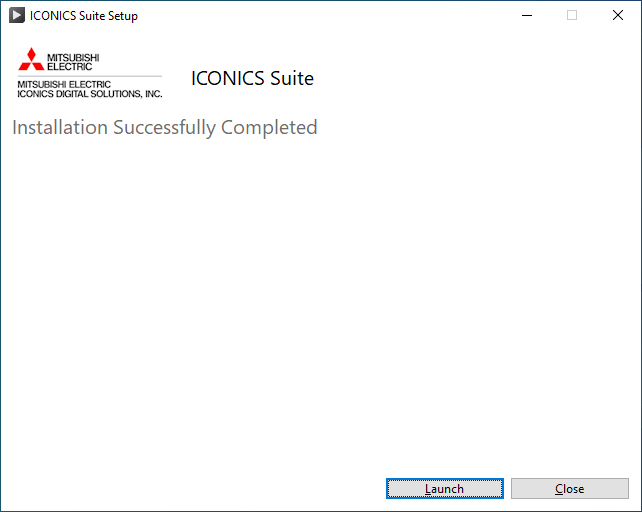
This will launch the Configure System to help with first-time settings to the project database files.
-
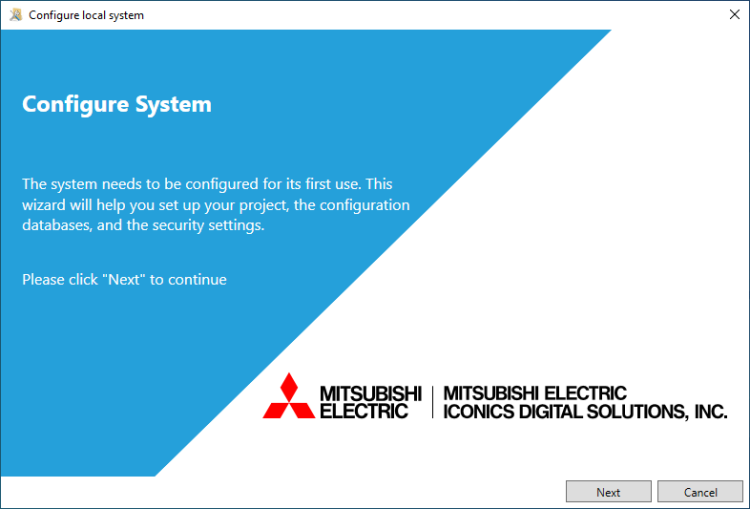
When the Configure System dialog opens, click Next.
-
Leave the Windows Service Credentials and SQL Server Credentials as the default, or if you wish to override them you can do so. Click Next.
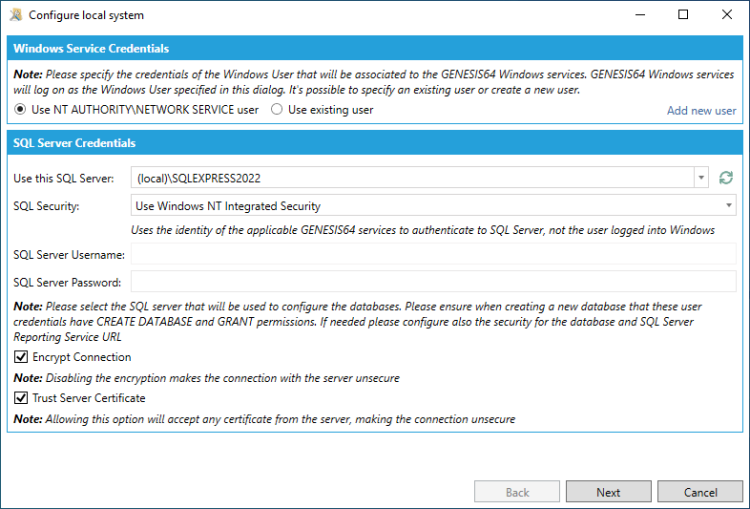 GENESIS64 defaults to installing services with the NETWORK SERVICE user. If you want compatibility with the behavior in previous GENESIS64 versions you can select to use an existing user and specify as appropriate.
 -
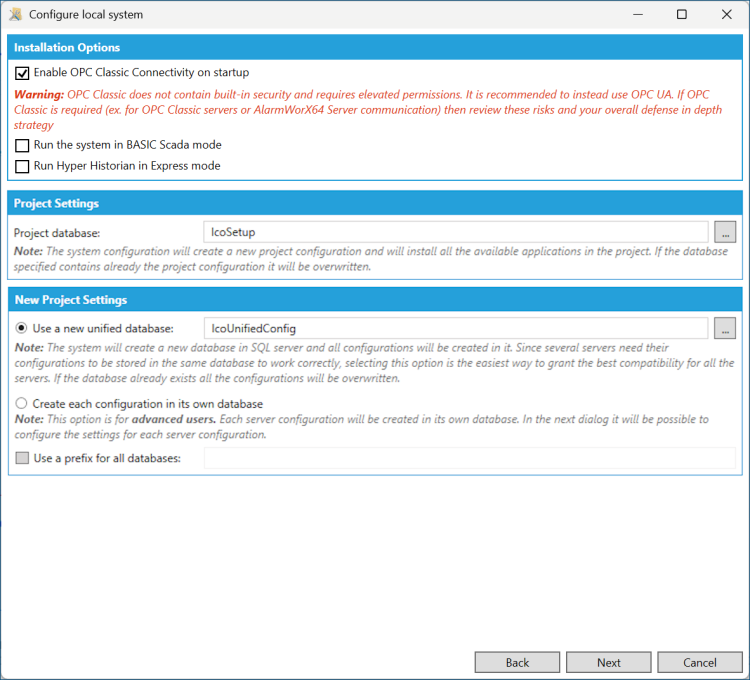
Leave the Installation Options, Project Settings, and New Project Settings as the default, or if you wish to override them you can do so. Click Next.
-
Leave the Configuration Settings and Available Configurations as the default, or if you wish to override them you can do so. Click Next.
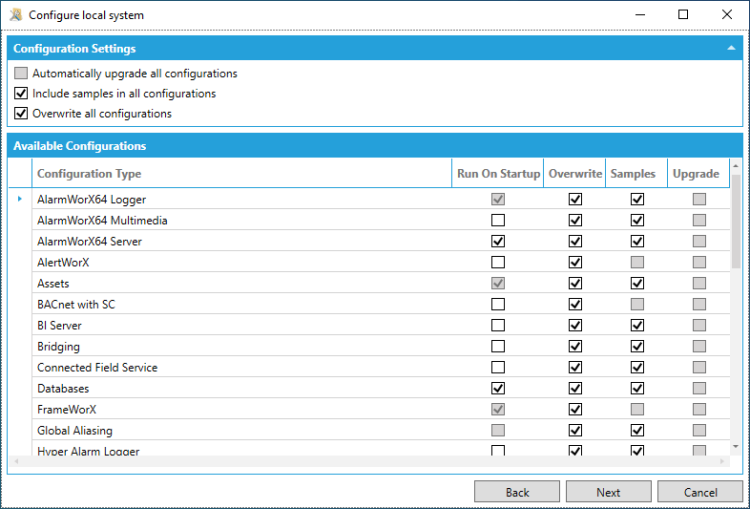 During this step you can select from the Run On Startup column to select which services should be enabled by default.
 -
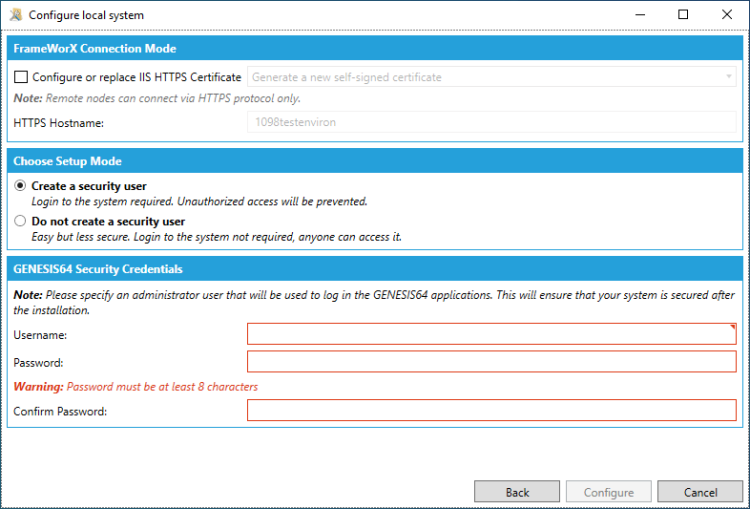
Leave the FrameWorX Configuration Mode and Setup Mode as the default, or if you wish to override them you can do so. Create a username and password that will become the default administrator user in the GENESIS64 Security configuration. Click Configure.
-
Configure System will now perform the setup steps as specified. Once completed, it will launch the Workbench and you are ready to use GENESIS64.