HDA to Hyper Historian
ICONICS ConverterWorX is now able to handle the conversion of existing Historical Data Access (HDA) data into a format recognizable by its Hyper Historian data historian product.
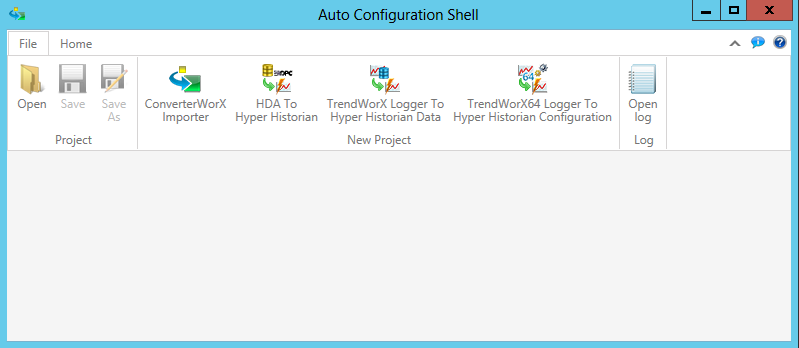
When First Launched, the Utility Opens as the 'Auto Configuration Shell'
-
When you first launch the utility, you'll notice that the application's title bar is listed as 'Auto Configuration Shell', as shown above. From the File ribbon, in the New Project section, click on the HDA to Hyper Historian button. This opens a file explorer window, as shown below, which allows you to navigate to where you have stored your existing Point Map File (*.cpmf).
File Explorer Launched to Navigate to Existing Point Map Files

-
Once you have selected your Point Map File (*.cpmf), it will populate the converter tool, as shown below - with separate components listed under the Project field. (If collapsed, you can expand the Project field with the carat to its left.) You can then select the components you would specifically like converted in this way by clicking the checkbox to the left of each item. In the image below, the 'Logged Data' has been selected.
Selecting Components for Conversion
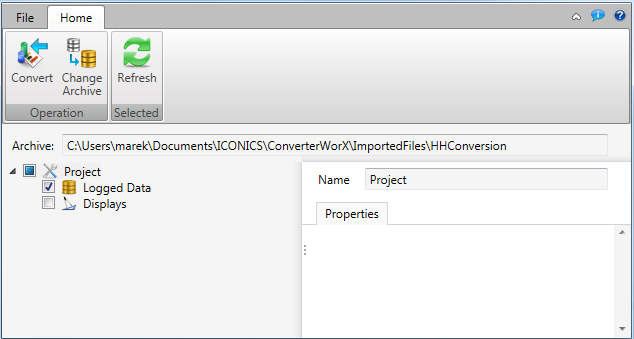
Note: At any point, you can click on the 'Change Archive' button in the Operation section of the Home ribbon, as shown above.
-
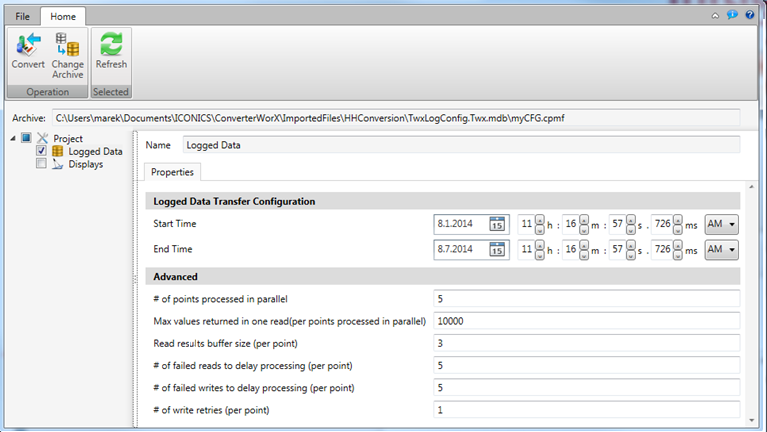
When you select a project's Logged Data within the left-side navigation field of ConverterWorX (when using the HDA2HH function), you can also set some Properties, as shown below. These include:
-
Name - Enter a name for the Logged Data
Logged Data Transfer Configuration
-
Start Time - The beginning of the time range of your selected logged data to be converted.
-
End Time - The ending of the time range of your selected logged data to be converted.
Advanced
-
# of points processed in parallel - You can specify how many items can be added to the processing queue. These can run in parallel in order save time. Higher numbers can lead to processing data being faster, but it can affect performance and can sometimes be counterproductive if the system can become overloaded. The default value is 10.
-
Max values returned in one read (per points processed in parallel) - This sets how many values for one point are going to be imported to Hyper Historian at one time. Using higher numbers can speed up the process, but also makes the memory requirements higher, as the memory allocated must be able to fit the set amount of data. The default value is 10000.
-
Read results buffer size (per point) - With this setting, you can set the difference of speed between reading and writing. You can balance it in order to set the processing speed to be faster and not let too much data rest in memory. As such, you can read the data, but the write speed may be slower. If this value is smaller, more often you will wait for the write to complete.The default value is 3.
-
# of failed reads to delay processing (per point) - This sets the number of failed reads at one time during the import process that a user will accept and allow the process to continue despite this number of failures. The default value is 5
-
# of failed writes to delay processing (per point) - This sets the number of failed writes at one time during the import process that a user will accept and allow the process to continue despite this number of failures. The default value is 5.
-
# of retries (per point) - This sets how many attempts. per point, that the data will be written to Hyper Historian. The default value is 1. A higher number signifies the number of additional attempts to write.
Logged Data Properties
-
When you select Displays within the HDA2HH left-side navigation, as shown below, you can choose to update the associated displays. Click on the ellipsis [...] button to navigate to your Display's root folder. All displays associated with the originally selected Point Map File (*.cpmf) and any added through the GUI, including those in subdirectories, will be updated (via parameters within the Search & Replace tab), during the conversion process.
Display Update Options Field

-
Before you run the conversion:
-
Check that the source HDA server is running.
-
Check that the target HH configuration's logger settings, especially the “starting at” time, file sizes/ranges and archiving.
-
Check that the target HH is running.
Once you have reviewed these settings, start the process by clicking on the Convert button (![]() ) in the Operation section of the Home ribbon..
) in the Operation section of the Home ribbon..
Some additional considerations:
-
The HDA to Hyper Historian conversion within ConverterWorX is currently unable to convert pens with aliases.
-
Hyper Historian has more restrictive names. ICONICS' TrendWorX products use "." as a separator, but it can also be part of element name.
-
When converted to Hyper Historian, the path must be prefixed with one more element = configuration name
-
Aliases can be recursive.
See Also: