Event Switches
To Add an Event Switch:
-
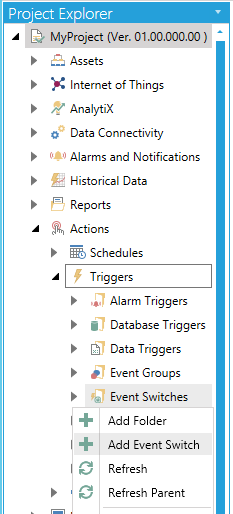
Open the Workbench and expand the Actions node and then the Triggers node. Right-click on the Event Switches node then click on Add Event Switch, as shown below.
Add Event Switch from Project Explorer in the Workbench
-OR-
Select the Event Switches node then click on the Add Event Switch button, shown below, in the Edit section of the Home ribbon in the Workbench.
Add Event Switch Button

-
This opens the New Event Switch Properties, shown below.
New Event Switch Properties

Enter a name in the Event Switch Name text entry field.
General Tab
General Settings
-
Description - Enter a description for the event switch in the text entry field.
-
Enable on tag - Click this checkbox if you wish to enable your trigger based on a data tag. Once checked, you can enter a tag location in the text entry field or click on the
 button to open the Data Browser and navigate to your selected tag.
 -
Index Tag - This specifies an integer tag that is used to determine the active trigger when the trigger index matches the tag value. Enter a tag in the text entry field (using the proper syntax) or click on the
button to open the Data Browser and navigate to your selected tag.
Trigger Settings
Click the Click to add Multiple Tags link to open the Data Browser and navigate to your selected trigger tags.
-OR-
If you want to add trigger tags individually, click on + Click here to add new item.
-
Index - A sequential index number will be automatically assigned for each new Trigger Tag.
-
Trigger Tag - Enter the location of your selected trigger tag in the text entry field (using the correct syntax) or click on the
button to open the Data Browser and navigate to your selected Trigger Tag.
-
Once you have completed your settings, click on Apply to save them and Close to return to the Workbench. Your configured Event Switch will now appear in the Project Explorer.
See Also: