Database Triggers
To Add a Database Trigger:
-
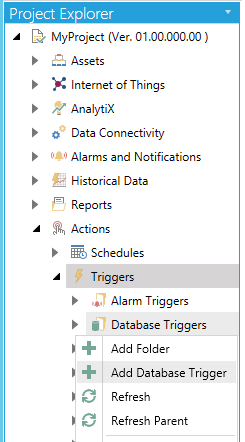
Open the Workbench and expand the Actions node and then the Triggers node. Right-click on the Database Triggers node then click on Add Database Trigger, as shown below.
Add Database Trigger from Project Explorer in the Workbench
-OR-
Select the Database Triggers node then click on the Add Database Trigger button, shown below, in the Edit section of the Home ribbon in the Workbench.
Add Database Trigger Button

-
This opens the New Database Trigger Properties, shown below.
New Database Trigger Properties
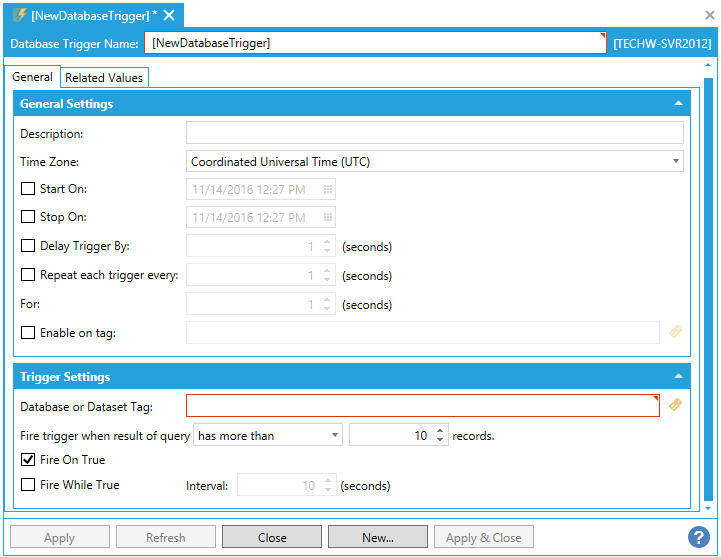
Enter a name in the Database Trigger Name text entry field.
General Tab
General Settings
-
Description - Enter a description for the database trigger in the text entry field.
-
Time Zone - Use the pulldown menu to select a time zone from either Coordinated Universal Time (UTC) or Local Server Time.
-
Start On - Click this checkbox if you would like to set a starting date and time for trigger execution. Once checked, you can enter a date and time in the text entry field or click on the
 button, which will open the date/time picker.
 -
Stop On - Click this checkbox if you would like to set a stop date and time for trigger execution. Once checked, you can enter a date and time in the text entry field or click on the
button, which will open the date/time picker. -
Delay Trigger By - Click this checkbox if you would like to set a delay time for the trigger execution. Once checked, you can enter a delay time, in seconds, in the text entry field or use the up/down arrows.
-
Repeat each trigger every - Click this checkbox if you would like to repeat the selected trigger. Once checked, you can set the amount of time, in seconds before the trigger is repeated in the text entry field or use the up/down arrows.
-
For - Enter a duration (in seconds) in the text entry field or click on the up/down buttons.
-
Enable on tag - Click this checkbox if you wish to enable your trigger based on a data tag. Once checked, you can enter a tag location in the text entry field or click on the
 button to open the Data Browser and navigate to your selected tag.
Trigger Settings
-
Database or Dataset Tag - This specifies a database tag, web service tag or another tag which returns a dataset. Enter the database or dataset tag in the text entry field or clik on the
button to open the Data Browser and navigate to your selected database or dataset tag.
-
Fire trigger when result of query - Use the pulldown menu to set when the trigger fires due to the selected condition (has more than, has fewer than, has at least, has at most, has exactly, does not have, grows by, shrinks by, changes by) of the query. In the next field, enter a number of records (or use the up/down arrows).
-
Fire On True - Click this checkbox to execute notification immediately when the condition is met.
-
Fire While True - Click this checkbox to repeat the notification when the condition remains true after every interval period. If checked, you can then enter an Interval in seconds (or use the up/down arrows).
Related Values Tab
Related Values Tab
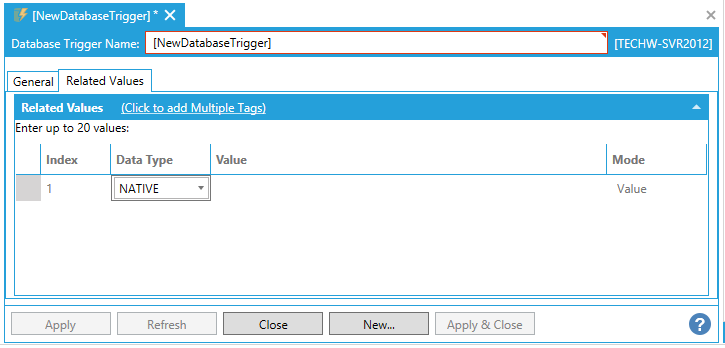
You can enter up to 20 values.
Click on the Click to add Multiple Tags link to open the data browser to navigate to your selected tags.
Or, click on +Click here to add new item to add individual tags.
-
Index - Enter a number to keep track of any new tags entered here.
-
Data Type - Use the pulldown menu to select from NATIVE, FLOAT, DOUBLE, BOOL, BYTE, WORD, DWORD, CHAR, SHORT, LONG, or STRING.
-
Value - Enter a value for the tag or click on the
button to open the Data Browser and navigate to your selected tag value source. -
Mode - Use the pulldown menu to select from either Value or Tag.
-
Once you have completed your settings, click on Apply to save them and Close to return to the Workbench. Your configured Database Trigger will now appear in the Project Explorer.
See Also: